 Digital patterns

Make your own crochet lavender flowers with this free written pattern. Small picot loops create the textured flower head, while green crochet pieces and a wrapped stem complete the design. Make one stem for a small vase or repeat the project to build a handmade bouquet.
This guide covers materials, stitches, the flower and foliage pieces, and assembly. For more flowers to make alongside your lavender, browse our free crochet flower and bouquet patterns.
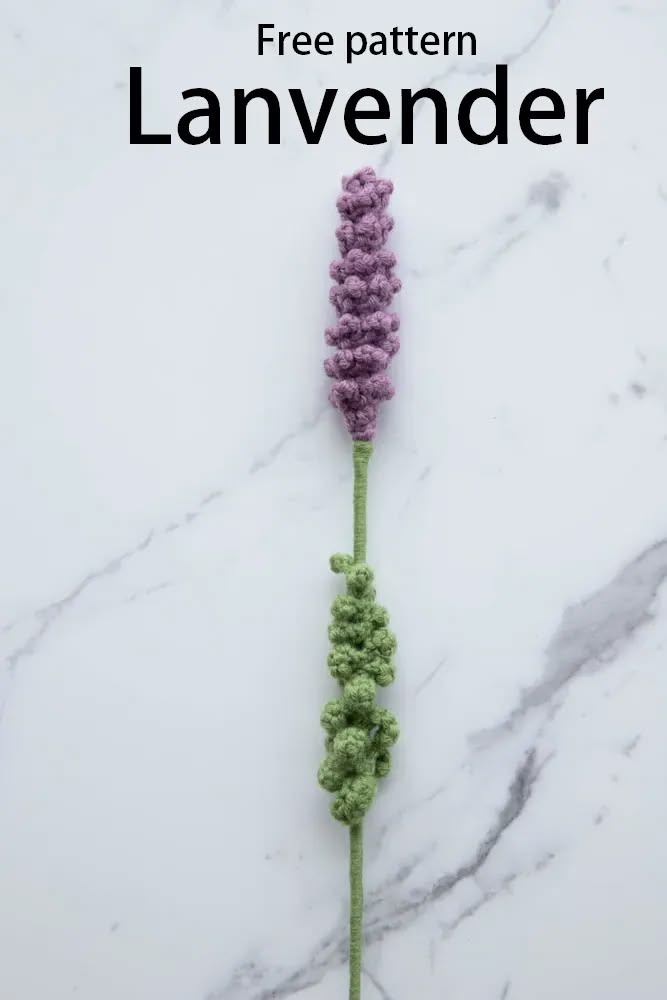
Ways to Use Crochet Lavender
Crochet lavender adds a slender shape and textured detail to floral arrangements. Use it in a vase, combine it with larger crochet flowers or make several matching stems as a handmade gift.
The flowers are decorative yarn pieces. Their appeal comes from their colour, shape and texture.
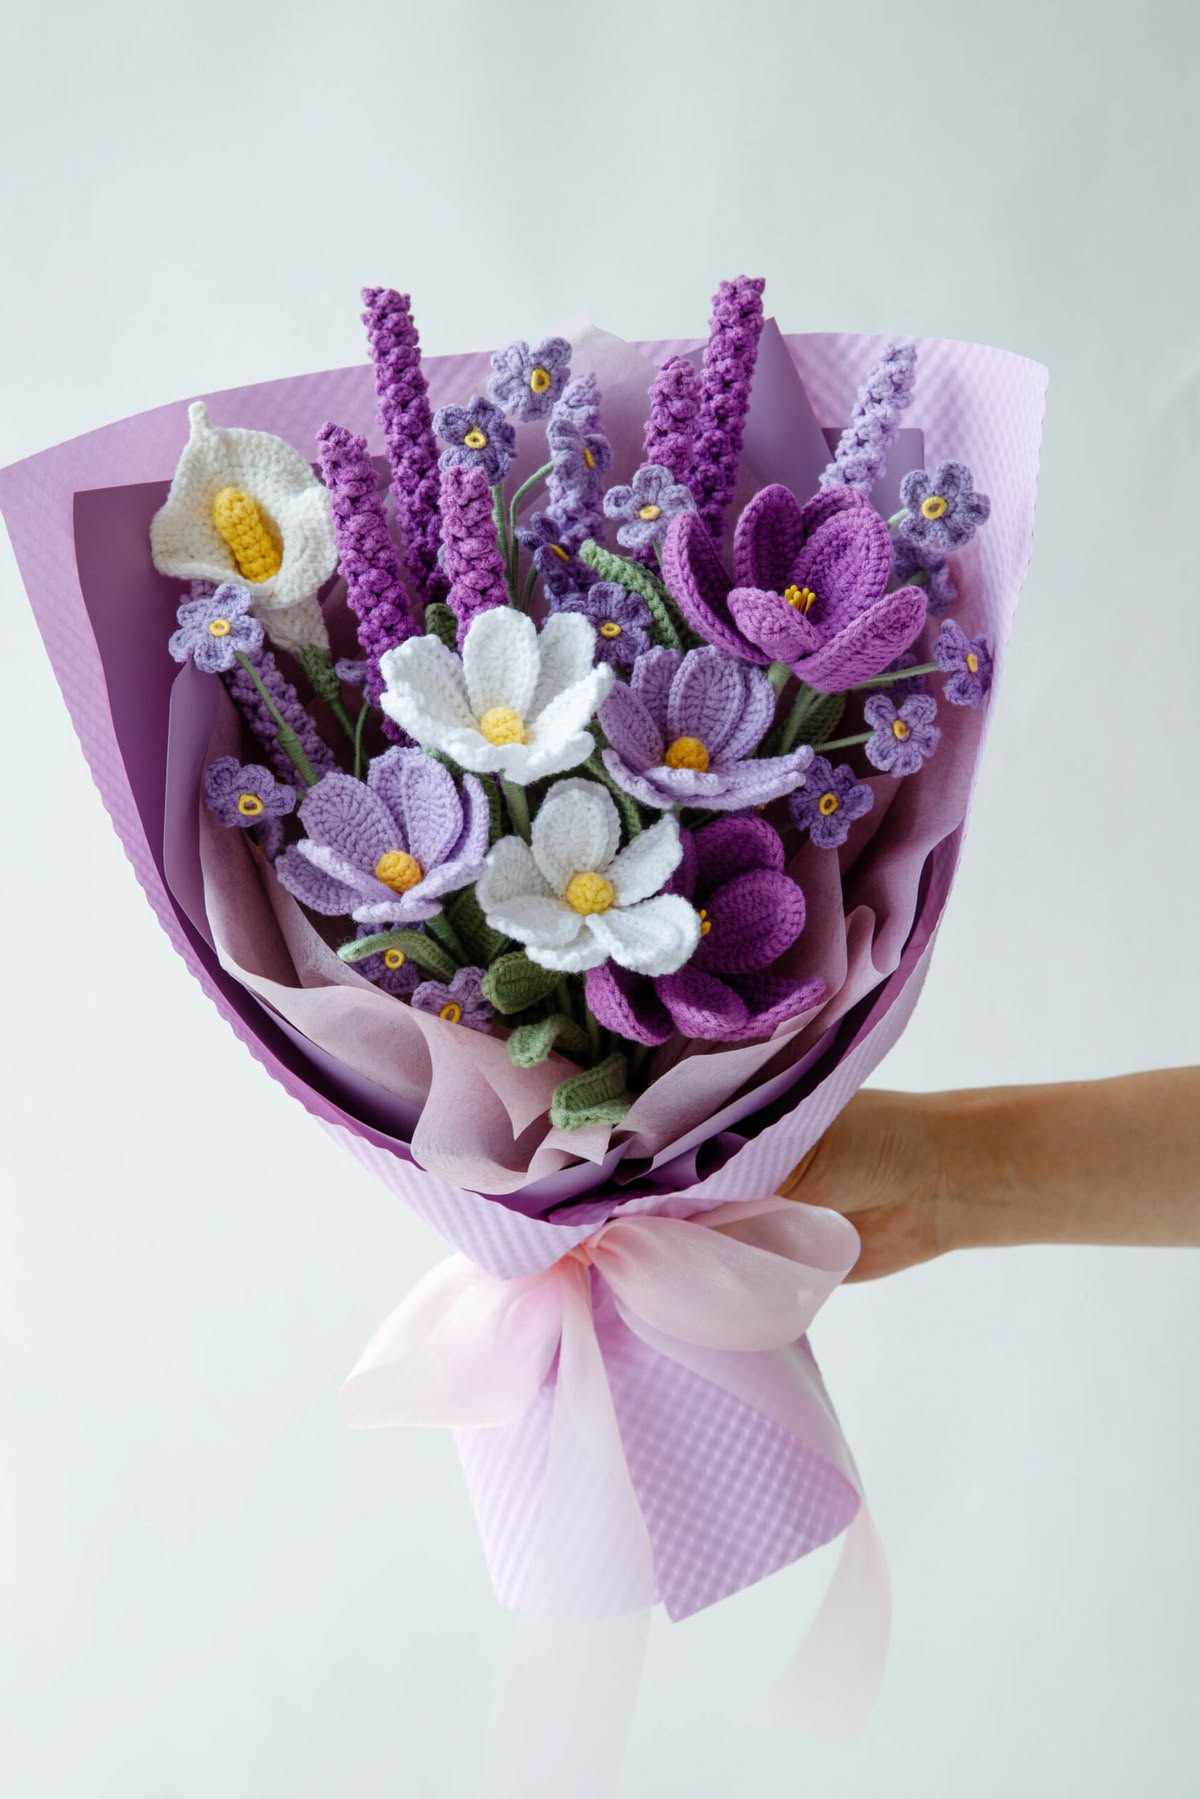
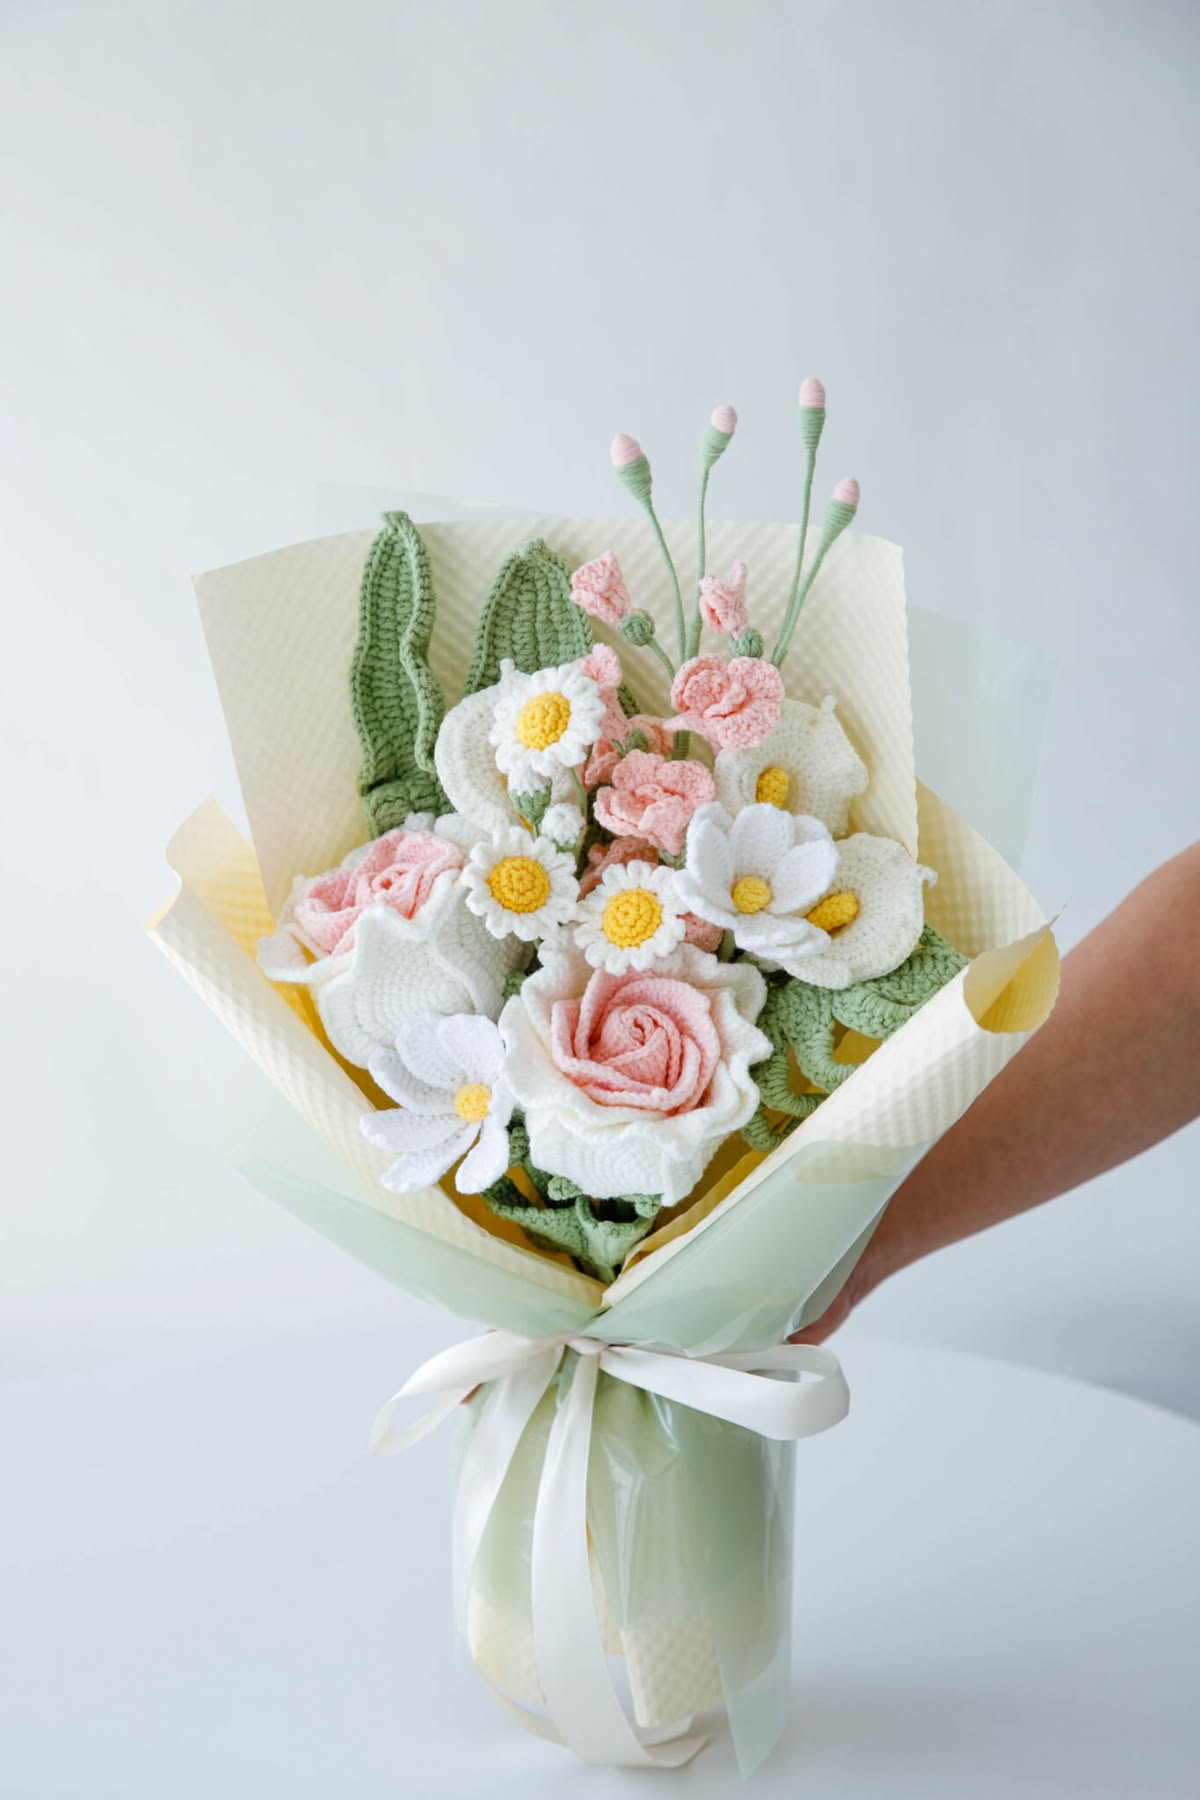
Use the bouquet photos as inspiration for mixing flower shapes, soft colours and green foliage.
Choosing Colours for Your Lavender
Light lilac, lavender and deeper purple all work well for the flower heads. Mixing two shades across separate stems gives a bouquet more variation. Pink can also suit a softer arrangement.
Choose a green that complements your flower colour, and use the same green for the foliage and stem wrapping to bring the pieces together.
Prepare Your Yarn and Supplies
Gather the materials listed below before starting. If you plan to make several stems, crochet and assemble one first, then use it as a reference for the remaining flowers.
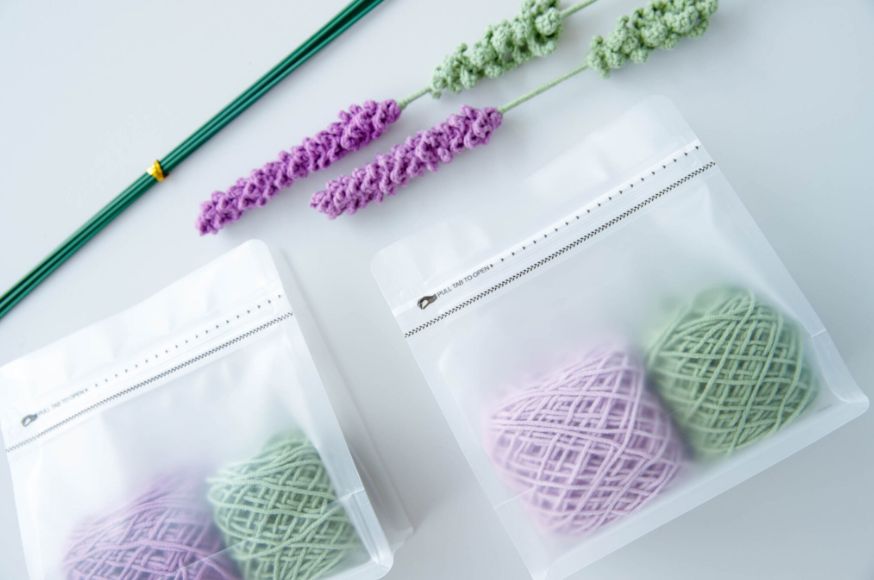
Materials reference: purple and green yarn with flower stems. Choose and gather your own supplies for this tutorial.
Materials for Crochet Lavender
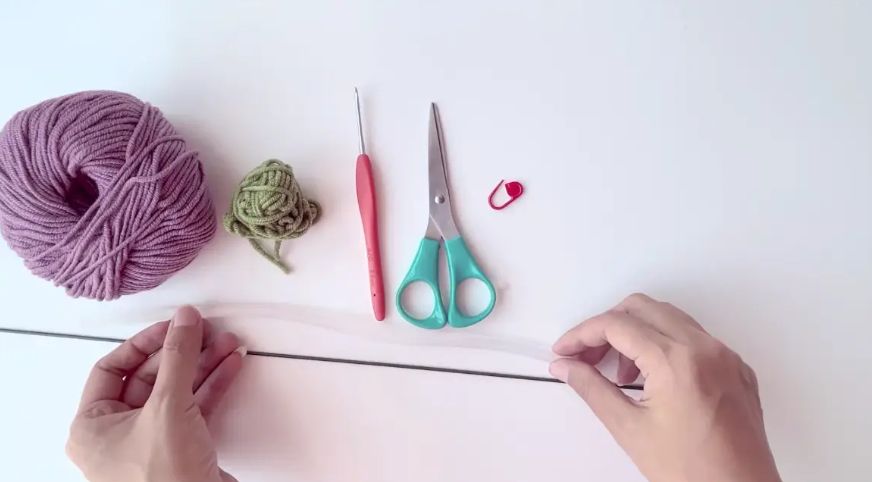
- Flower yarn: fine yarn or crochet thread in purple, lilac, pink or your preferred colour.
- Green yarn: for the foliage and stem wrapping.
- Crochet hook: 2.0 mm or 2.5 mm as a starting point, adjusted to suit your chosen yarn and tension.
- Scissors: for cutting yarn.
- Stitch markers: for marking the start of each picot section, if helpful.
- Flower stem: approximately 40 cm long and 2 mm in diameter.
- Hot glue and a glue gun: for securing the pieces during assembly.
Choose yarn that works comfortably with a small hook and produces defined loops. Yarn thickness varies, so check the yarn label and make a short sample before committing to a full bouquet.
Skill Level and Finished Size
This project uses chain stitches, single crochet, half double crochet, double crochet and picots. It suits crocheters who are comfortable working into a foundation chain and counting repeated stitch groups. New crocheters can practise the picot sequences separately before making the full flower.
No fixed gauge is specified for this decorative project. Yarn, hook size and tension will change the size of the flower head and foliage. For matching stems, use the same materials and keep your tension consistent.
Check that your first flower wraps neatly around the stem and that the picot loops remain visible. If the fabric feels too dense or too loose, adjust your hook or yarn and try another sample.
Lavender Colour and Shape Reference

Study the narrow flower heads and green stems as a reference when shaping your own lavender.
Abbreviations and Crochet Stitches
This pattern uses US crochet terminology.
- ch: chain
- ss: slip stitch
- sc: single crochet
- hdc: half double crochet
- dc: double crochet
- st / sts: stitch / stitches
How to Work the Picots
The flower uses three picot sizes. After the double crochet indicated in the pattern, make the stated number of chains, then slip stitch into the first chain of that small chain group to form a loop.
- 3-ch picot: ch 3, then ss into the first of those 3 chains.
- 4-ch picot: ch 4, then ss into the first of those 4 chains.
- 5-ch picot: ch 5, then ss into the first of those 5 chains.
After completing each picot, work the next double crochet into the next unused foundation chain. The picot chains do not use up additional foundation chains.
Pattern Notes
- The flower is worked as one continuous strip along the foundation chain. The numbered steps divide that strip into sections; do not turn or start a new round between them.
- The flower begins with 45 chains. Starting in the third chain from the hook leaves 43 foundation chains to work into.
- The three picot sections each contain 13 repeats. Work each repeat into the next unused foundation chain.
- Use markers to identify where the 3-ch, 4-ch and 5-ch picot sections begin, rather than to mark rounds.
- The green foliage is formed from repeated short chains worked back toward their starting points.
- Leave the yarn tails specified below for assembly.
Step-by-Step Crochet Lavender Flower Pattern
Make the Lavender Flower Strip
- Step 1: Using your flower-colour yarn, ch 45.
- Step 2: Starting in the third chain from the hook, work 2 dc into that chain and 2 dc into the next chain. Then repeat [1 dc in the next chain, 3-ch picot] 13 times. Place a marker at the start of this picot section if helpful.
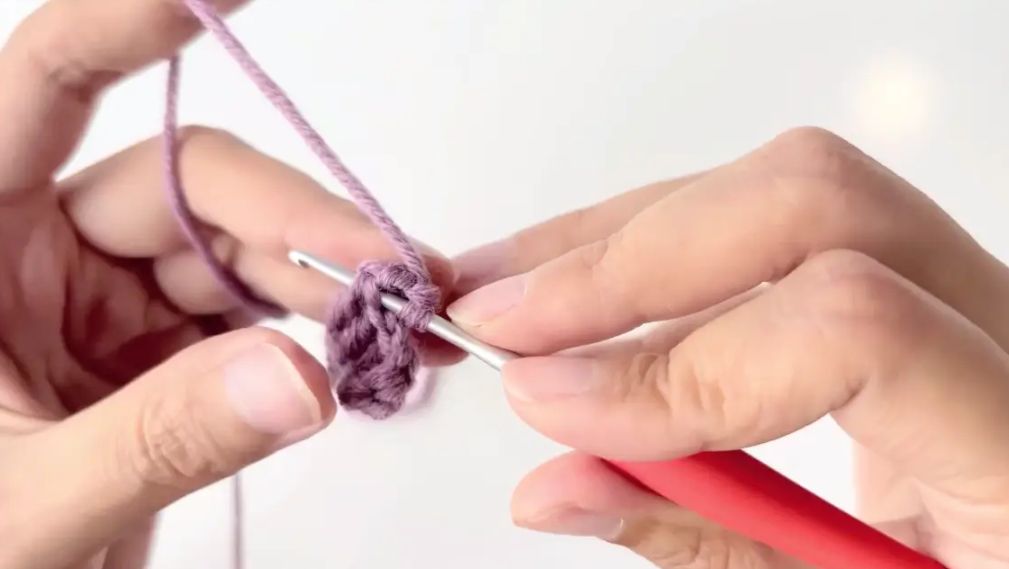
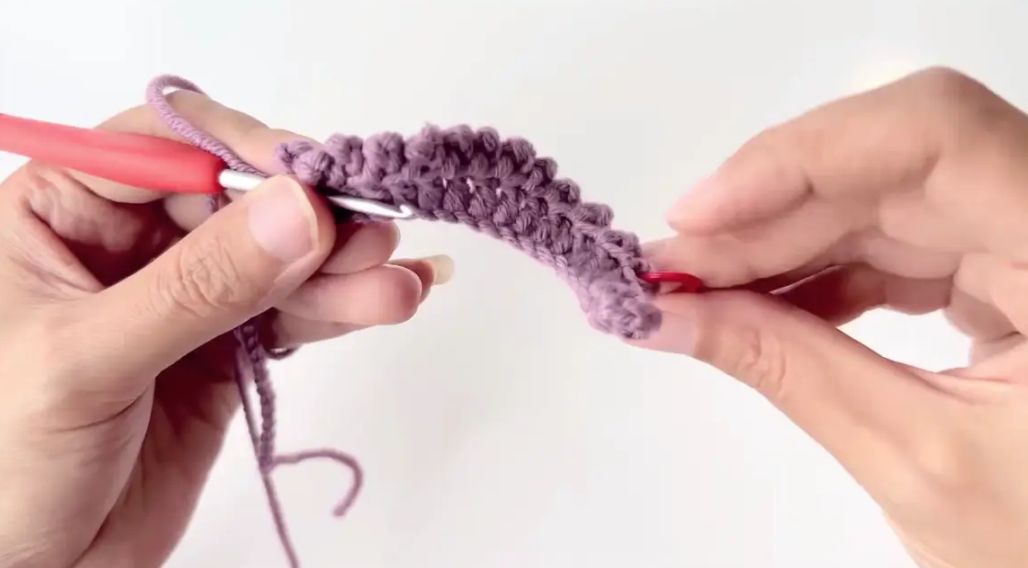
- Step 3: Continue along the same foundation chain. Repeat [1 dc in the next chain, 4-ch picot] 13 times. Mark the start of this section if needed.
- Step 4: Repeat [1 dc in the next chain, 5-ch picot] 13 times. Mark the start of this section if needed.
- Step 5: Work 2 dc into the next chain, then 1 hdc into the final chain. Ch 1 and fasten off, leaving a long tail. Remove the markers once you can identify the sections.
Foundation-chain check: the beginning uses 2 chains, the picot sections use 39 chains and the ending uses 2 chains, for a total of 43 worked foundation chains.
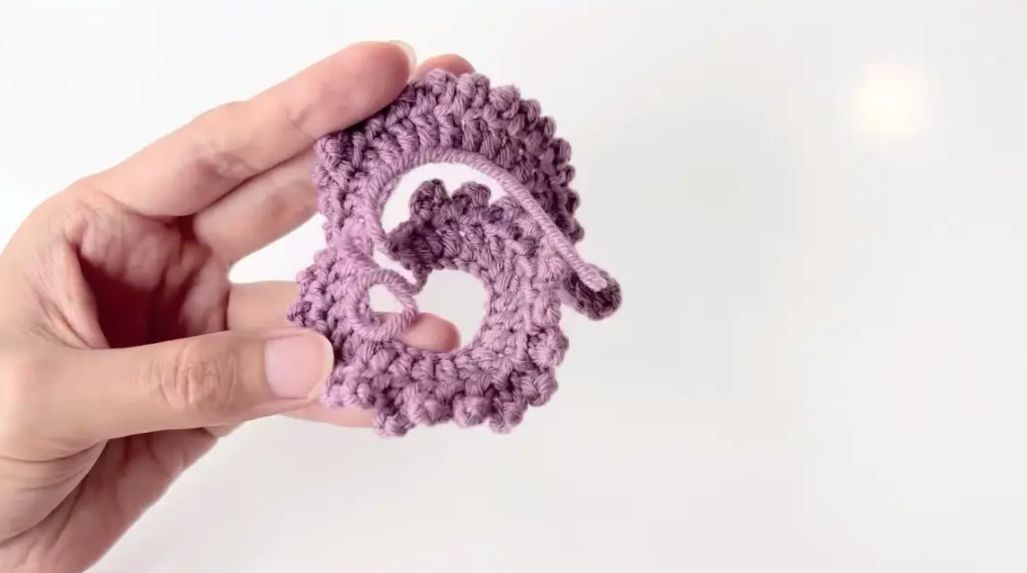
Make the Green Foliage Piece
Use green yarn and leave a starting tail of approximately 15–20 cm for attachment.
- Step 1: Repeat the following sequence 6 times: ch 5, then start in the third chain from the hook and work 1 sc into each of the remaining 3 chains.
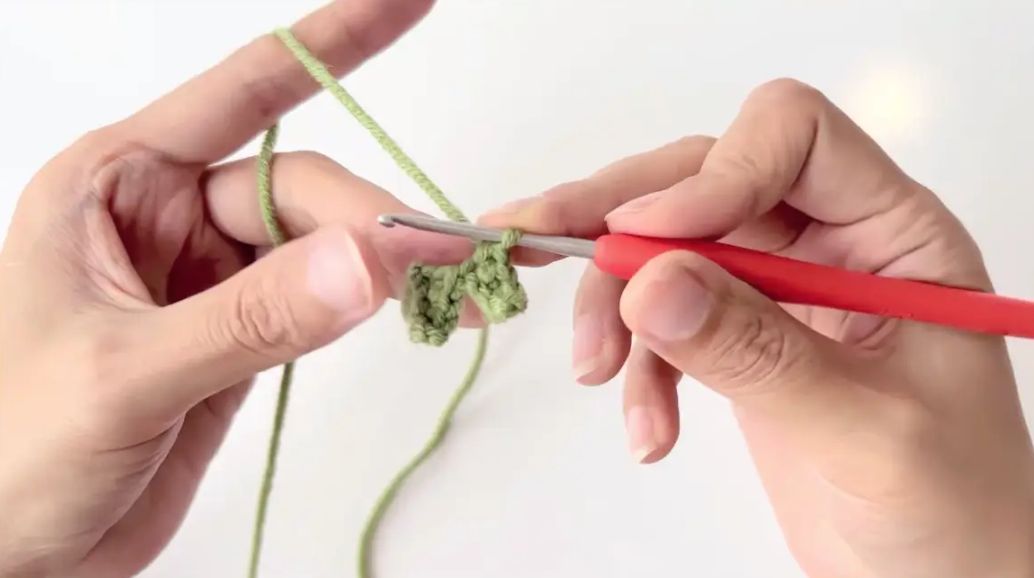
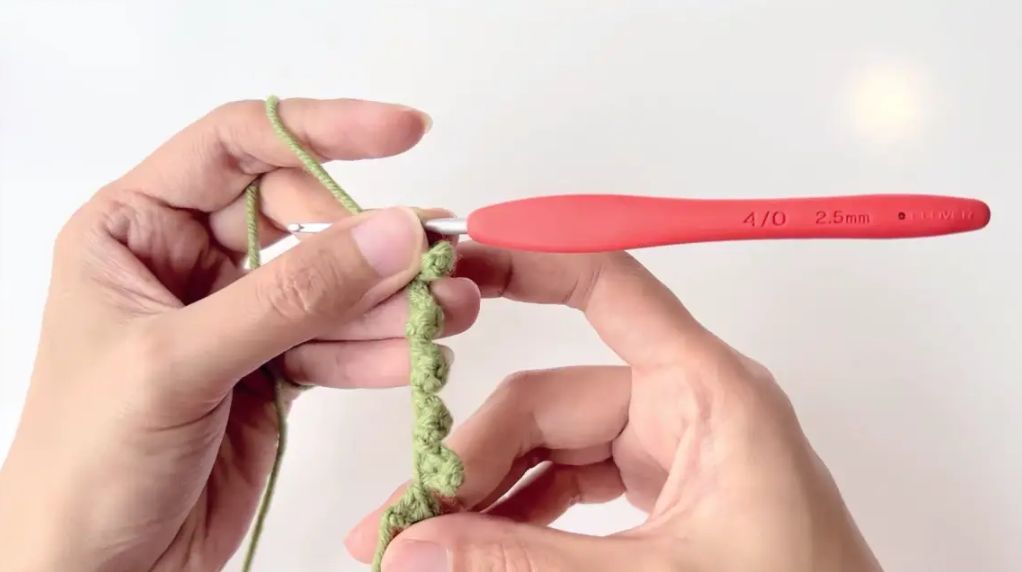
- Step 2: Repeat 6 times: ch 6, then start in the third chain from the hook and work 1 sc into each of the remaining 4 chains.
- Step 3: Repeat 6 times: ch 7, then start in the third chain from the hook and work 1 sc into each of the remaining 5 chains.
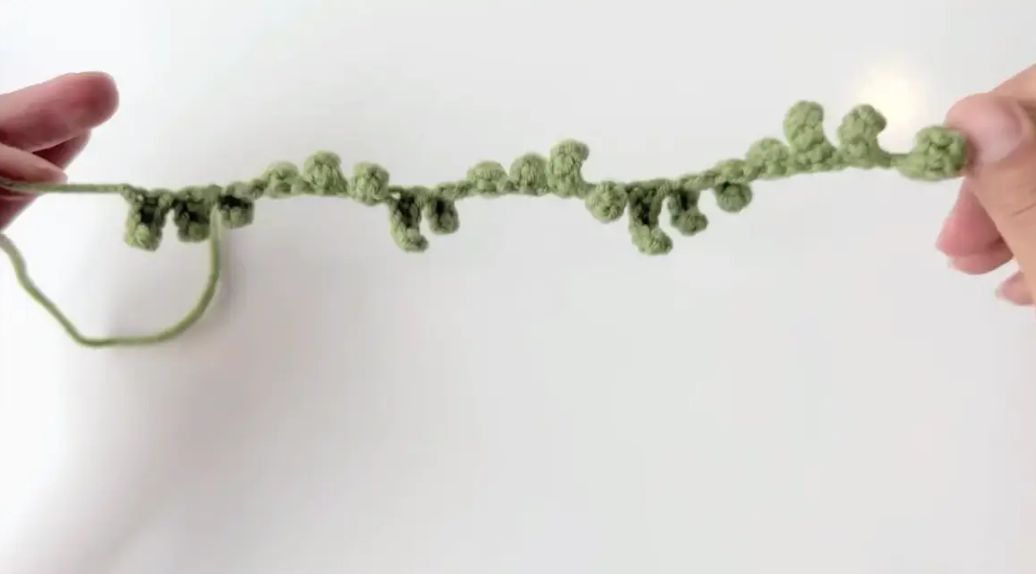
- Step 4: Ch 8. Starting in the third chain from the hook, work 1 sc, 4 hdc and 1 sc along the remaining 6 chains. Ch 1 and fasten off, leaving a long tail.
After working back along each short chain, begin the next chain sequence from your current position. Continue until all sections are complete.
How to Assemble a Crochet Lavender Stem
- Step 1: Position the flower strip around the upper part of the flower stem, keeping the smaller picots toward the tip and the larger picots lower down. Apply small amounts of hot glue to the back of the strip as you wrap it around the stem. Keep the picot loops facing outward.
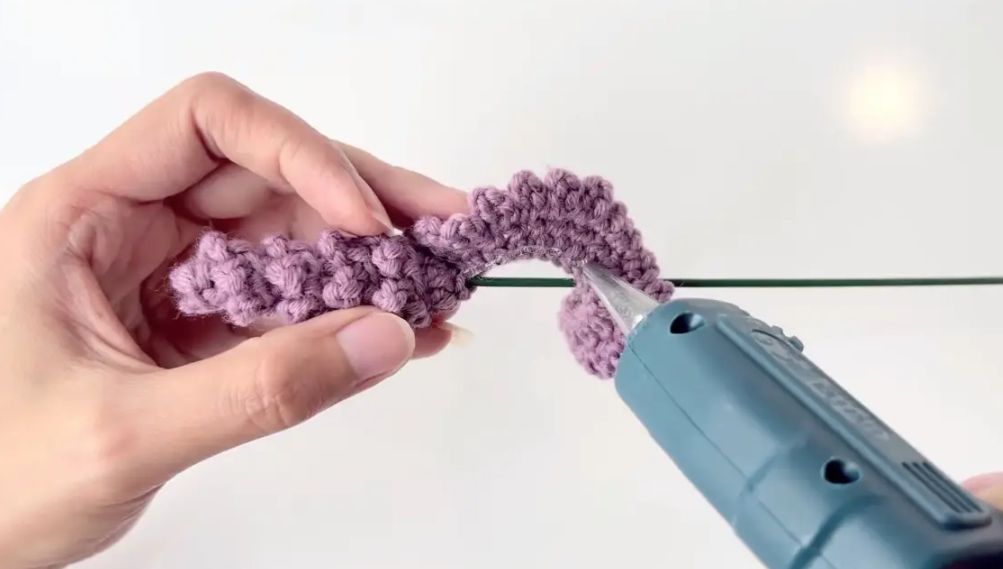
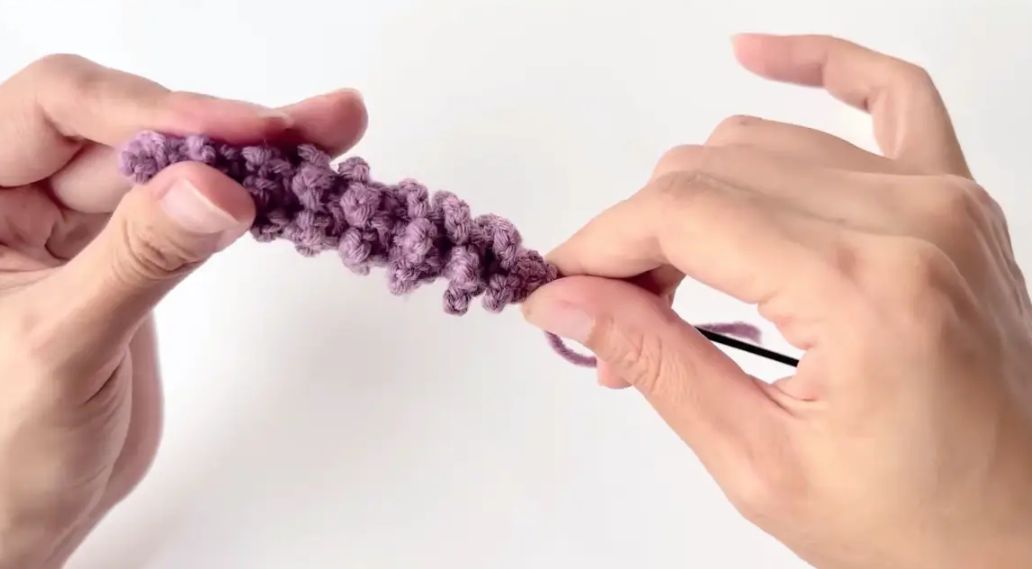
- Step 2: Use the starting tail of the foliage piece to wrap around the stem and hold the piece in position.
- Step 3: Apply a small amount of hot glue to the back of the foliage piece and wrap it around the stem, slightly overlapping the base of the flower strip.
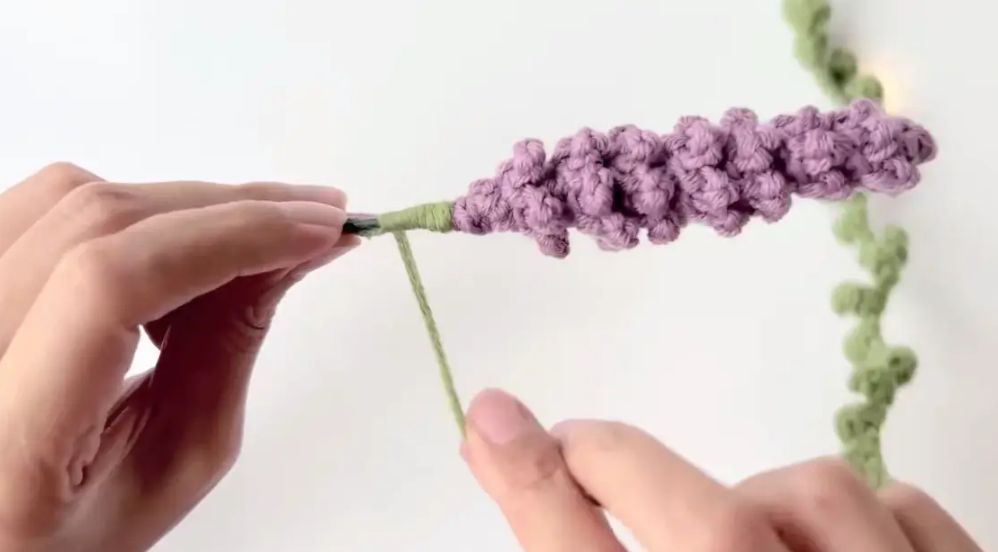
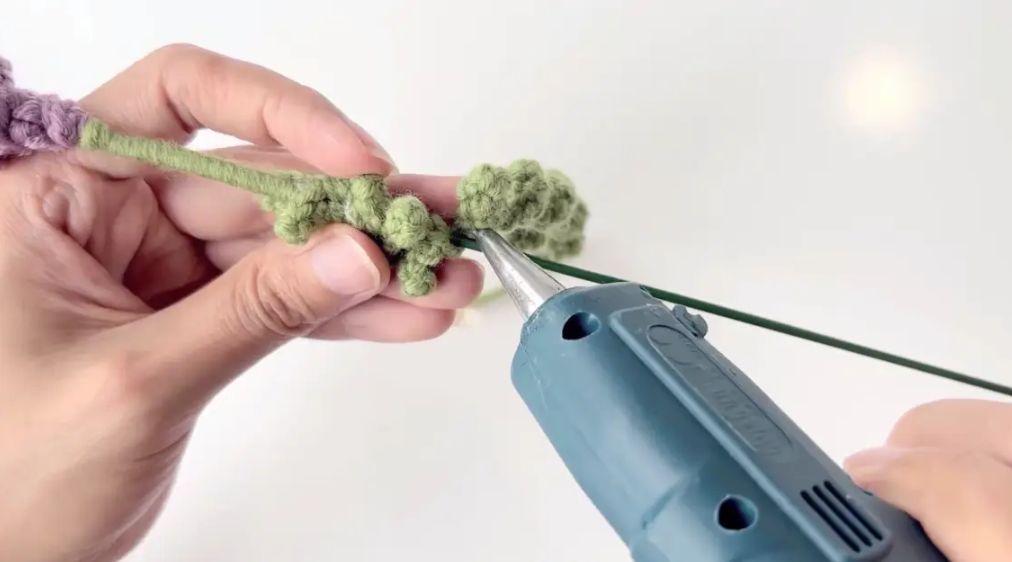
- Step 4: Wrap the exposed stem neatly with green yarn, covering the attachment points. Cut the yarn and secure the end with a small amount of hot glue.
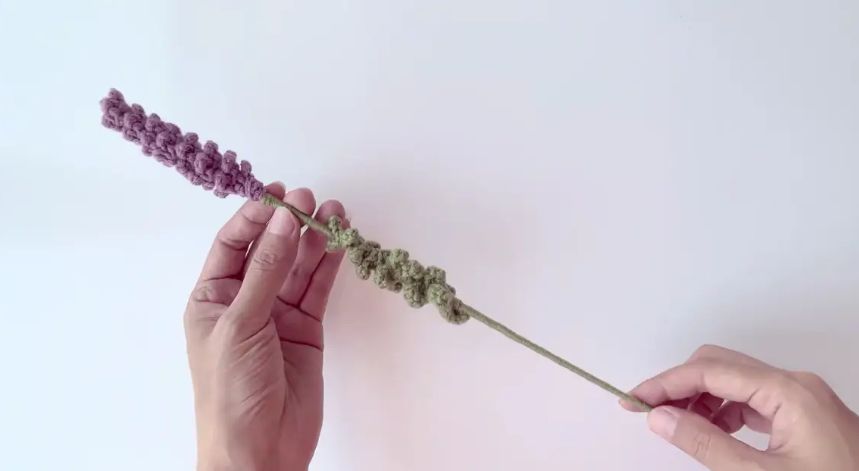
Tips for a Neat Lavender Bouquet
- Count each section: check that you have 13 picots of each size before assembling the flower.
- Keep the loops visible: avoid pulling the flower strip so tightly around the stem that the picots become flattened.
- Use glue sparingly: secure the backs of the pieces without coating the decorative loops.
- Match your stems: use the first completed stem as a guide when making additional flowers.
- Vary the palette: combine light lilac and deeper purple stems, or add white and pink crochet flowers.
Flower and Foliage Pairing Inspiration
Slender lavender stems can sit between larger blooms to add height and texture. Use the photos below as references for flower shapes and greenery when planning your own arrangement.


Continue making with the free crochet 3D rose pattern, the free crochet daisy pattern or the crochet fern leaf pattern.
From Lavender Stems to Botanical Crochet Blankets
If you enjoy purple flowers and green foliage, try carrying that palette into a crochet blanket. These downloadable C2C patterns feature botanical designs in lilac, lavender and deeper purple tones.
Each is a separate blanket project worked from a colour chart. Read the product page for the chart size, included PDF files and technique requirements before choosing your next design.

Wisteria C2C Blanket PDF Pattern
Cascading purple blossoms for a botanical blanket.
View PDF Pattern
Purple Iris C2C Blanket PDF Pattern
A purple iris design with long green leaves.
View PDF Pattern
Purple Anemone C2C Blanket PDF Pattern
Layered purple flowers with green botanical details.
View PDF PatternDigital PDF patterns: download the instructions and make the project with your own yarn and tools.
Browse All Botanical PDF Patterns
For another flower-stem project, return to our free crochet patterns and tutorials.