 Digital patterns
Make a crochet daisy flower with this free daisy pattern, including the flower center, petals, buds, and leaves. Follow the written instructions and step-by-step photos to assemble a daisy branch for a handmade bouquet.
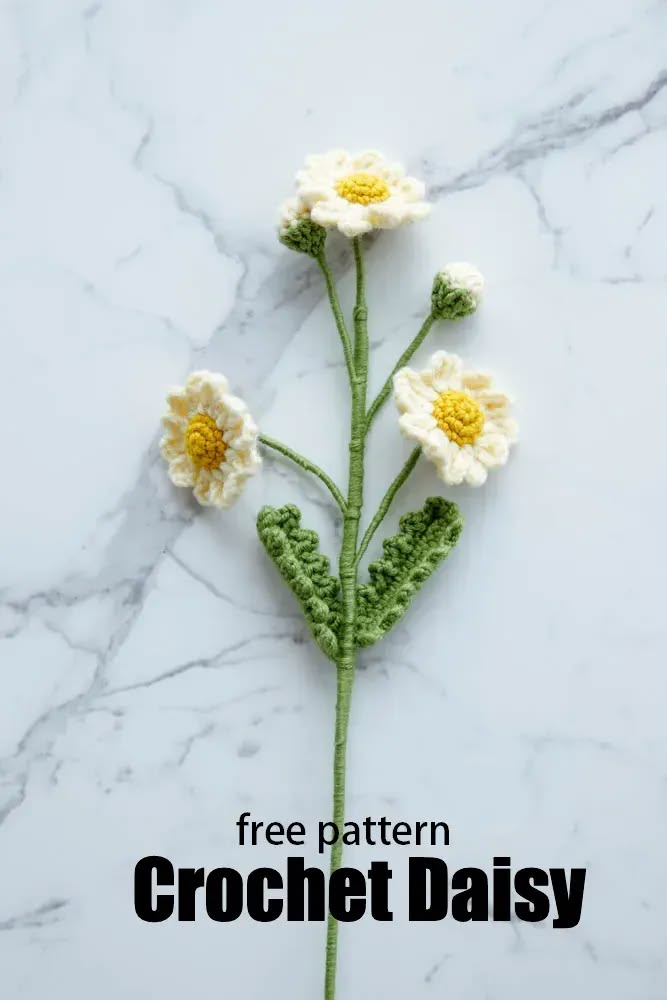
About This Crochet Daisy Branch
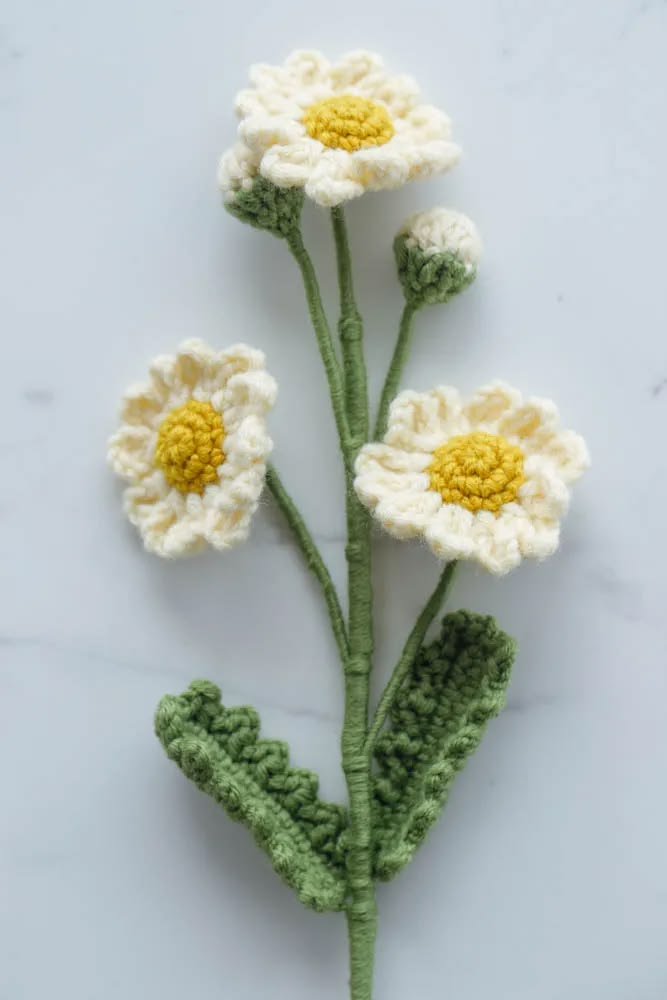
This project combines crochet with wire-supported components and stem wrapping. You will make open flowers with cream petals and yellow centers, small buds, and green leaves, then attach them to a main flower rod.
For more flowers to make alongside your daisies, explore our free crochet flower pattern collection.
Why Daisies Work Well in a Handmade Bouquet
The contrast between light petals, yellow centers, and green foliage gives this branch a fresh, simple look. Small daisy flowers can sit between larger blooms, while the buds add variation in height and shape.
Gifting Ideas and Uses
- Display a single branch in a narrow vase.
- Make several branches and wrap them as a handmade gift.
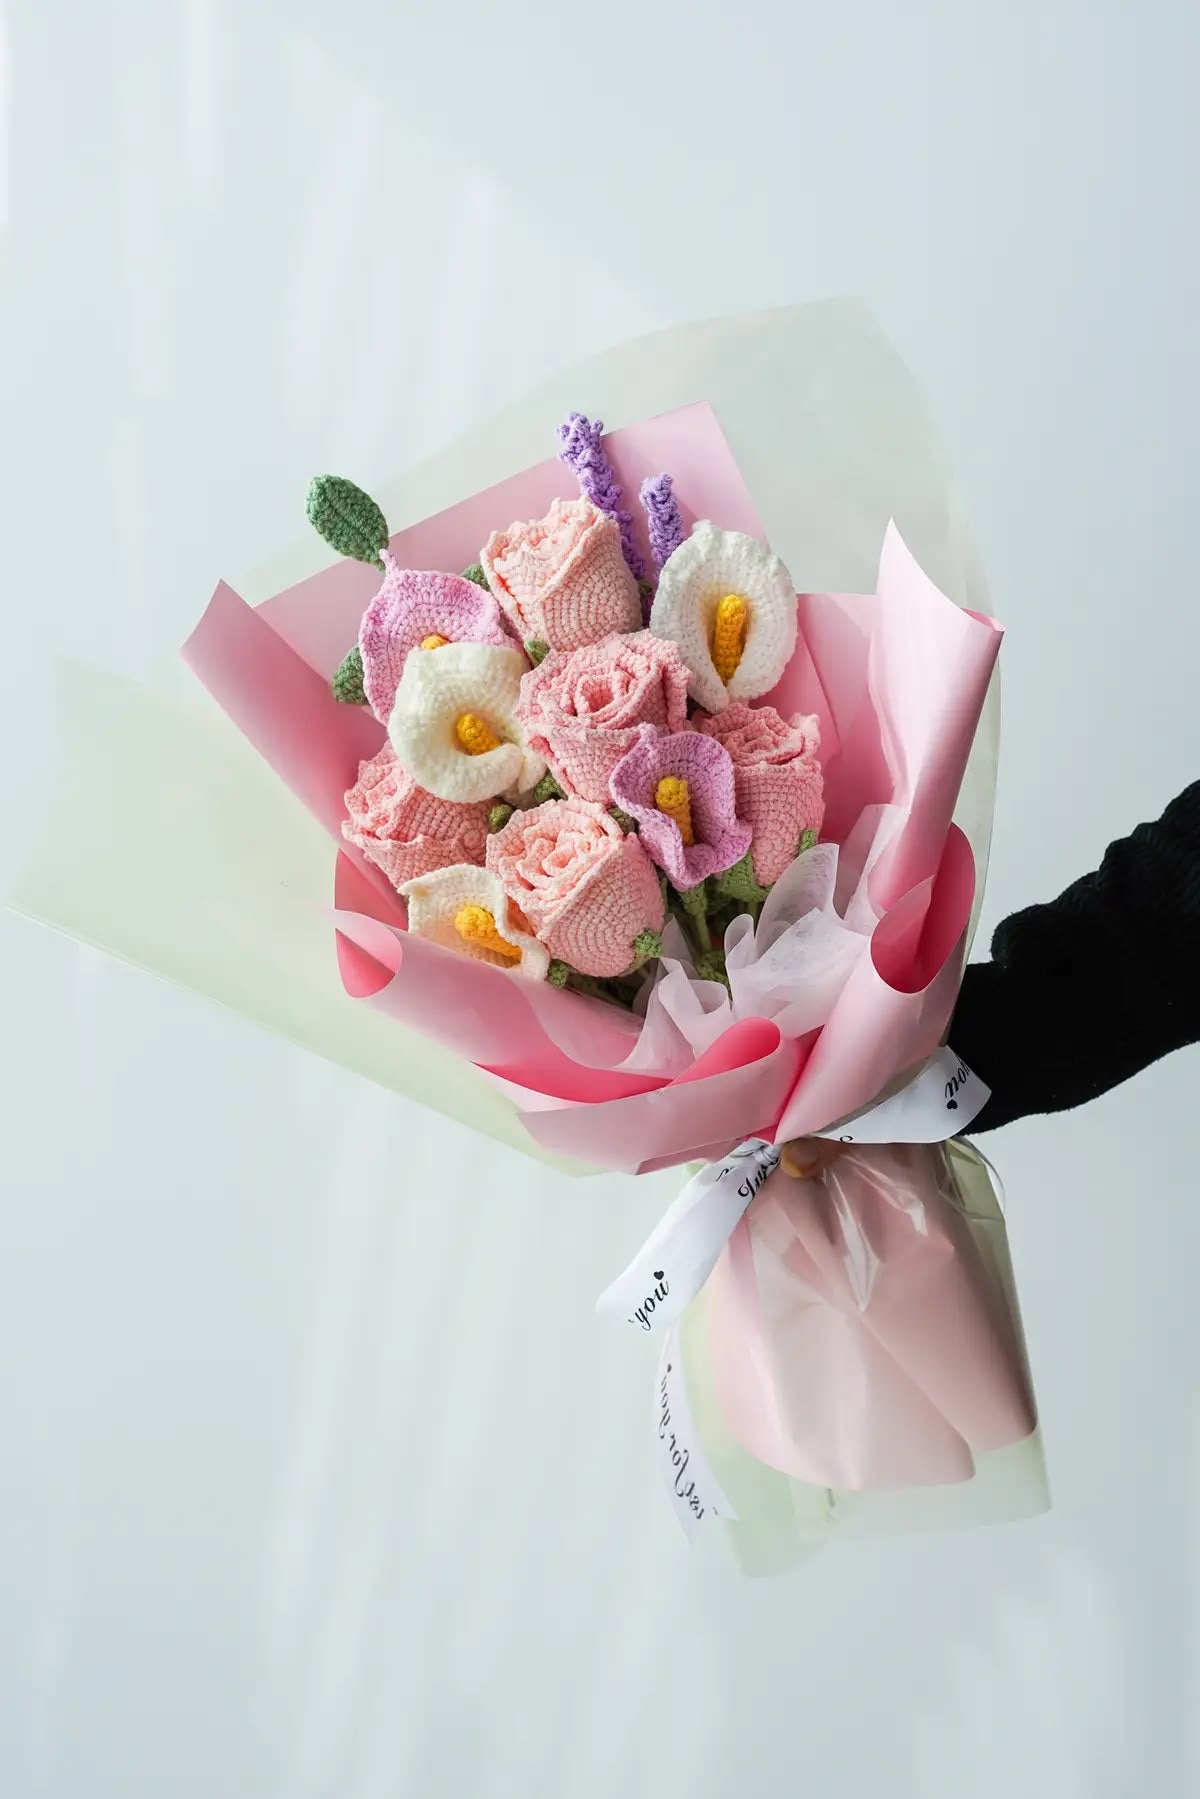
- Combine daisies with roses, lavender, or other crochet flowers.
- Arrange the wired branches in an indoor floral display.
The assembled project is a dimensional, wired flower branch. For a wearable embellishment, the flower construction and attachment would need to be adapted.
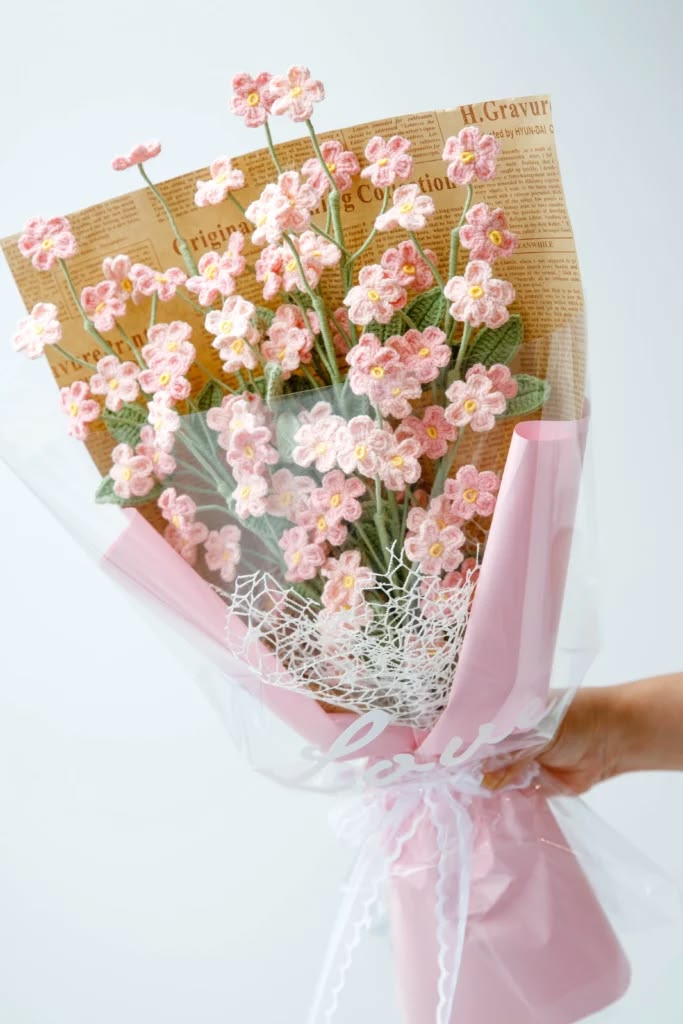
Use this mixed bouquet as color and arrangement inspiration: combine smaller flowers with a few larger focal blooms.
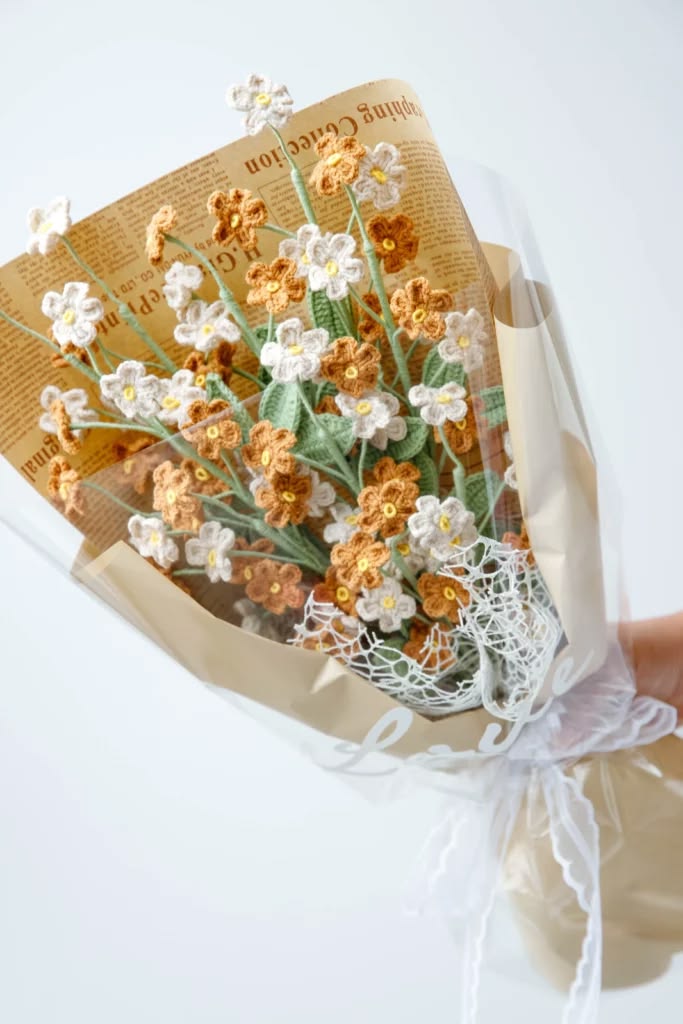
Vary the height of the stems and leave space around the daisies so their petals remain visible.
Color Variations
Cream or white petals with yellow centers give a classic daisy look. You can also try pink, lilac, or peach petals for a different palette. Keep the center color distinct from the petals, and use green yarn for the backing, leaves, and stem wrapping.
Plan Your Daisy Branch
For one branch, make 3 open flowers, 2 buds, and 2 leaves. Each open flower uses one yellow center and one green backing, so you need 3 yellow pieces and 3 green pieces in total.
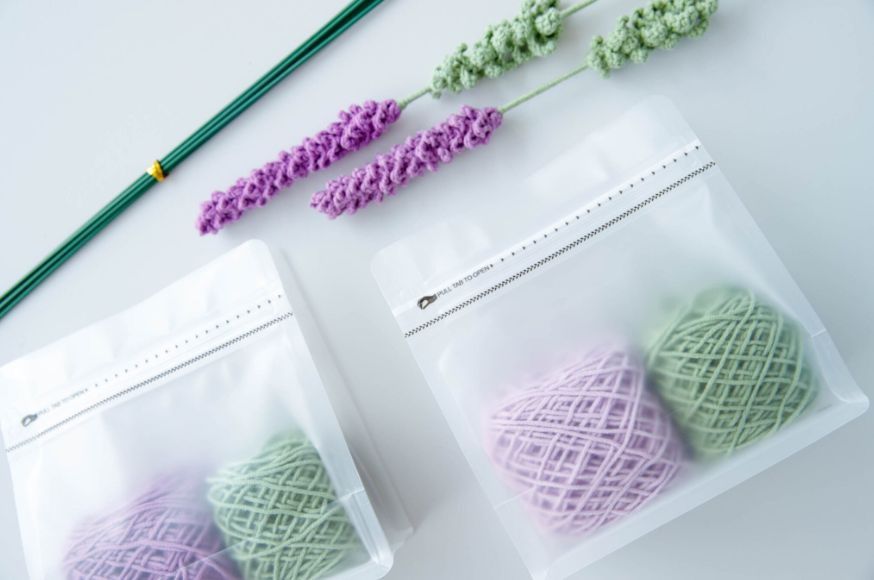
The yarn-and-tool reference photo below features lavender flowers. Follow the daisy materials list for this project.
Materials for Crochet Daisies
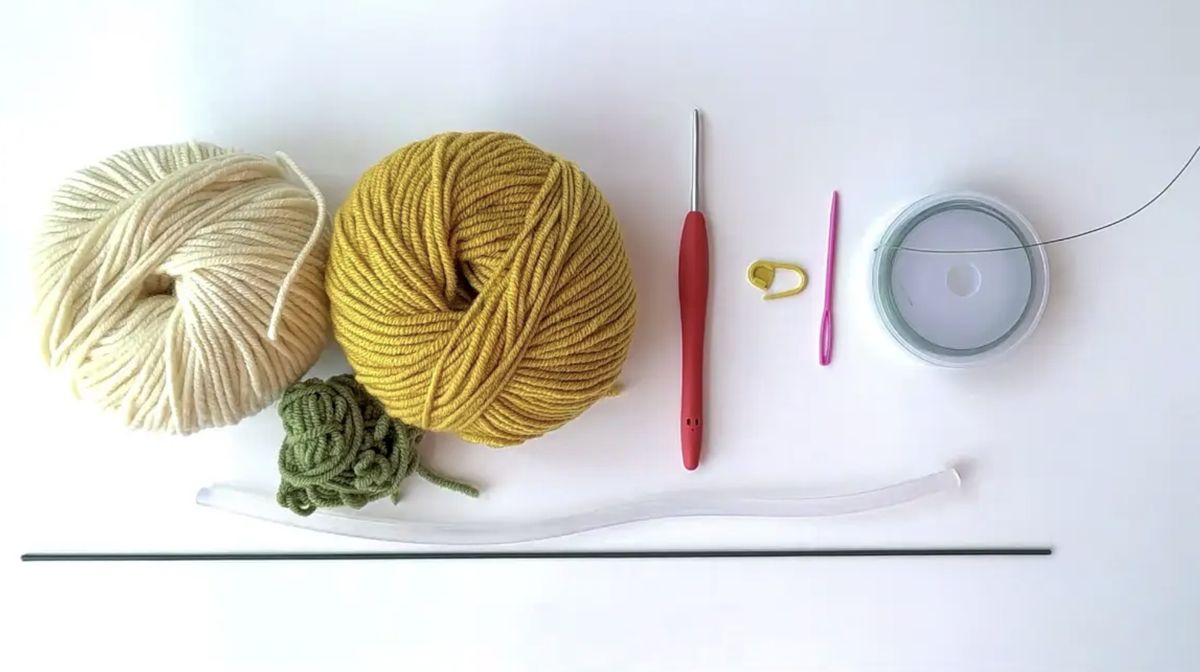
- Yarn in cream or white, custard yellow, and green.
- A 2.0–2.5 mm crochet hook, chosen to produce firm stitches with your yarn.
- A main flower rod approximately 40 cm long and 2 mm in diameter.
- Flexible craft wire approximately 0.4–0.5 mm in diameter for the flowers, buds, and leaves.
- A stitch marker.
- A tapestry needle.
- Scissors and a suitable wire cutter.
- A small amount of fiberfill for the open flower centers.
- Hot glue for securing the stem wrapping.
Cut the wire lengths to suit your arrangement, allowing enough length to secure each component to the main rod. Finished flower size depends on your yarn, hook, and tension.
Skill Level
This is an advanced intermediate project involving joined rounds, treble crochet petals, decreases, wired leaves, and branch assembly. Practise identifying base stitches and making decreases before working the leaf edging.
Stitches and Pattern Notes
This pattern uses US crochet terminology.
- ch: chain.
- st / sts: stitch / stitches.
- sc: single crochet.
- hdc: half double crochet.
- dc: double crochet.
- tr: treble crochet.
- ss: slip stitch.
- sc2tog: single crochet 2 stitches together.
- R: round.
Special Stitches
sc2tog: Insert your hook into the first stitch, yarn over, and pull up a loop. Insert your hook into the second stitch, yarn over, and pull up a loop. Yarn over and pull through all 3 loops. This turns 2 stitches into 1.
tr: Yarn over twice, insert your hook into the indicated stitch, yarn over, and pull up a loop. Yarn over and pull through 2 loops three times.
Pattern Notes
- Numbers in brackets show the stitch count at the end of a round.
- Starting chains and joining slip stitches do not count as stitches.
- Join a round to its first actual crochet stitch, not to the starting chain.
- Mark the first stitch of each round and move the marker as you work.
- When joining the flower center to its backing, work through matching stitches on both pieces.
- The leaf edging uses shared anchor stitches. Follow the placement instructions rather than moving to a new stitch after every slip stitch.
Step-by-Step Crochet Daisy Pattern
Open Daisy Flowers — Make 3
Yellow Centers and Green Backings
Work the following instructions once in yellow and once in green for each flower. Leave yarn tails for securing the ends.
- R1: Make a magic ring and ch 1. Work 6 sc into the ring. Tighten the ring and join with ss to the first sc. [6]
- R2: Ch 1. Work 2 sc in each stitch around. Join with ss to the first sc. [12]
- R3: Ch 1. Work 1 sc in each stitch around. Join with ss to the first sc, then fasten off. [12]
Prepare the Flower Wire
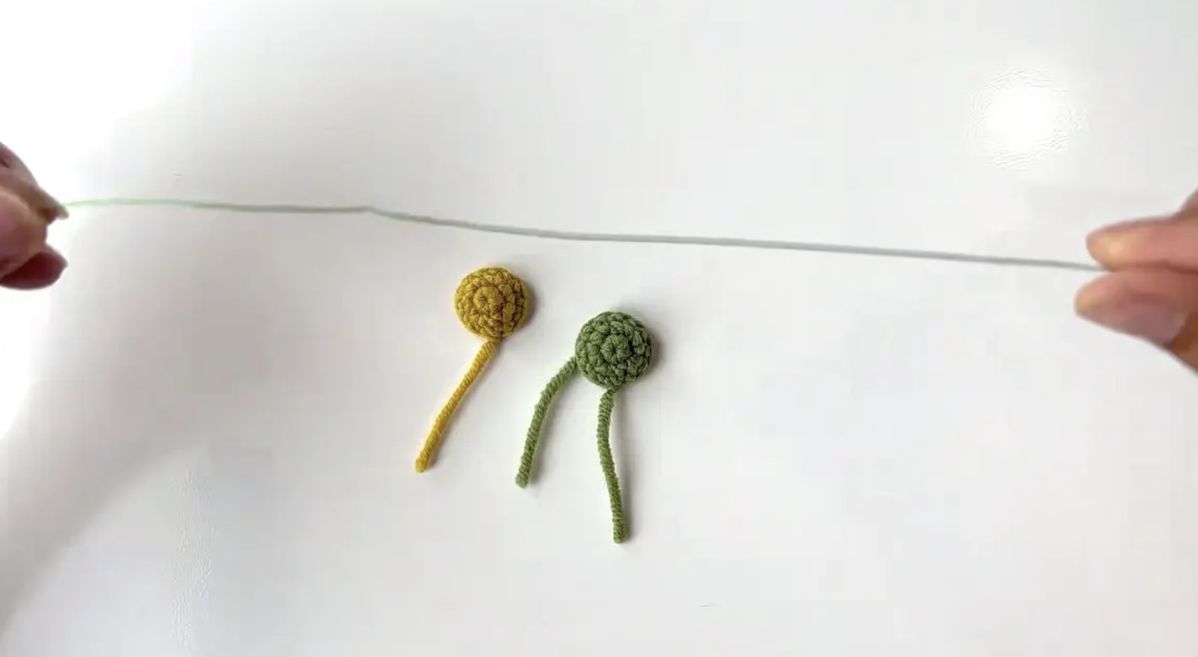
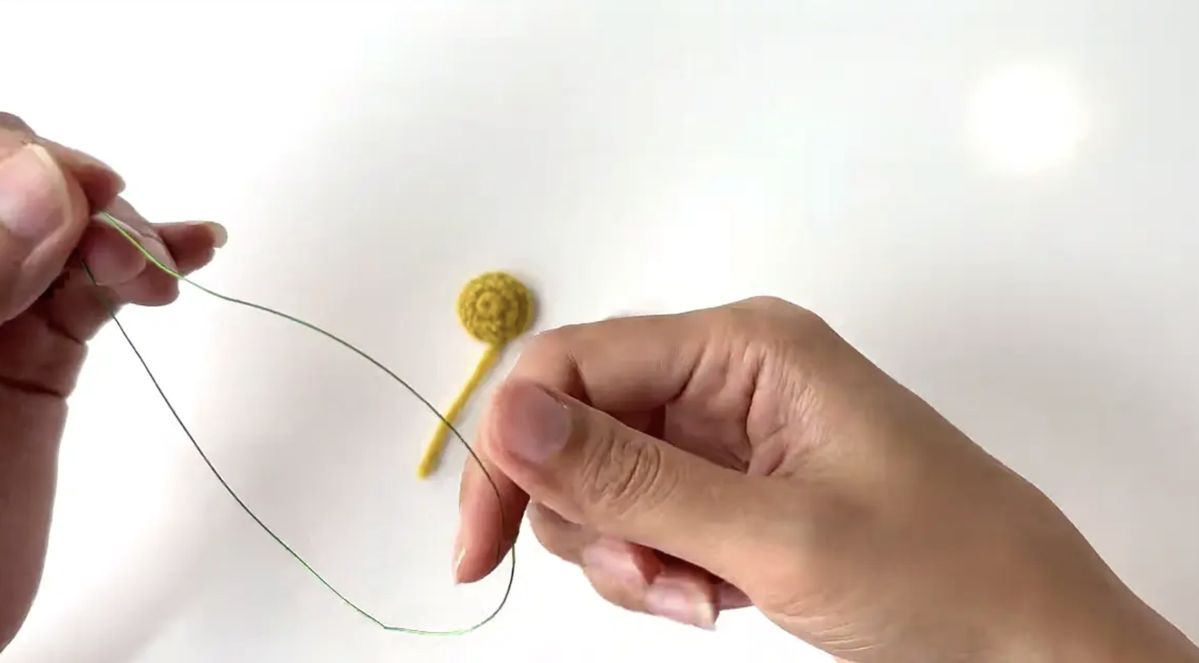
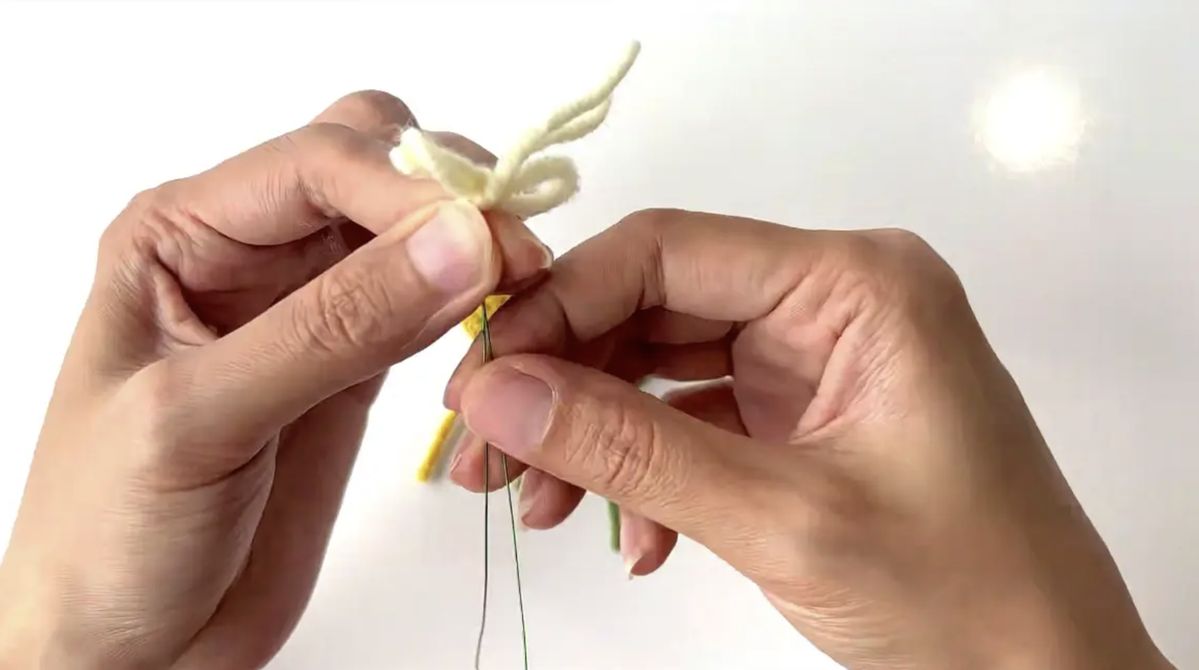
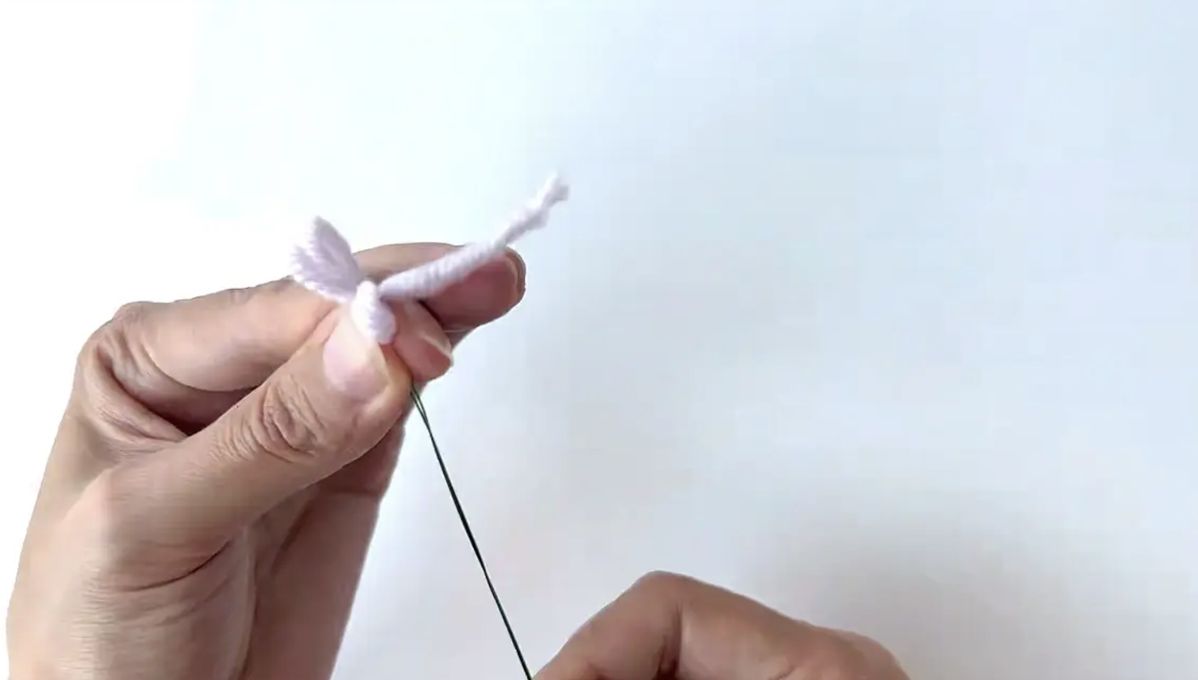
- Fold a length of flexible wire in half to form a small loop at one end and two stem ends.
- Tie a short piece of scrap yarn around the folded end to help keep the wire from slipping through the flower.
Position the Center and Backing
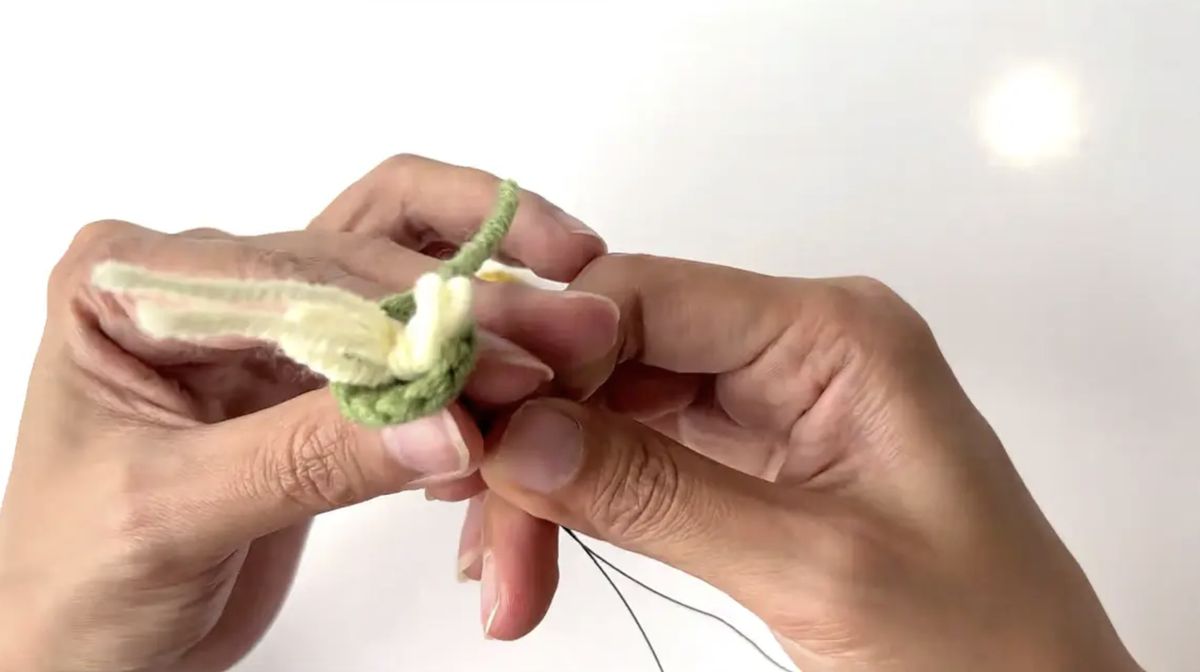
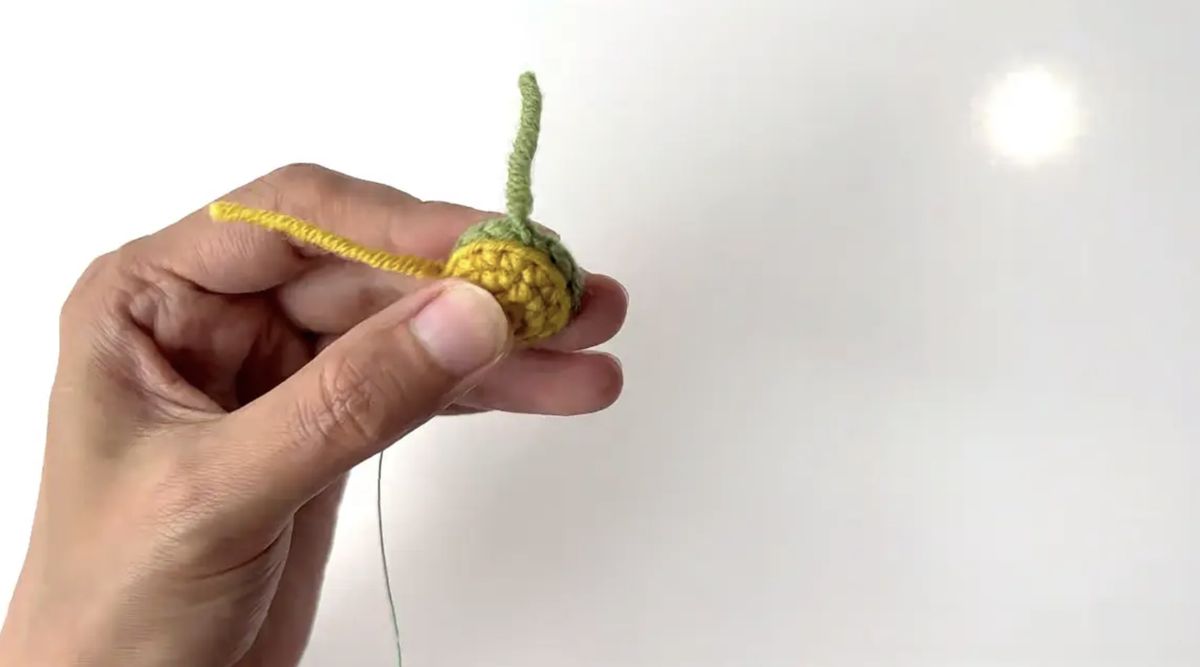
- Pass the two wire ends through the center of the green backing so the folded loop and scrap yarn rest inside the green piece.
- Place the yellow center over the green backing, enclosing the wire anchor between the pieces.
- Align the 12 edge stitches of the yellow piece with the 12 edge stitches of the green piece.
- Join cream yarn with ss through one matching pair of stitches.
Make 12 Daisy Petals
Keep the yellow center facing you. Beginning at the stitch pair where you joined the cream yarn, repeat the following 12 times:
- Ch 4.
- Work 1 tr through the current matching pair of center and backing stitches.
- Ch 4, then ss through the next matching stitch pair.
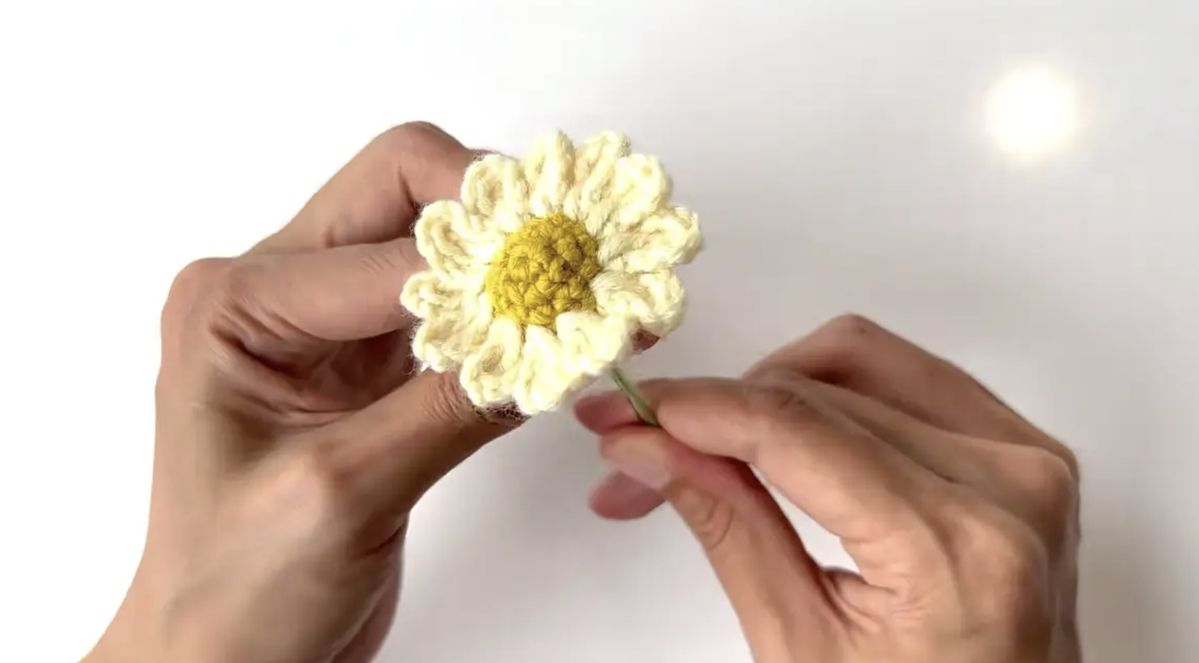
Each repeat makes one petal. After the final repeat, the slip stitch returns to the first stitch pair. Fasten off and weave in the cream yarn ends.
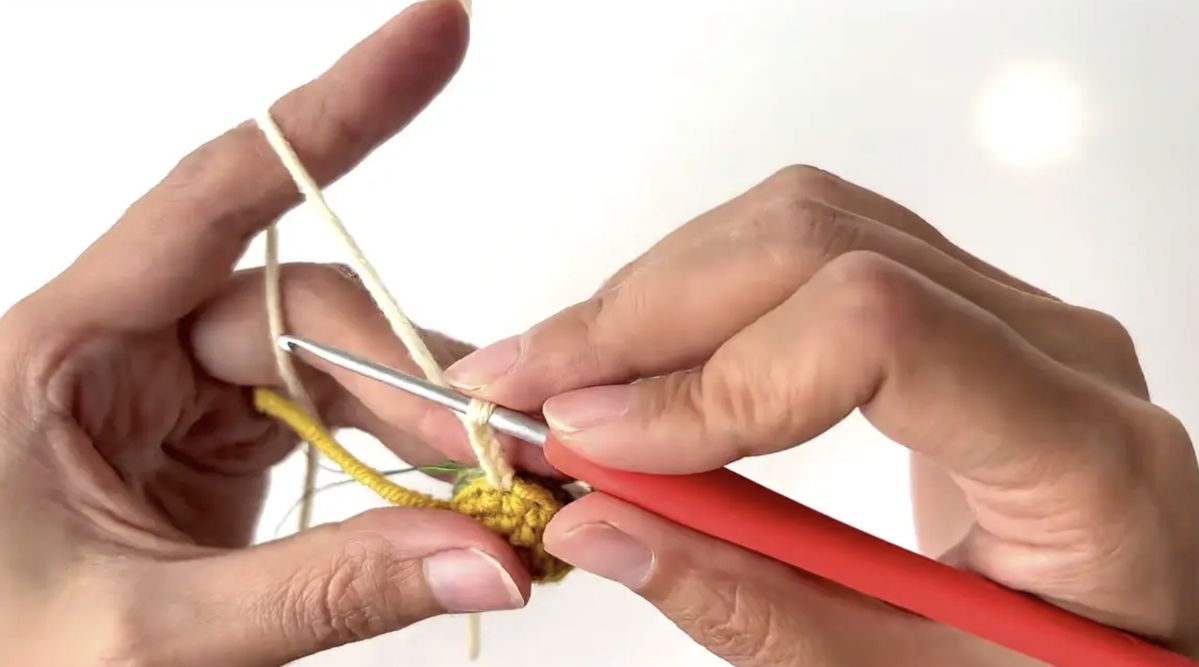
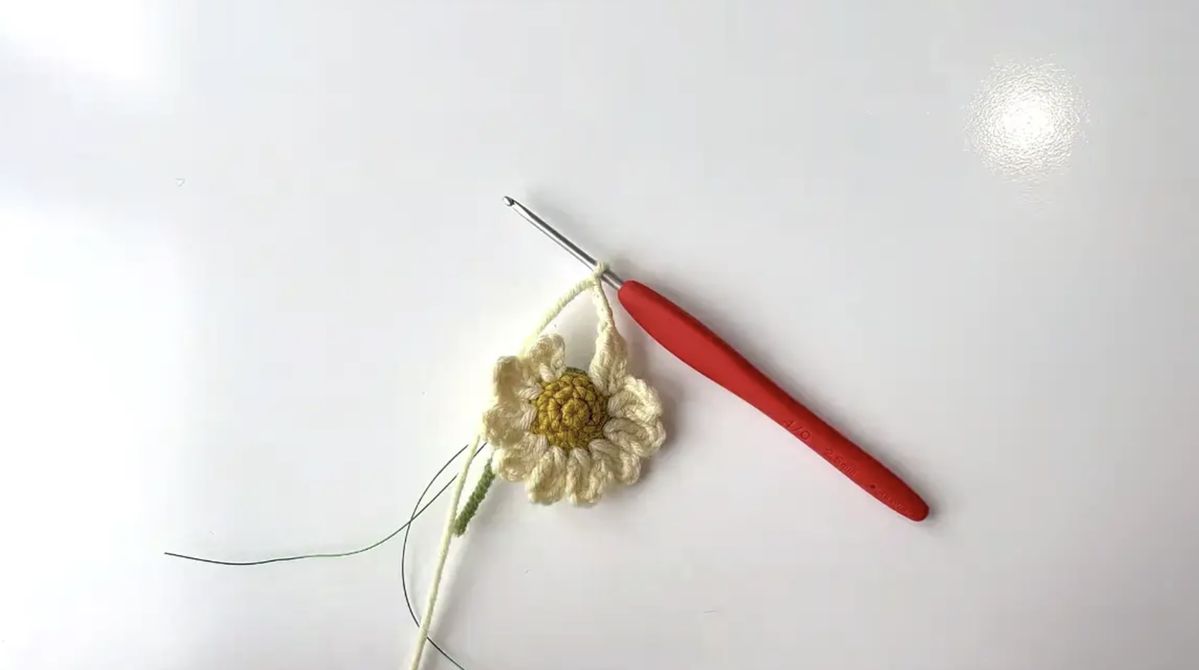
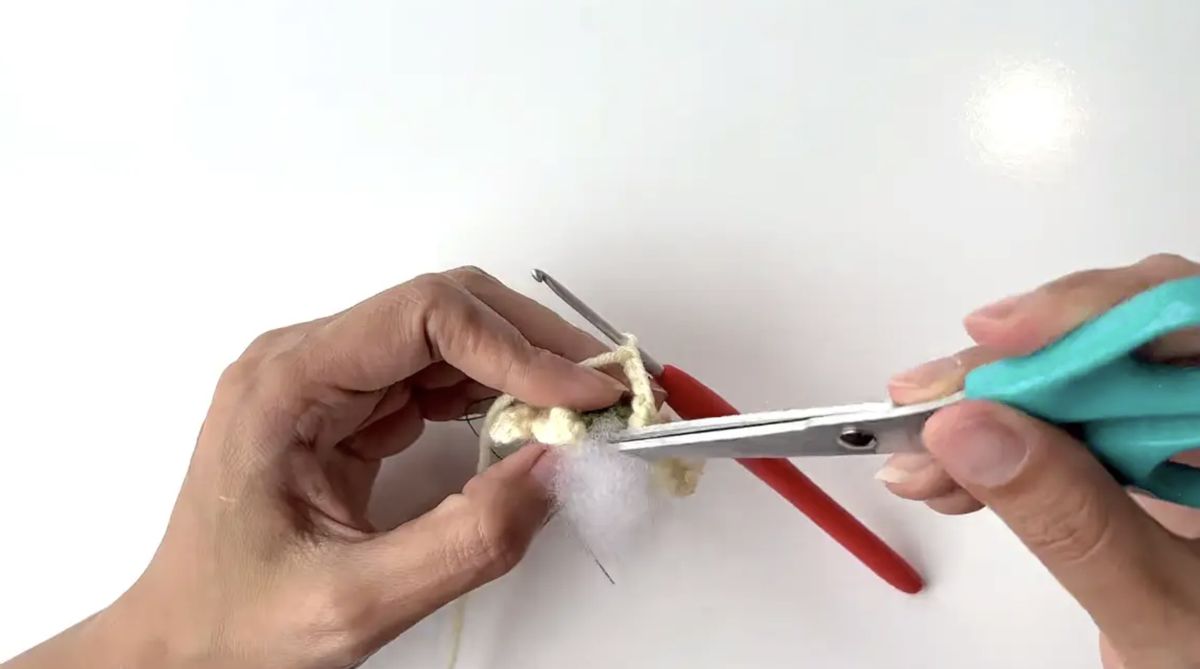
After making 10 petals, pause to add a small amount of fiberfill between the yellow center and green backing. Check that the wire anchor is seated securely, then finish the last 2 petals.
Daisy Buds — Make 2
- R1: Using cream or white yarn, make a magic ring and ch 3. Work 9 dc into the ring. Tighten the ring, join with ss to the first dc, and fasten off. [9]
- R2: Join green yarn and ch 2. Work 1 hdc in each of the 9 dc. Join with ss to the first hdc. [9]
- R3: Ch 1. Repeat (1 sc, sc2tog) 3 times. Fasten off, leaving a long green tail for closing the bud. [6]
The starting ch 3 in R1 does not count as an extra dc; keep the round at 9 stitches so the following rounds fit.
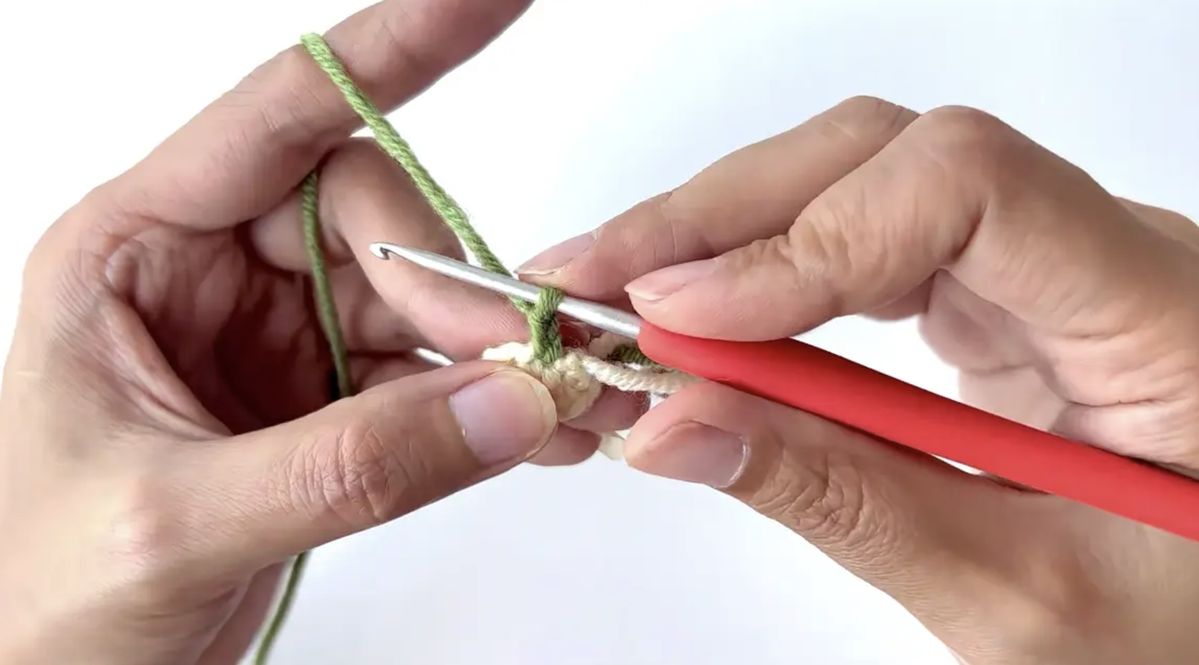
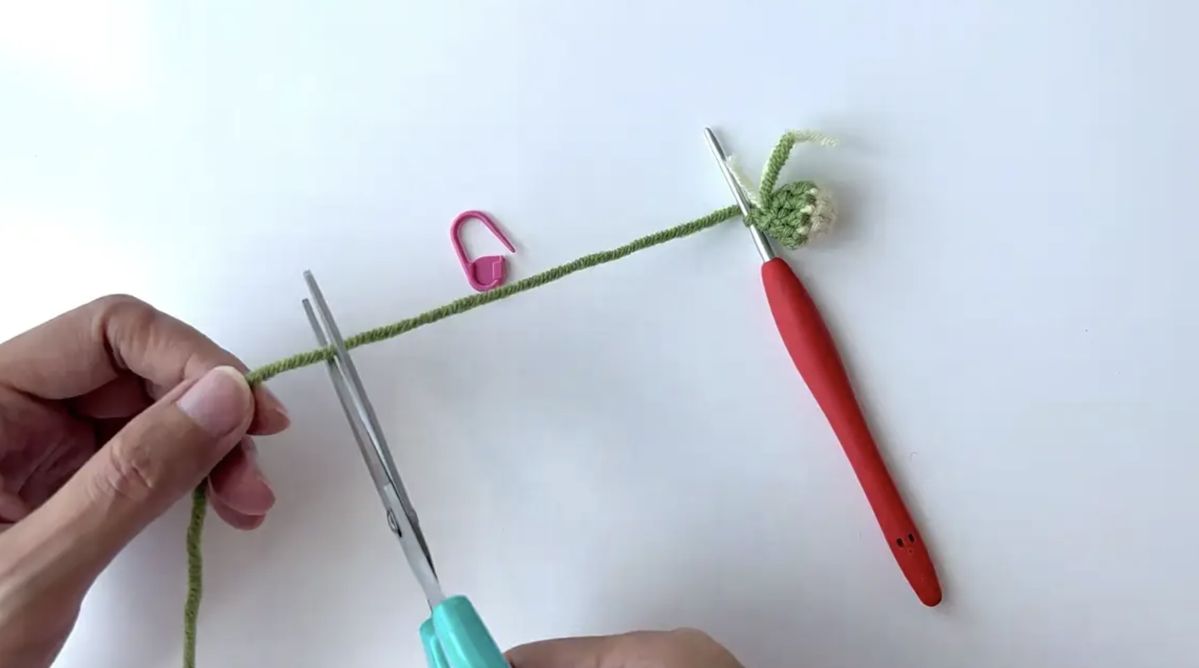
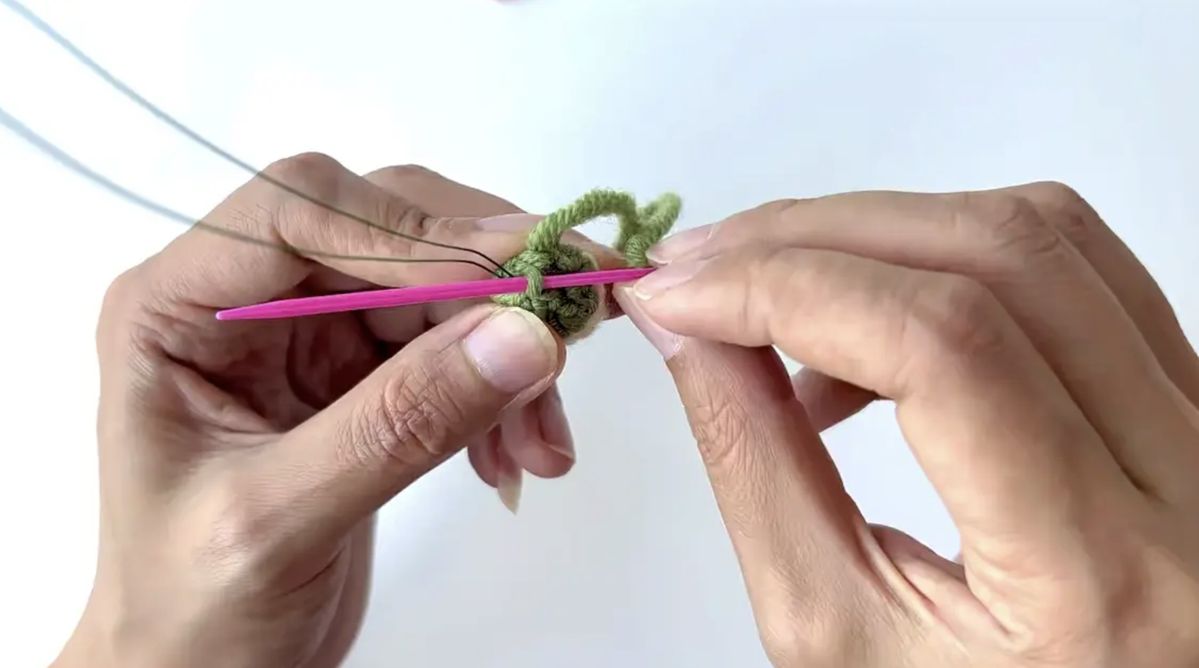
Prepare a folded wire anchor with scrap yarn as for the open flowers. Insert the folded end through the remaining opening of the bud and tuck the yarn ends inside. Use the green tail and a tapestry needle to gather the back loops of the 6 remaining stitches around the wire. Secure the tail and weave it in.
Daisy Leaves — Make 2
Use green yarn. Ch 13.
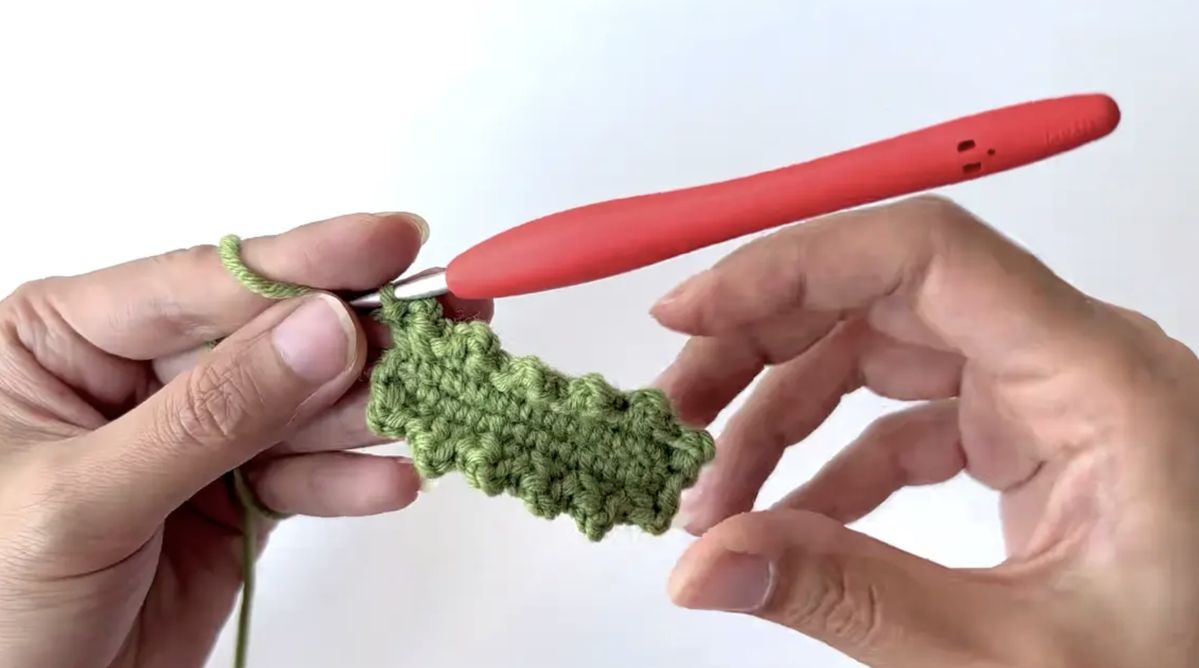
R1: Starting in the second chain from the hook, position flexible wire along the foundation chain and crochet over it. Work 11 sc, then 3 sc in the last chain. Continue around the opposite side of the foundation chain and work 11 sc. Join with ss to the first sc. [25]
R2: Serrated Leaf Edging — Revised 25-Stitch Method
Ch 1. The edging has 12 points and uses shared anchor stitches to fit the 25-stitch base.
- Work sc2tog over base stitches 1 and 2.
- Ch 2, then ss back into base stitch 2, the second stitch used for that decrease.
- Ss into base stitch 3 and ch 1. This slip stitch sets the anchor for the next repeat.
- For the next point, begin sc2tog in that same anchor stitch, then use the following base stitch. Continue the same sequence around the leaf.
The decrease pairs are base stitches 1–2, 3–4, 5–6, and so on through 23–24. After the twelfth point, ss into base stitch 25, ch 1, and join with ss to the first sc2tog of the edging. Fasten off, leaving a tail for finishing the leaf stalk.
Wrap the wire tail with green yarn and secure the yarn end. Keep enough stalk length to attach the leaf to the main flower rod.
How to Assemble a Crochet Daisy Branch
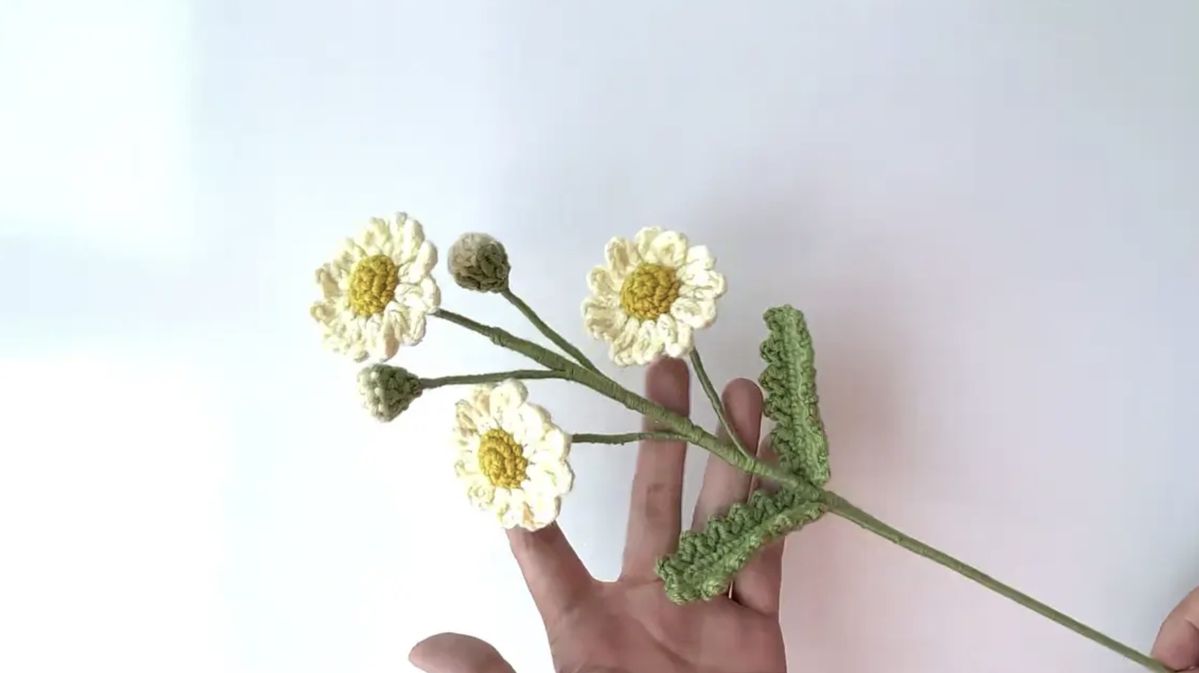
Check that you have 3 open flowers, 2 buds, and 2 leaves. Wrap the exposed component wires with green yarn, leaving their lower sections available for attaching to the main rod.
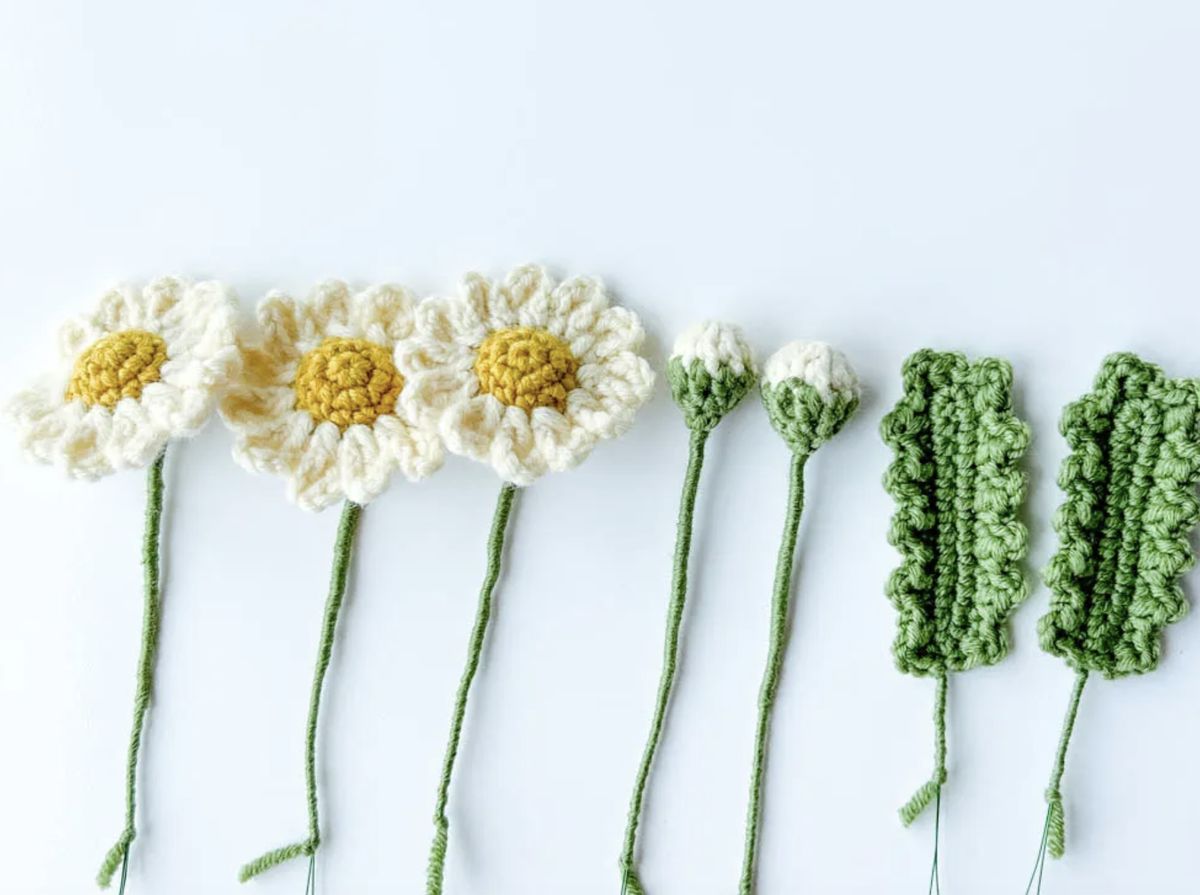
Step 1: Place the 2 buds and the first open flower near the top of the main rod. Hold their wire stalks against the rod and wrap them together with green yarn for approximately 2.5 cm.
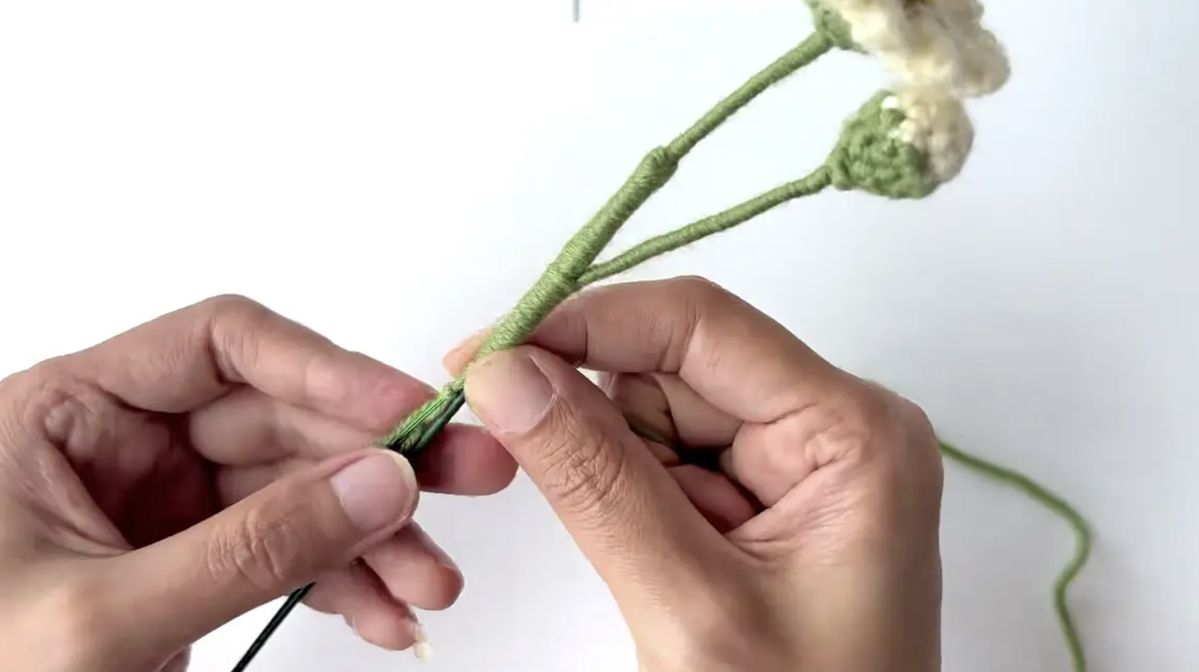
Step 2: Add the second and third flowers as you continue wrapping down the rod. Position them on opposite sides and at slightly different heights so each flower remains visible.
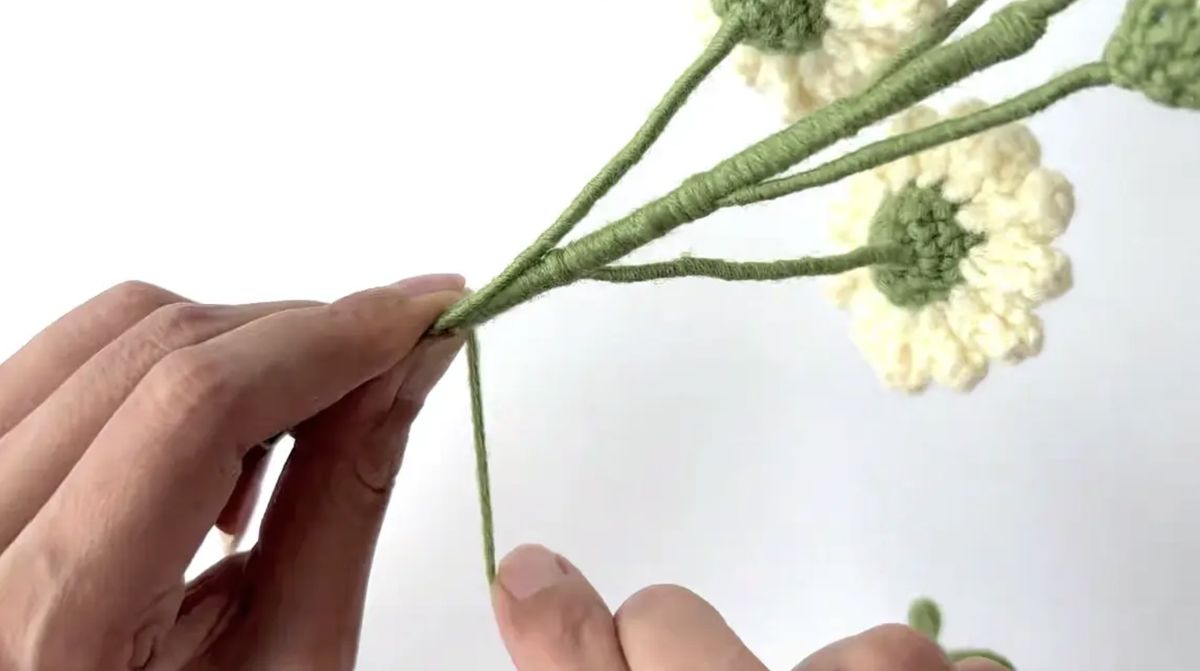
Step 3: Attach the 2 leaves lower on the branch, wrapping their wire stalks against the rod with green yarn.
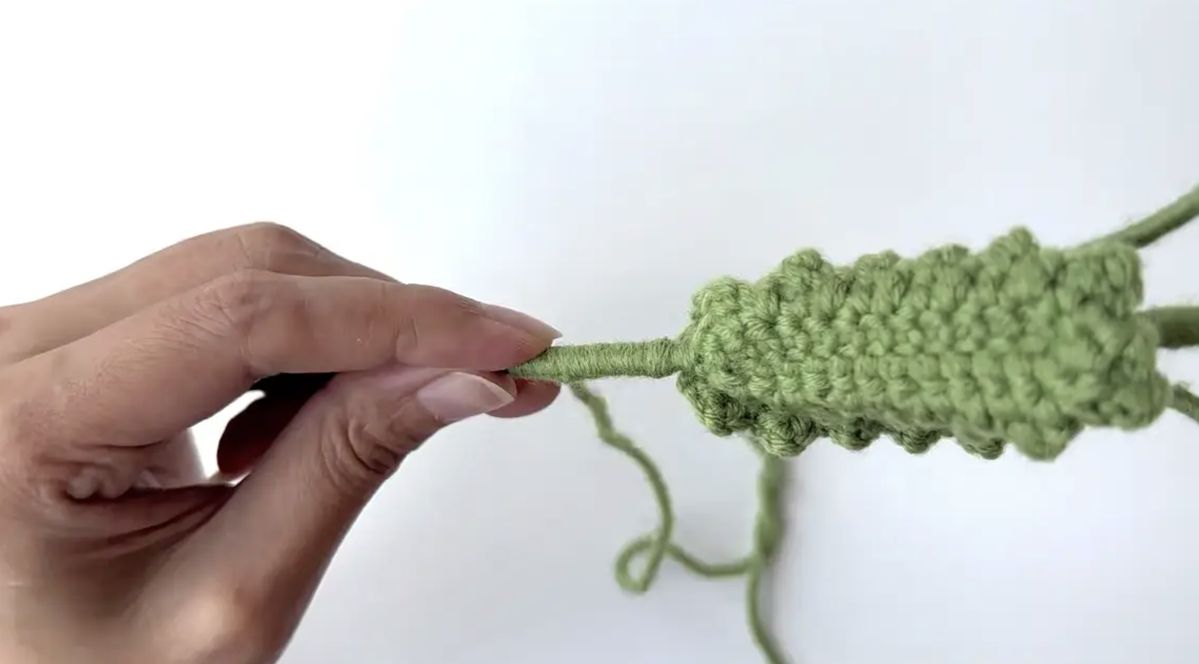
Step 4: Continue wrapping to the bottom of the rod. Cut the yarn and secure the end with a small amount of hot glue. Gently adjust the flowers, buds, and leaves to finish the arrangement.
More Flowers for Your Handmade Bouquet
Keep daisies as the main flower in a simple arrangement, or combine them with larger blooms and finer greenery. Try our free rose pattern, lavender pattern, or forget-me-not pattern.
Daisy Color Inspiration

Use this daisy photo to explore petal and center colors. The flower shape shown differs from the free tutorial above.

Roses
Use a larger rose shape as the focal bloom, with smaller daisies around it.
Make a crochet rose
Fine Floral Texture
This baby's breath photo shows how small flower clusters can soften a bouquet.
Find more free flower patterns
Greenery
Use this eucalyptus photo as a reference for placing foliage around the flowers.
Try a free crochet leaf projectThese photos provide color and arrangement references. Follow the individual tutorials for the construction of each project.
Continue with a Downloadable Floral Crochet Pattern
If you enjoy floral crochet and want a project you can follow from a saved or printed chart, explore our flower-themed C2C PDF patterns. These are separate graphgan projects for flat crochet fabric; the free tutorial above makes a wired daisy branch.

Sunflower C2C PDF Pattern
A bouquet of golden sunflowers with green foliage and an ivory background. This seven-color design includes one chart in four PDF reading formats.
View the Sunflower PDF
White Calla Lilies C2C PDF Pattern
White flowers with golden centers and green leaves, suited to a softer botanical palette. This six-color design includes one chart in four PDF reading formats.
View the Calla Lilies PDFBoth designs use a 240 × 340-block C2C chart and include a printable chart pack, boxed written instructions, color-coded row cards, and compact row-by-row instructions.
These are large chart projects for crocheters who already know C2C increases, decreases, and color changes. Finished size depends on your yarn, hook, and block gauge, so make a swatch and calculate the dimensions before choosing a project.