 Digital patterns
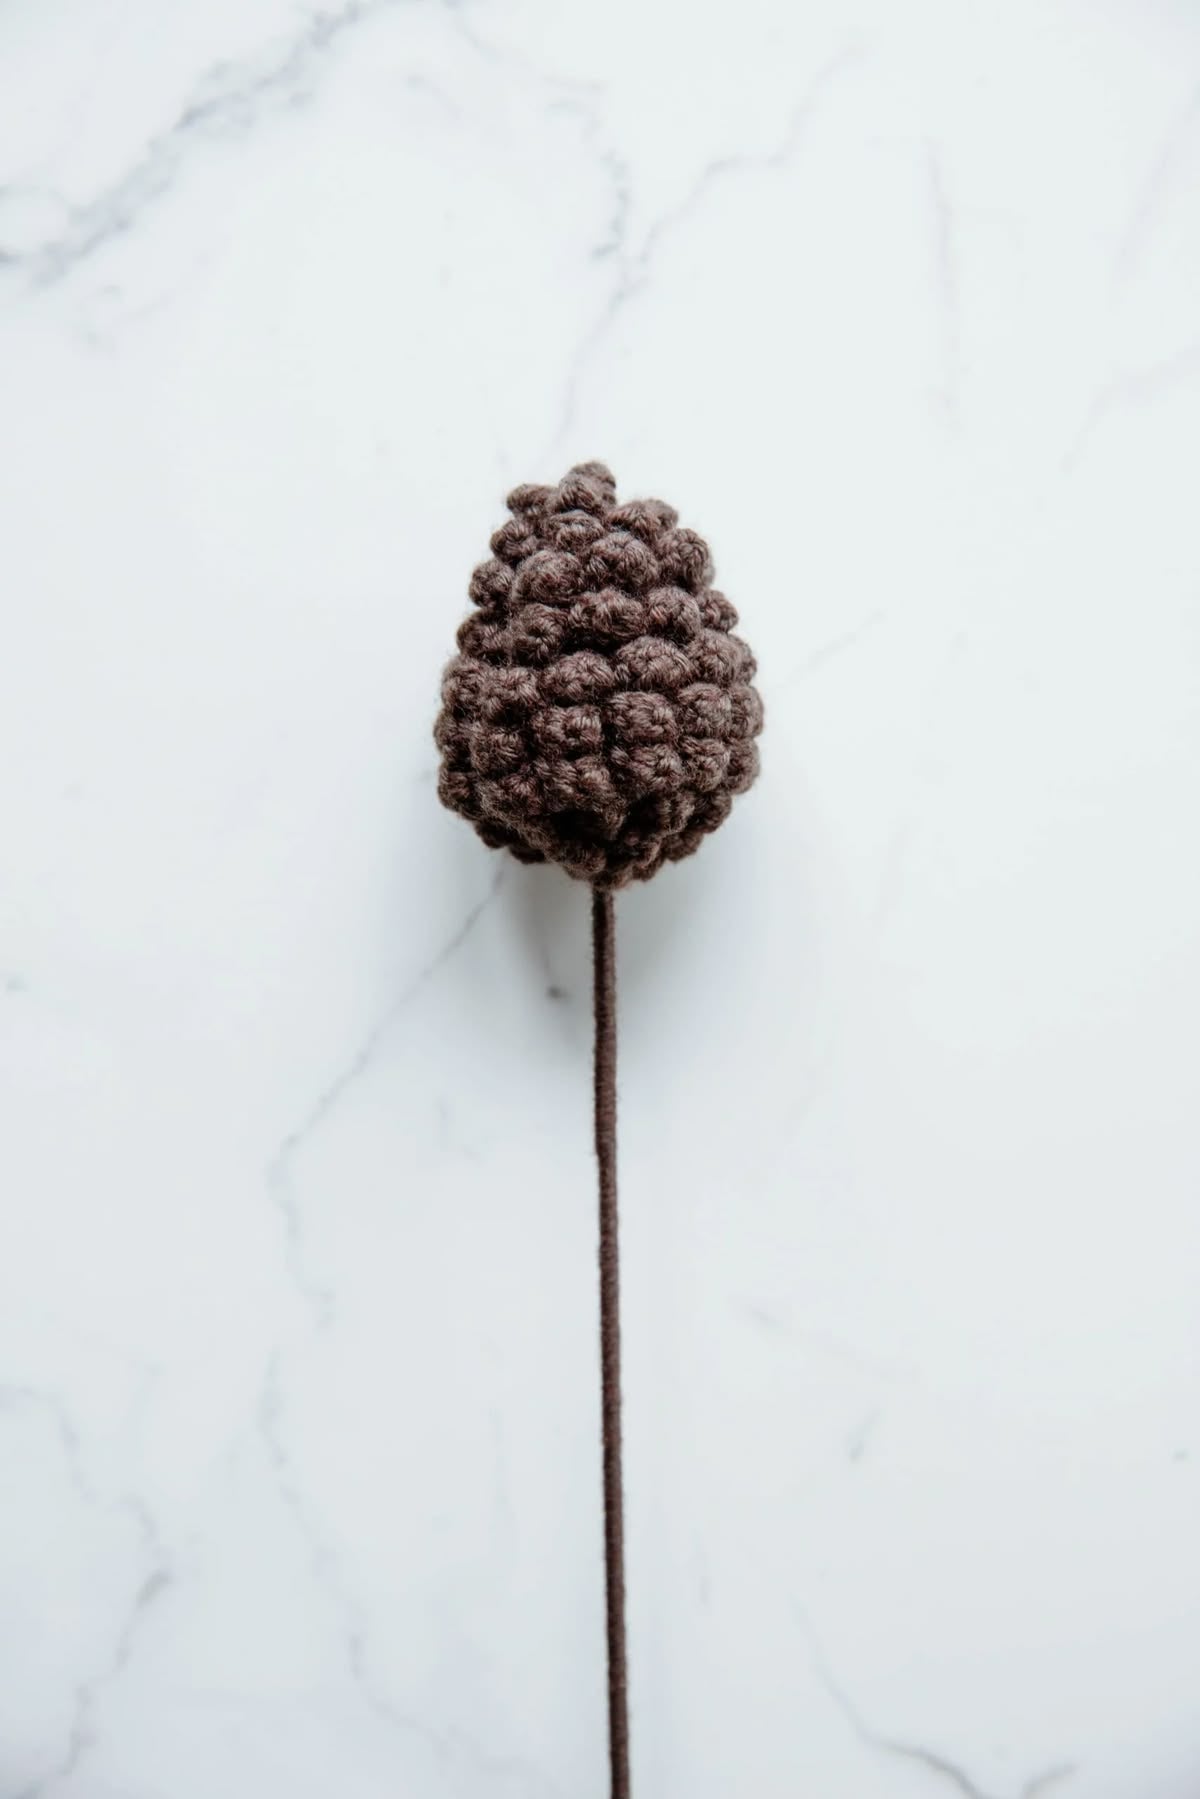
Add woodland texture to your autumn arrangements with this free crochet pine cone pattern. You will make a stuffed core, work small scales over the surface, and attach the finished pine cone to a wrapped stem.
Use it as an accent in a handmade bouquet or a seasonal vase display. For more projects to combine with your pine cone, explore our free crochet flower patterns.
Enjoy woodland-inspired crochet? See a downloadable woodland C2C pattern below for a larger project to follow from charts and written instructions.
Colours and Bouquet Inspiration
Brown yarn gives the pine cone a classic woodland appearance. Light beige or warm tan creates a softer look for neutral arrangements. Choose a hook that produces a firm core so the stuffing stays inside and the scales hold their shape.
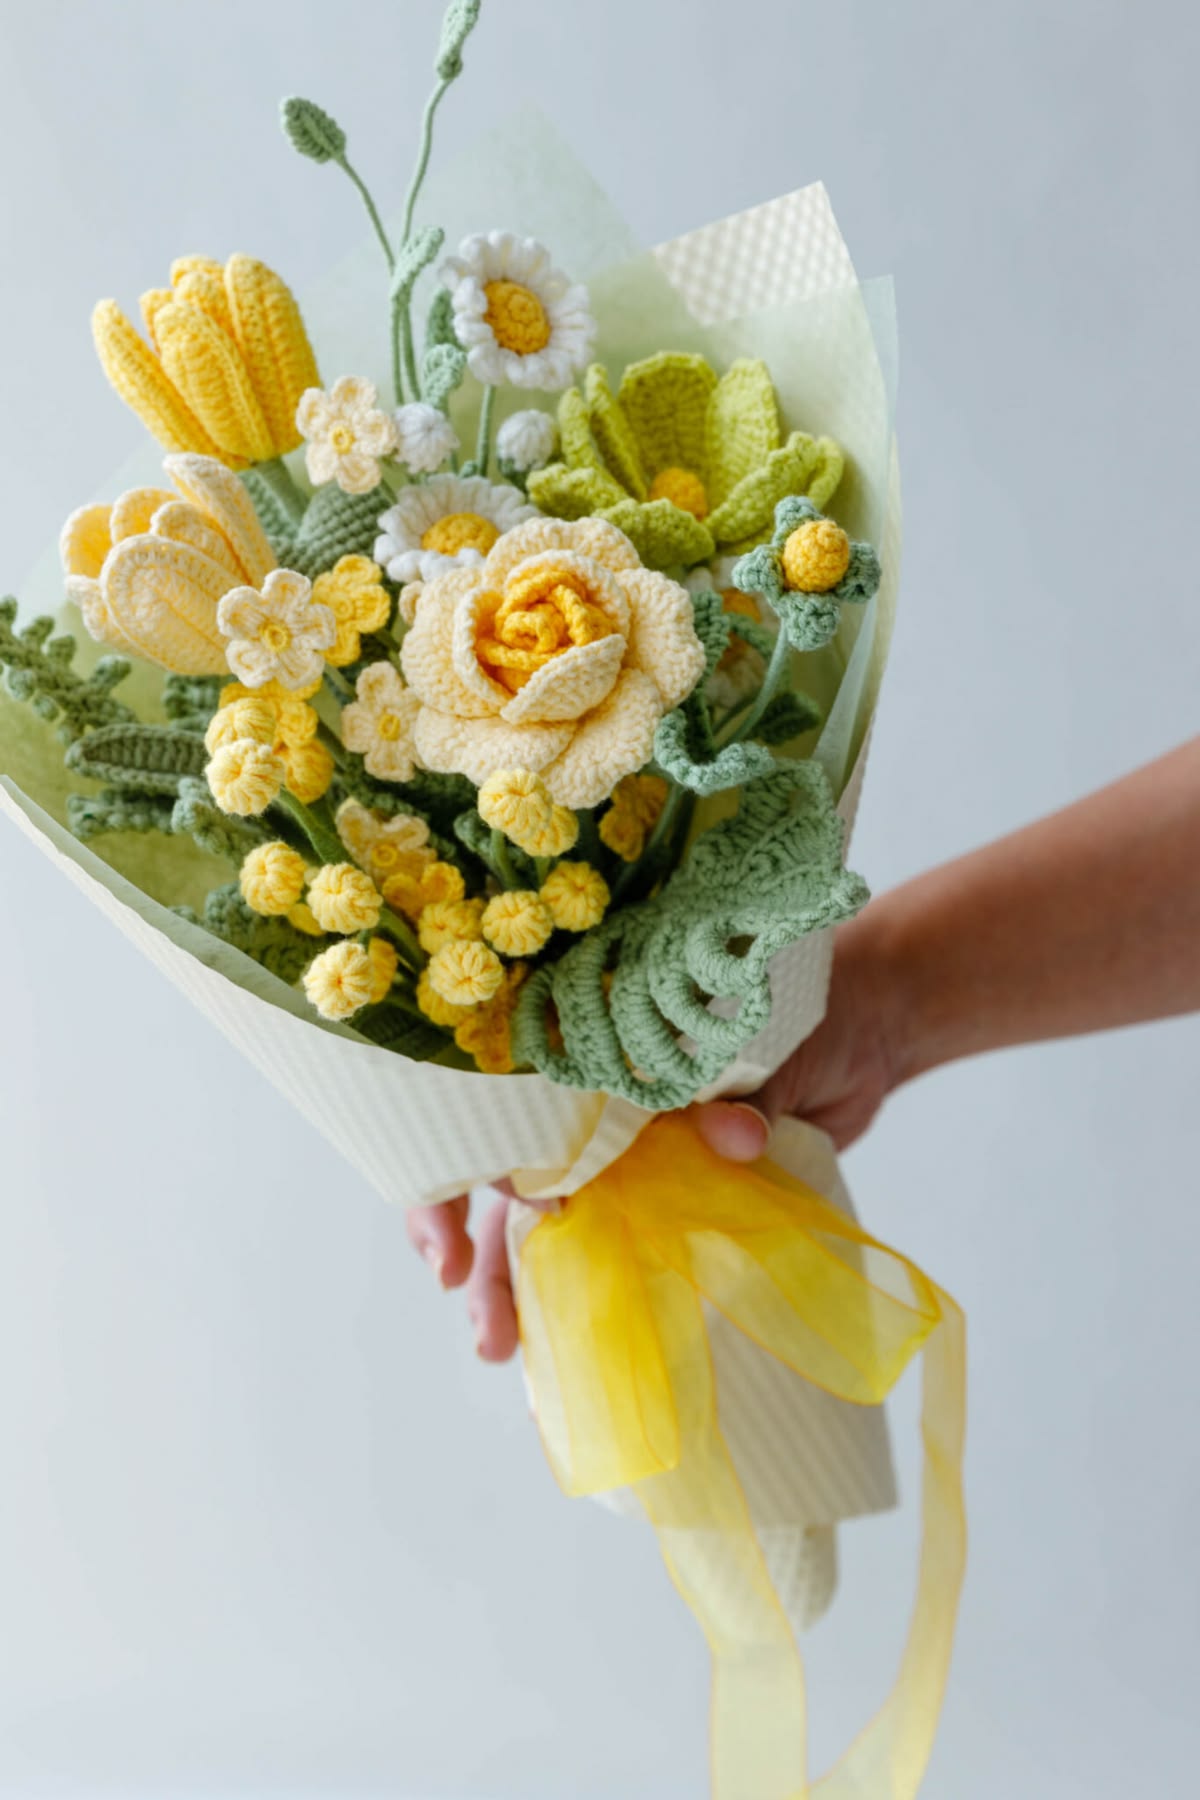
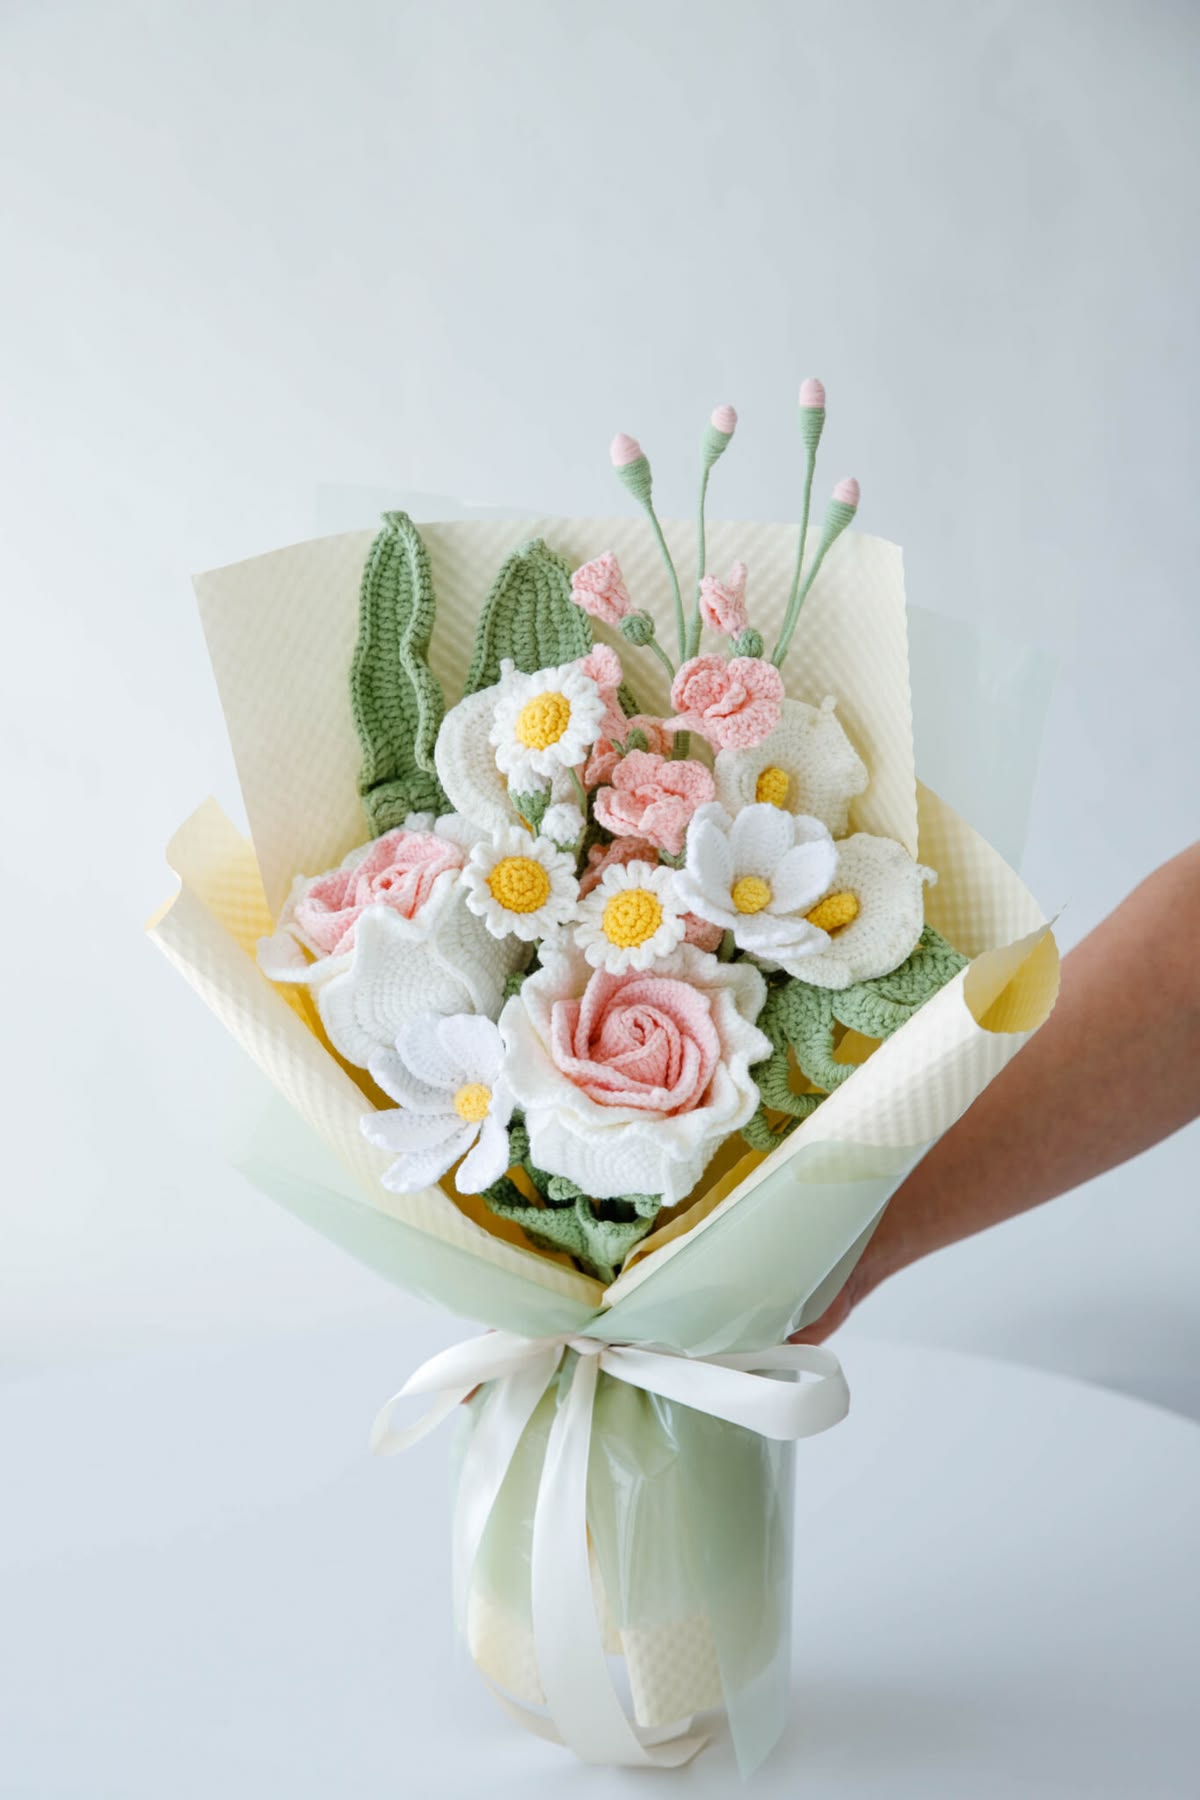
These flower arrangements offer ideas for combining colours, shapes, and foliage. Try adding a brown pine cone beside cream flowers or green leaves for a seasonal accent.
How to Use Your Crochet Pine Cone
The stemmed version works well in crochet bouquets, small vases, and indoor table arrangements. You can also make the pine cone without the rod and secure it to a wreath or display it with other handmade decorations.
For a woodland bouquet, combine pine cones with crochet fern leaves, daisies, or roses. Place the pine cones slightly below the flower heads to add texture without hiding the petals.
Materials
- Brown, tan, or light beige yarn.
- A 2.5 mm crochet hook, or a size that produces firm stitches with your chosen yarn.
- Fiberfill for stuffing the core.
- A stitch marker.
- A tapestry needle.
- Scissors.
- A flower rod approximately 40 cm long and 2 mm in diameter, if making a stemmed pine cone.
- Hot glue for attaching the rod and securing the yarn wrapping.
The finished size depends on your yarn, hook, and tension. Use the same yarn for the core and scales, and keep a little extra for wrapping the stem.
Skill Level
This project uses basic stitches, increases, and decreases, plus surface crochet into reserved front loops. It is best suited to crocheters who are comfortable working in the round and identifying the front and back loops of a stitch.
If you are newer to crochet, practise a small single crochet piece in back loops only before starting. The scale layers require more attention than the core because you will work into loops left on earlier rounds.
Stitches and Abbreviations
This pattern uses US crochet terminology.
- ch: chain.
- st / sts: stitch / stitches.
- sc: single crochet.
- dc: double crochet.
- ss: slip stitch.
- sc2tog: single crochet 2 stitches together.
- BLO: back loop only.
- FLO: front loop only.
- sk: skip.
- R: a round of the core.
- L: a surface scale layer.
Special Techniques
Back Loop Only and Front Loop Only
With the outside of the work facing you, the front loop is the loop nearest you, and the back loop is the one farther away.
BLO: Insert your hook through the back loop rather than both loops. This leaves the front loop available for the scales.
FLO: Insert your hook through the front loop. In the scale section, use the exposed loops specified in the layer table below.
Single Crochet Decrease
sc2tog: Insert your hook into the first stitch, yarn over, and pull up a loop. Insert your hook into the next stitch, yarn over, and pull up a loop. Yarn over and pull through all 3 loops. This turns 2 stitches into 1.
When a round specifies BLO, use the back loop of each stitch for the decrease. On rounds without BLO, work through both loops.
Pattern Notes
- Numbers in brackets show the core stitch count at the end of a round.
- Join R1–R13 with ss into the first sc, then ch 1. The joining slip stitch and chain do not count as stitches.
- Mark the first sc of each core round and move the marker as you work.
- Work both stitches of each BLO increase into the same back loop.
- BLO is used only on the rounds marked below. The other rounds use both loops.
- The final core round also uses BLO to preserve the loop ring needed for the second scale layer.
- The scales are surface layers on the finished core, not additional rounds that increase the height of the core.
- Each scale group is worked into one front loop. Skip the next front loop between groups.
Step 1: Crochet the Pine Cone Core
Make a magic ring.
- R1: Work 6 sc into the magic ring. Tighten the ring, join with ss, and ch 1. [6]
- R2 — BLO: Work 2 sc into each stitch around. Join with ss and ch 1. [12]
- R3 — BLO: Repeat (1 sc, 2 sc in the next st) 6 times. Join with ss and ch 1. [18]
- R4 — BLO: Repeat (2 sc, 2 sc in the next st) 6 times. Join with ss and ch 1. [24]
- R5 — BLO: Work 1 sc in each stitch around. Join with ss and ch 1. [24]
- R6: Repeat (6 sc, sc2tog) 3 times. Join with ss and ch 1. [21]
- R7 — BLO: Work 1 sc in each stitch around. Join with ss and ch 1. [21]
- R8: Repeat (5 sc, sc2tog) 3 times. Join with ss and ch 1. [18]
- R9 — BLO: Work 1 sc in each stitch around. Join with ss and ch 1. [18]
- R10: Repeat (4 sc, sc2tog) 3 times. Join with ss and ch 1. [15]
- R11 — BLO: Work 1 sc in each stitch around. Join with ss and ch 1. [15]
- R12: Repeat (3 sc, sc2tog) 3 times. Join with ss and ch 1. [12]
- R13 — BLO: Repeat (2 sc, sc2tog) 3 times. Join with ss and ch 1. Add fiberfill. [9]
- R14 — BLO: Repeat (1 sc, sc2tog) 3 times. Join with ss without adding a chain. Keep the yarn attached for L1. [6]
Add enough stuffing to round out the core without stretching the stitches apart. Keep the front loops exposed so they remain easy to locate.
Step 2: Crochet the Pine Cone Scales
Work from the narrow R14 end towards the magic-ring end. The table identifies the exposed loop ring for each layer; L1–L10 are separate from the core round numbers.
For easier handling, this written version finishes each scale layer separately and rejoins the yarn at the next ring. After completing a layer, join with ss to its first slip stitch, fasten off, and weave the ends into the core beneath the scales.
Scale Groups
- Small scale: In one front loop, work (1 ss, ch 1, 1 dc, ch 1, 1 ss).
- Medium scale: In one front loop, work (1 ss, ch 2, 1 dc, ch 2, 1 ss).
- Wide scale: In one front loop, work (1 ss, ch 2, 2 dc, ch 2, 1 ss).
Skip 1 front loop after each scale. On a ring with an odd number of loops, skip the one extra loop at the end before joining; do not add an extra scale.
| Scale Layer | Loop Ring to Use | Available Loops | Scale Group | Number of Scales |
|---|---|---|---|---|
| L1 | Front loops of the 6 stitches just made in R14 | 6 | Small | 3 |
| L2 | Front loops of R13, left unworked by BLO R14 | 9 | Small | 4 |
| L3 | Front loops of R12, left unworked by BLO R13 | 12 | Medium | 6 |
| L4 | Front loops of R10, left unworked by BLO R11 | 15 | Medium | 7 |
| L5 | Front loops of R8, left unworked by BLO R9 | 18 | Wide | 9 |
| L6 | Front loops of R6, left unworked by BLO R7 | 21 | Wide | 10 |
| L7 | Front loops of R4, left unworked by BLO R5 | 24 | Wide | 12 |
| L8 | Front loops of R3, left unworked by BLO R4 | 18 | Medium | 9 |
| L9 | Front loops of R2, left unworked by BLO R3 | 12 | Medium | 6 |
| L10 | Front loops of R1, left unworked by BLO R2 | 6 | Medium | 3 |
Close the Narrow End
After finishing L1, use a tapestry needle and the yarn tail to gather the remaining back loops of the 6 R14 stitches. Draw them together gently to close the tip, secure the yarn, and weave in the end. Continue with L2–L10 using the table.
Keep the surface stitches relaxed enough to form rounded scales. Joining a scale layer closes that layer; it should not cinch the entire core or pull the scales flat.
Step 3: Attach and Wrap the Stem
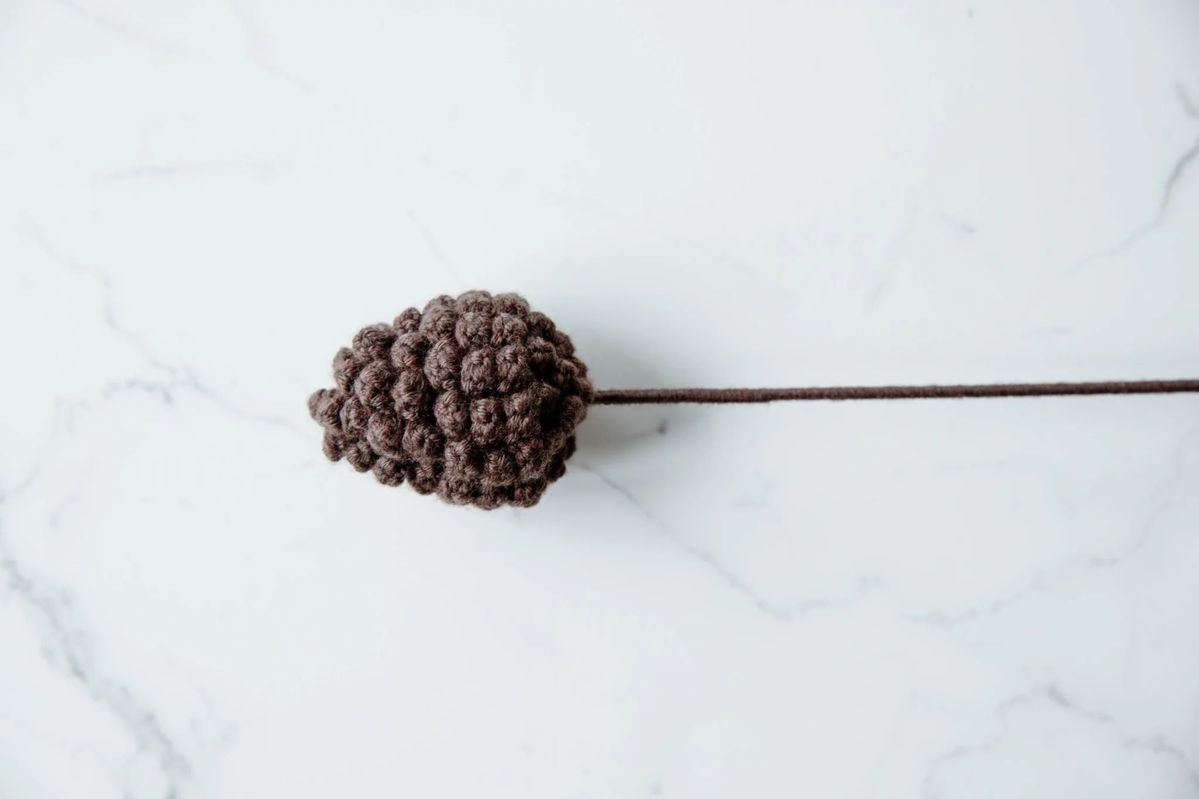
- Position the flower rod at the magic-ring end, opposite the narrow tip. Carefully ease it into the centre of the stuffed core without pushing it through the tip.
- Apply a small amount of hot glue at the entry point to secure the rod.
- Attach brown yarn near the base of the pine cone and wrap it evenly down the rod.
- Secure the yarn end with hot glue, then gently arrange the scales with your fingers.
For a stem-free decoration, skip the rod and yarn wrapping, and finish by securing all yarn ends.
Finishing Tips
- Check the core stitch count before beginning the next round.
- Keep the exposed front-loop rings visible while stuffing and adding scales.
- Use the layer table to locate each ring rather than working into the tops of the previous scales.
- Let the scale groups curve naturally instead of pulling the chains tight.
- Use matching yarn for the wrapped stem to create a tidy finish.
Continue the Woodland Theme with a Crochet PDF
If you enjoy nature-inspired decorations and want a larger project to follow offline, explore our Squirrel Acorn C2C PDF Pattern. Its woodland design features a squirrel, oak leaves, acorns, mushrooms, and forest foliage in cream and forest green.

This is a separate C2C graphgan project. The free tutorial above makes a three-dimensional pine cone; the PDF provides charts and written instructions for an illustrated design worked in flat crochet fabric.
- A 240 × 340-block chart using 2 colours.
- 5 PDF resources, including a printable chart pack and several row-by-row instruction formats.
- A diagonal box crochet guide using US terminology.
Check the chart dimensions and make a C2C swatch before planning your project. Finished measurements depend on your yarn, hook, and block gauge.
View the Squirrel Acorn PDF Pattern
Browse our animal and woodland PDF patterns for more downloadable designs to make at your own pace.