 Digital patterns
Learn how to crochet a strawberry branch with plump fruit, small white flowers, and green leaves. This free pattern takes you through each component and shows you how to assemble them into a decorative stem for a vase or handmade crochet bouquet.
Make the fruit in pink or red, then pair your finished branch with crochet daisies or crochet roses. You can find more projects in our free crochet flower pattern collection.
Prefer a chart-based project you can download and follow offline? Explore our strawberry-themed C2C PDF pattern below.
About This Crochet Strawberry Project
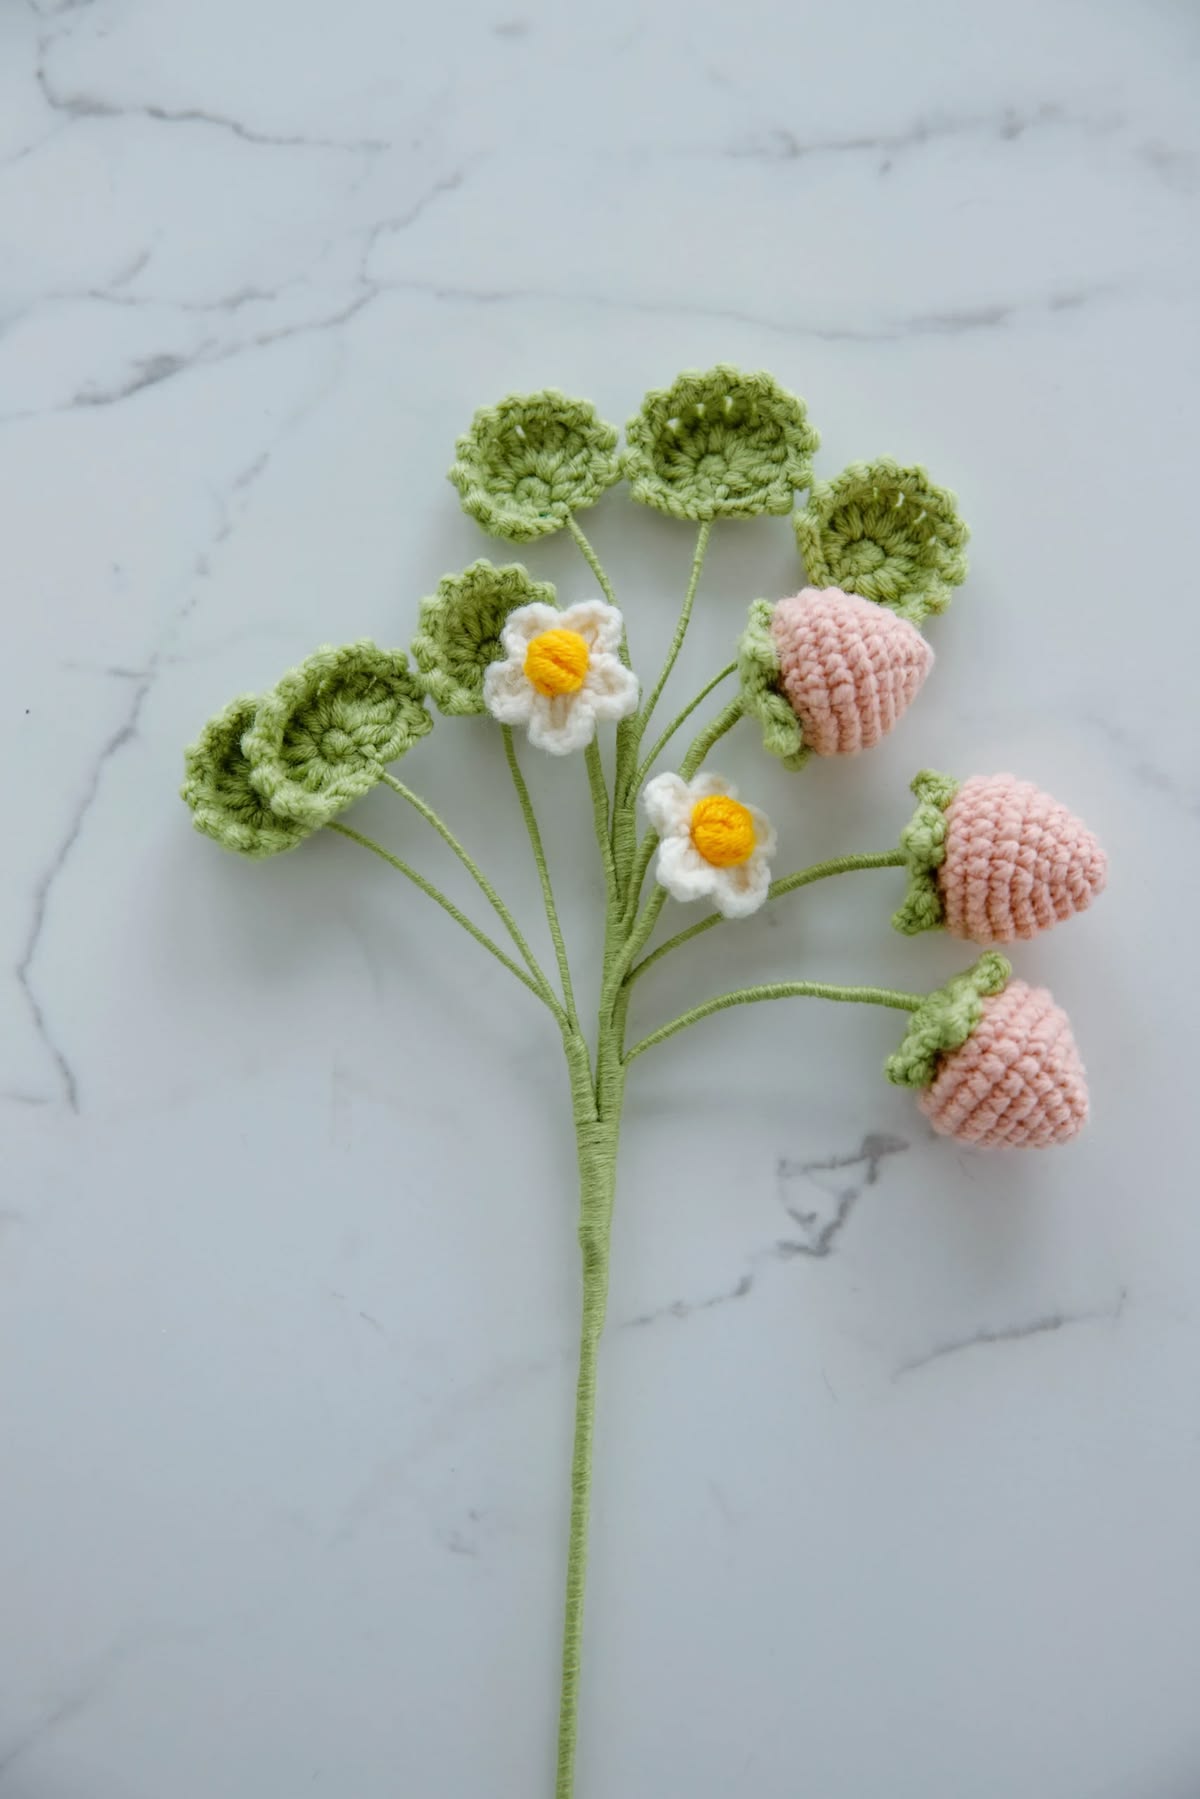
This pattern makes a three-dimensional strawberry branch. The finished arrangement includes:
- 3 stuffed strawberries, each with a green sepal.
- 2 white flowers with yellow centres.
- 3 large leaves and 3 small leaves.
Red fruit gives the branch a classic strawberry look, while pink creates a softer palette. Use green for the sepals and leaves, white for the petals, and yellow for the flower centres.
Ideas for Displaying Your Strawberry Branch
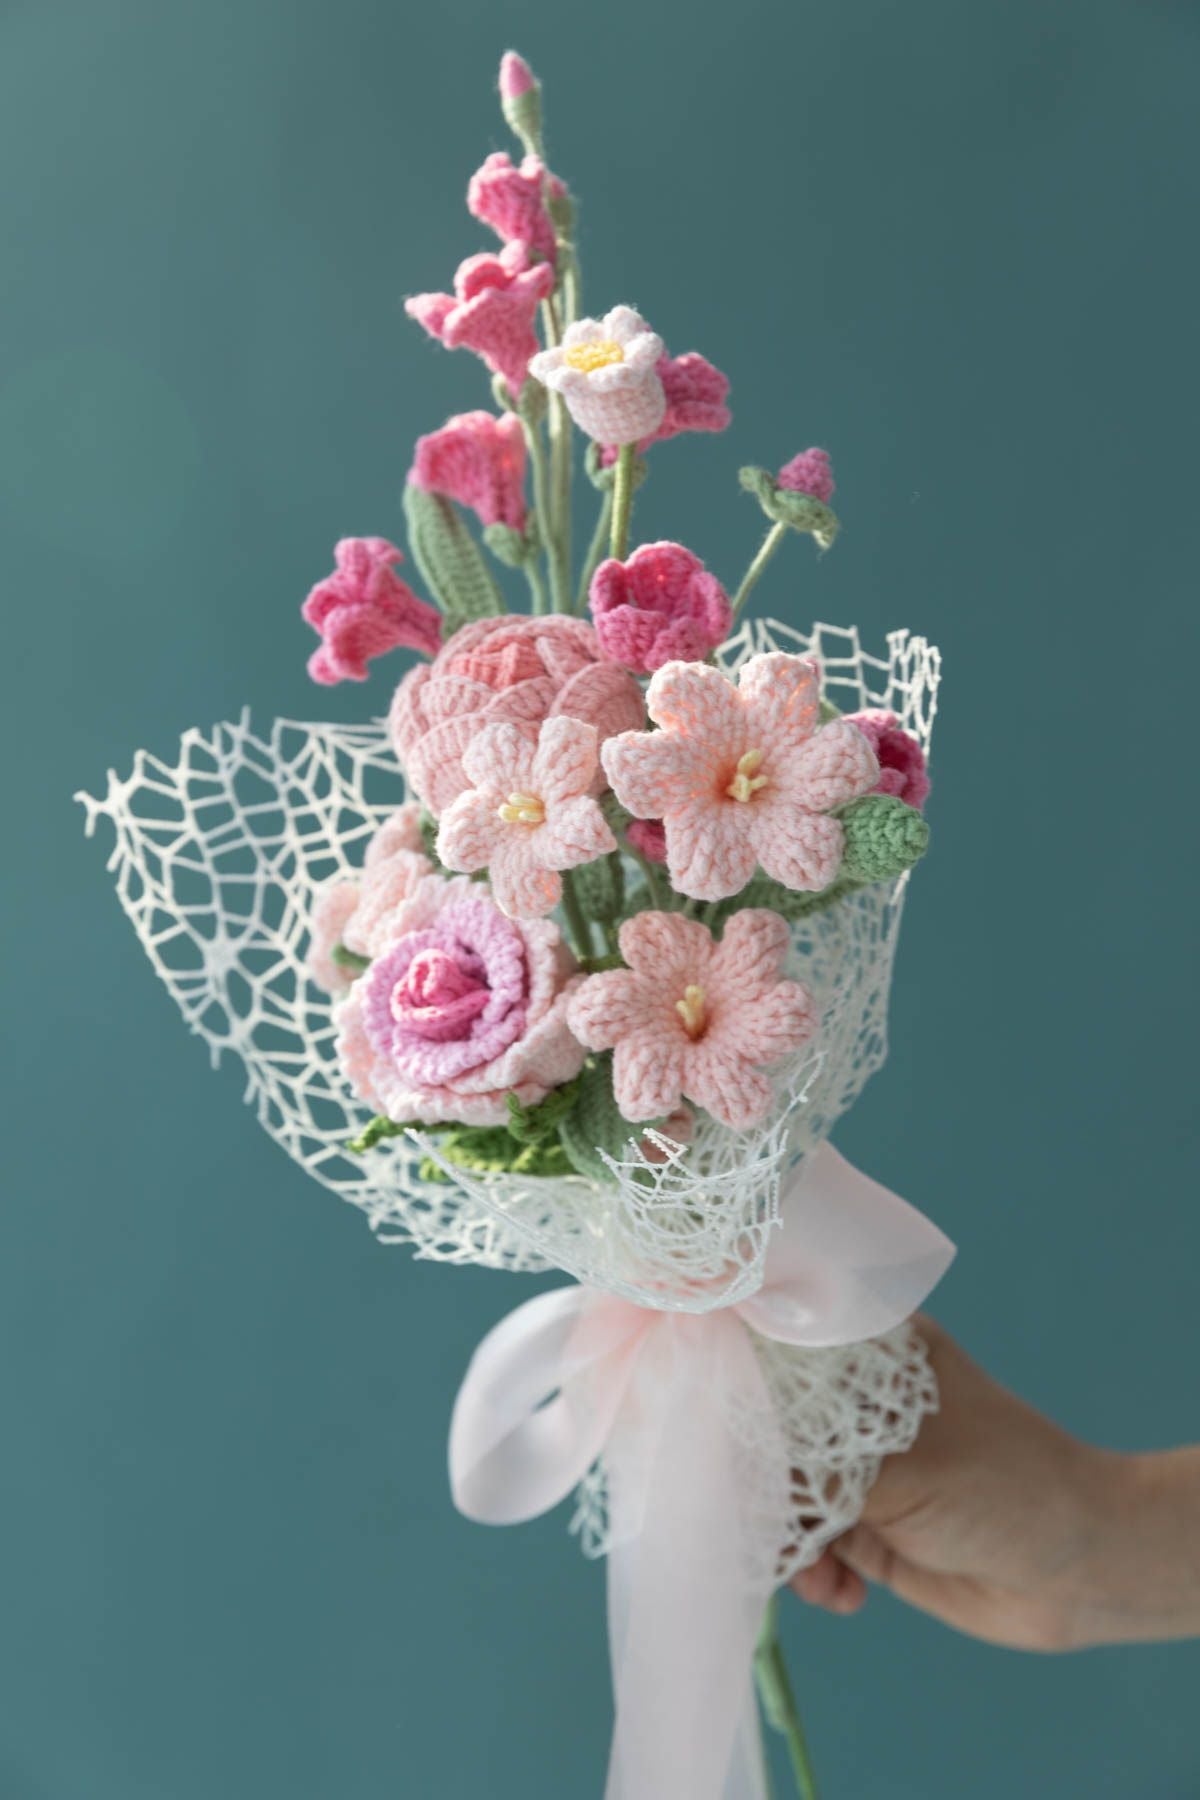
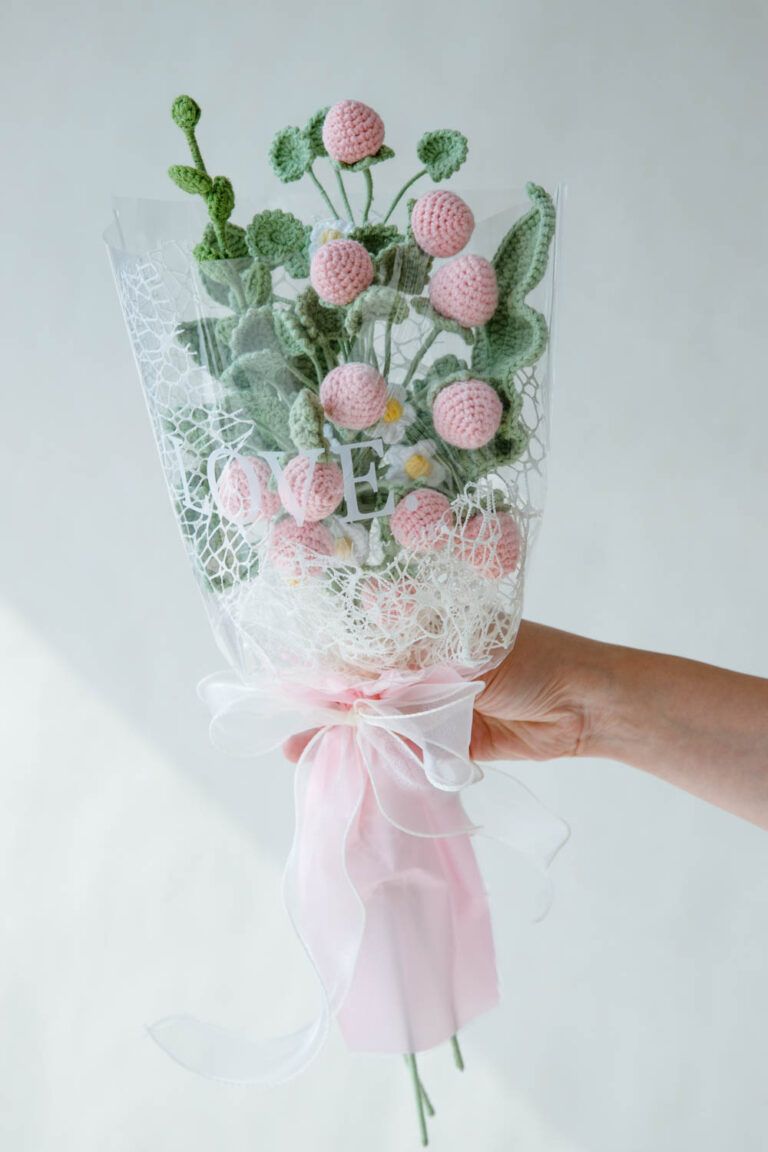
Place the branch in a small vase, add it to a crochet flower arrangement, or include it in a handmade decorative gift. Its stuffed fruit and wired stems are designed for a dimensional display; this tutorial does not make a flat strawberry appliqué.
For a balanced bouquet, let the strawberries sit slightly below the flowers so that the fruit, petals, and leaves remain visible.
Materials
- Yarn in pink or red, white, yellow, and green.
- A 2.5 mm crochet hook, or a size that produces firm stitches with your chosen yarn.
- A main flower rod, approximately 40 cm long and 2 mm in diameter.
- Flexible craft wire, approximately 0.4 mm in diameter, for the fruit, flowers, and leaves.
- Fiberfill for stuffing the strawberries.
- A stitch marker.
- A tapestry needle.
- Scissors and a suitable wire cutter.
- Hot glue for securing the assembled components and yarn wrapping.
Choose yarn that works comfortably with your hook and produces small gaps between stitches. Finished dimensions depend on your yarn, hook size, and tension.
Skill Level
This project suits crocheters who are comfortable working in the round, increasing and decreasing, and making tall stitches. The leaves use treble and double treble crochet, and the final assembly involves wire and yarn wrapping. If you are newer to crochet, start with one strawberry before making the flowers and leaves.
Stitches and Abbreviations
This pattern uses US crochet terminology.
- ch: chain.
- st / sts: stitch / stitches.
- ss: slip stitch.
- sc: single crochet.
- sc2tog: single crochet 2 stitches together.
- sc3tog: single crochet 3 stitches together.
- hdc: half double crochet.
- dc: double crochet.
- tr: treble crochet.
- dtr: double treble crochet.
- R: round.
Special Stitches
Single Crochet Decreases
sc2tog: Insert your hook into the next stitch, yarn over, and pull up a loop. Insert your hook into the following stitch, yarn over, and pull up a loop. Yarn over and pull through all 3 loops. This turns 2 stitches into 1.
sc3tog: Insert your hook into each of the next 3 stitches in turn, yarning over and pulling up a loop each time. Yarn over and pull through all 4 loops. This turns 3 stitches into 1.
These instructions describe standard single crochet decreases. An invisible decrease uses a different method of inserting the hook.
One-Chain Picot Point
Where this pattern calls for a 1-ch picot, chain 1 and slip stitch into that chain to form a small point. Keep this point compact; the instructions below use a one-chain point rather than a larger three-chain picot.
Four-Half-Double-Crochet Cluster
For the flower centre, work 4 unfinished hdc into the magic ring: yarn over, insert your hook into the ring, yarn over, and pull up a loop, leaving the loops on your hook. Repeat this 4 times in total. With 9 loops on your hook, yarn over and pull through all 9 loops to close the cluster.
Treble and Double Treble Crochet
tr: Yarn over twice, insert your hook into the indicated stitch, yarn over, and pull up a loop. Yarn over and pull through 2 loops three times.
dtr: Yarn over 3 times, insert your hook into the indicated stitch, yarn over, and pull up a loop. You now have 5 loops on the hook. Yarn over and pull through 2 loops 4 times, leaving 1 loop.
Pattern Notes
- Numbers in brackets show the stitch count at the end of a round.
- For the strawberry body, join R1–R9 with a slip stitch into the first sc, then chain 1. The joining slip stitch and chain do not count as stitches.
- Place a marker in the first sc of each strawberry round and move it as you work.
- “2 sc in the next st” means an increase: work both stitches into the same base stitch.
- When a leaf instruction repeats stitches “in” a numbered base stitch, work the whole group into that one stitch.
- Use flexible wire inside the smaller components. The thicker flower rod forms the main branch during final assembly.
- Leave the top of each strawberry open until its wire anchor is in place.
Crochet Strawberry Fruit — Make 3
Use pink or red yarn.
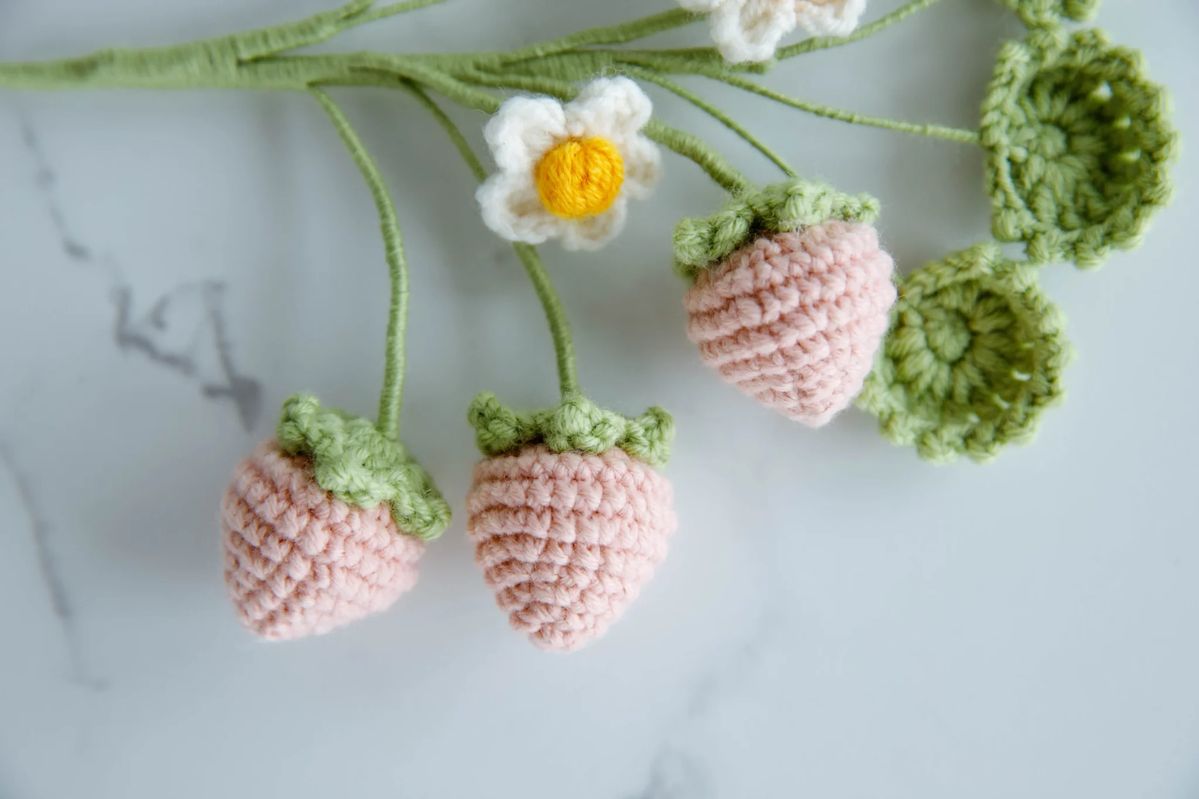
- R1: Make a magic ring and work 6 sc into it. Tighten the ring, join with ss, and ch 1. [6]
- R2: Repeat (1 sc, 2 sc in the next st) 3 times. Join with ss and ch 1. [9]
- R3: Repeat (1 sc, 2 sc in the next st, 1 sc) 3 times. Join with ss and ch 1. [12]
- R4: Repeat (3 sc, 2 sc in the next st) 3 times. Join with ss and ch 1. [15]
- R5: Repeat (1 sc, 2 sc in the next st, 1 sc) 5 times. Join with ss and ch 1. [20]
- R6: Repeat (3 sc, 2 sc in the next st) 5 times. Join with ss and ch 1. [25]
- R7–R8: Work 1 sc in each stitch around. Join with ss and ch 1 at the end of each round. [25 per round]
- R9: Work sc2tog 11 times, then sc3tog once. Join with ss and ch 1. [12]
- R10: Add fiberfill, then work sc2tog 6 times. Fasten off, leaving a long tail and keeping the remaining opening accessible for the wire anchor. [6]
Round 9 uses all 25 stitches: the 11 sc2tog decreases use 22 stitches, and the sc3tog uses the remaining 3.
Strawberry Sepals — Make 3
Use green yarn.
- R1: Make a magic ring and work 10 sc into it. Tighten the ring and join with ss. [10]
- R2: Ch 1. Repeat the following 5 times: in the next st, work (1 dc, 1-ch picot, 1 dc, ch 1); ss into the following st. Fasten off, leaving a tail. [5 sepal points]
Assemble the Fruit and Sepals
- Cut a short length of flexible wire with enough length for an anchor and a stem. Fold one end back twice to form a compact anchor.
- Insert the folded anchor through the remaining opening at the top of the strawberry. Secure it with yarn so it cannot slide out easily.
- Thread the strawberry's finishing tail through the remaining 6 stitches and draw them together around the wire. Secure the tail and weave it in.
- Pass the wire stem through the centre of a green sepal. Attach the sepal over the top of the fruit, using its yarn tail and a small amount of hot glue as needed.
- Wrap the exposed wire with green yarn and secure the yarn end. Repeat for all 3 strawberries.
Crochet Strawberry Flowers — Make 2
Each flower has a yellow centre and 5 white petals.
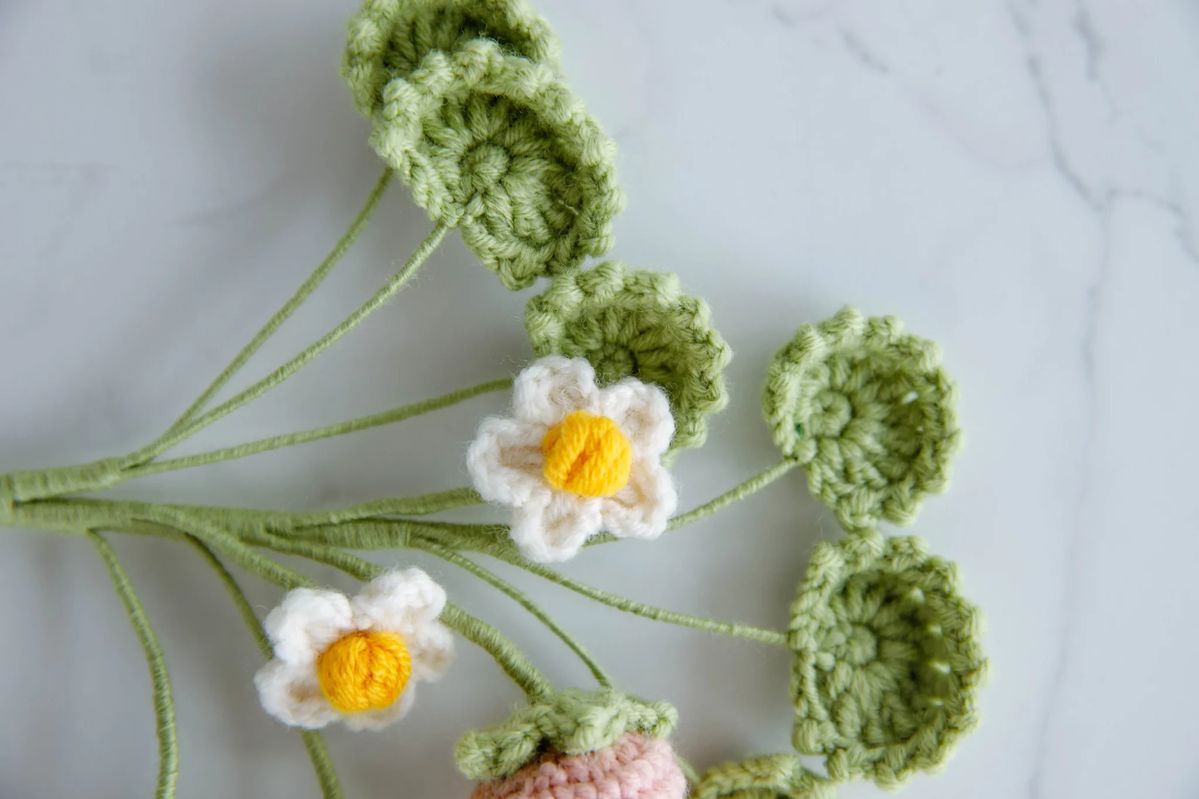
Flower Centres — Make 2
Using yellow yarn, make a magic ring. Ch 2, then work one four-hdc cluster into the ring as described above. Ch 2 and ss into the ring. Ch 1, fasten off, and tighten the ring. Leave a tail for securing the centre.
Flower Petals — Make 2
Use white yarn.
- R1: Make a magic ring and work 5 sc into it. Tighten the ring and join with ss. [5]
- R2: In each of the 5 base stitches, work (ch 2, 1 dc, ch 2, 1 ss), placing the dc and ss into that same base stitch. Fasten off and weave in the ends. [5 petals]
Assemble the Flowers
- Form a small loop at one end of a piece of flexible wire.
- Pass the straight end of the wire down through the centre of the white flower so the loop rests on top.
- Place a yellow centre over the loop and secure the centre, petals, and wire together with the yarn tail and a small amount of hot glue.
- Gently draw the wire down to seat the centre without distorting the petals.
- Wrap the wire stem with green yarn and secure the end. Repeat for the second flower.
Crochet Strawberry Leaves
Use green yarn and flexible craft wire. Work the leaf edge around the wire, leaving a wire tail at the base to form a small stalk. Keep the wire clear of the picot points.
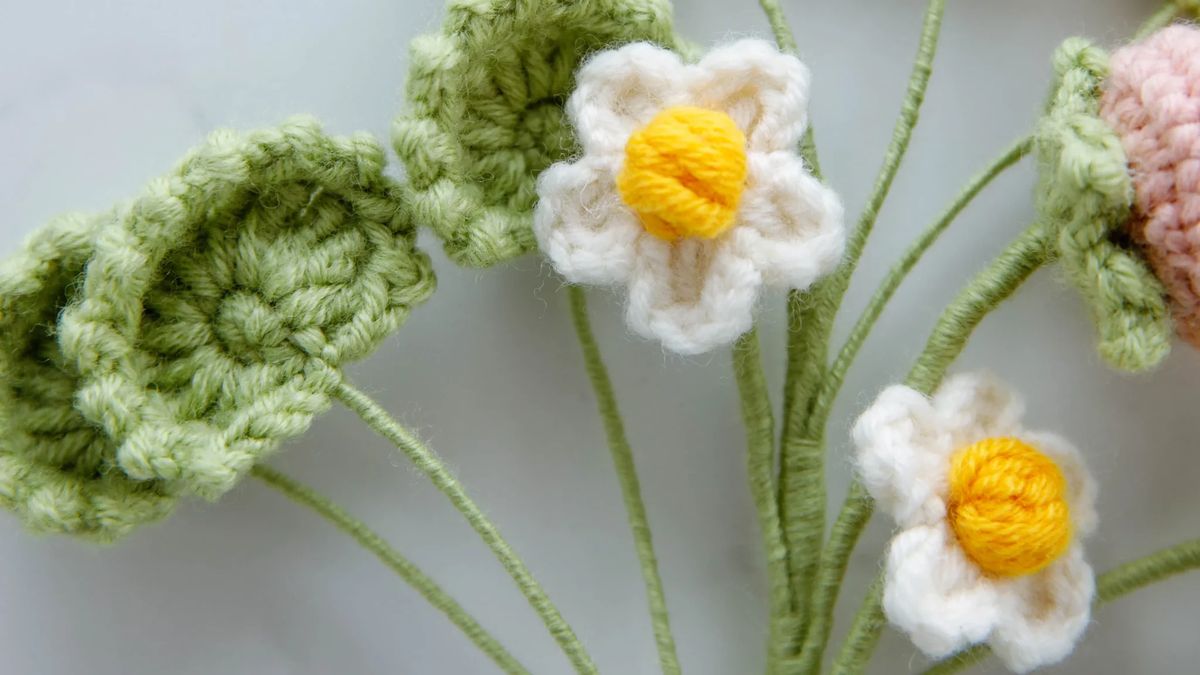
Large Leaves — Make 3
R1: Make a magic ring and work 6 sc into it. Tighten the ring and join with ss. [6 base stitches]
R2: Ch 2, position the wire along the edge, and work the following groups into the 6 base stitches:
- Stitch 1: Work (1 dc, 1-ch picot).
- Stitch 2: Work (1 tr, 1-ch picot) 3 times into this stitch.
- Stitch 3: Work (1 dtr, 1-ch picot) 2 times into this stitch.
- Stitch 4: Work (1 dtr, 1-ch picot) 2 times into this stitch.
- Stitch 5: Work (1 tr, 1-ch picot) 3 times into this stitch.
- Stitch 6: Work 1 dc, ch 2, then ss into the same base stitch. Fasten off, leaving a tail.
Small Leaves — Make 3
R1: Make a magic ring and work 6 sc into it. Tighten the ring and join with ss. [6 base stitches]
R2: Ch 2, position the wire along the edge, and work the following groups into the 6 base stitches:
- Stitch 1: Work (1 dc, 1-ch picot).
- Stitch 2: Work (1 tr, 1-ch picot) 3 times into this stitch.
- Stitch 3: Work (1 tr, 1-ch picot) 2 times into this stitch.
- Stitch 4: Work (1 tr, 1-ch picot) 2 times into this stitch.
- Stitch 5: Work (1 tr, 1-ch picot) 3 times into this stitch.
- Stitch 6: Work 1 dc, ch 2, then ss into the same base stitch. Fasten off, leaving a tail.
The large leaves use dtr in the two middle base stitches; the small leaves use tr in those positions.
Prepare the Leaf Stalks
Secure the yarn tails at the base of each leaf. Wrap the exposed wire tails with green yarn and secure the wrapping with a small amount of hot glue. Keep the 3 large leaves separate, and set aside the 3 small leaves for a lower leaf cluster.
Assemble the Crochet Strawberry Branch
Before assembling, check that you have 3 fruits with sepals, 2 flowers, 3 large leaves, and 3 small leaves.
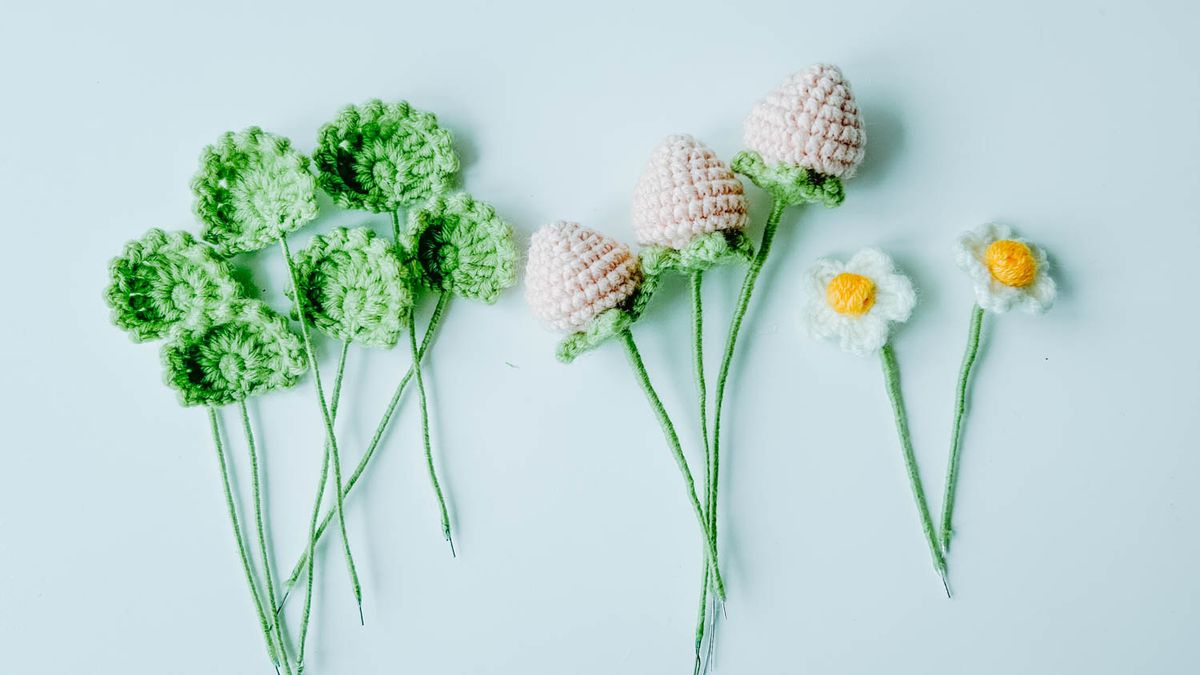
- Prepare the small-leaf cluster: Bring the stalks of the 3 small leaves together, wrap them with green yarn, and secure the wrapping with hot glue. Set this cluster aside.
- Add the large leaves: Attach one large leaf near the top of the main flower rod and begin wrapping the rod with green yarn. Continue for approximately 5 cm, then attach the other 2 large leaves.
- Add the flowers and fruit: Continue wrapping down the rod, adding the flower stems and strawberry stems in turn. Position the 3 strawberries mainly on one side so the fruit hangs together while the flowers remain visible.
- Finish the branch: Attach the small-leaf cluster lower on the rod. Wrap to the bottom, cut the yarn, and secure the end with hot glue. Gently adjust the wired components to create the finished arrangement.
Finishing Tips
- Use enough stuffing to round out the fruit without stretching the stitches apart.
- Keep your yarn wrapping even so the component stems blend into the main branch.
- Adjust the leaf angles gradually and keep the flowers clear of the fruit.
- Try red strawberries for a brighter arrangement or pink strawberries for a softer colour scheme.
Continue the Strawberry Theme with a Downloadable PDF
If you enjoy the strawberry theme and would like a larger chart-based project, explore our Strawberry Snail Home C2C PDF Pattern. The design features a strawberry-shaped cottage, a snail, flowers, and leafy details in an ivory and berry-red palette.

This is a separate C2C graphgan project. The free tutorial above makes a stuffed strawberry branch; the PDF provides a pixel chart and instructions for working the illustrated design in a flat crochet fabric.
- A 240 × 340-block chart using 2 colours.
- A downloadable chart pack and several row-by-row instruction formats.
- A diagonal box crochet guide using US terminology.
The finished size depends on your yarn, hook, and C2C block gauge. Check the product details before choosing your materials.
View the Strawberry Snail Home PDF Pattern
You can also browse our animal and woodland PDF patterns for more illustrated projects to download and make at your own pace.