 Digital patterns

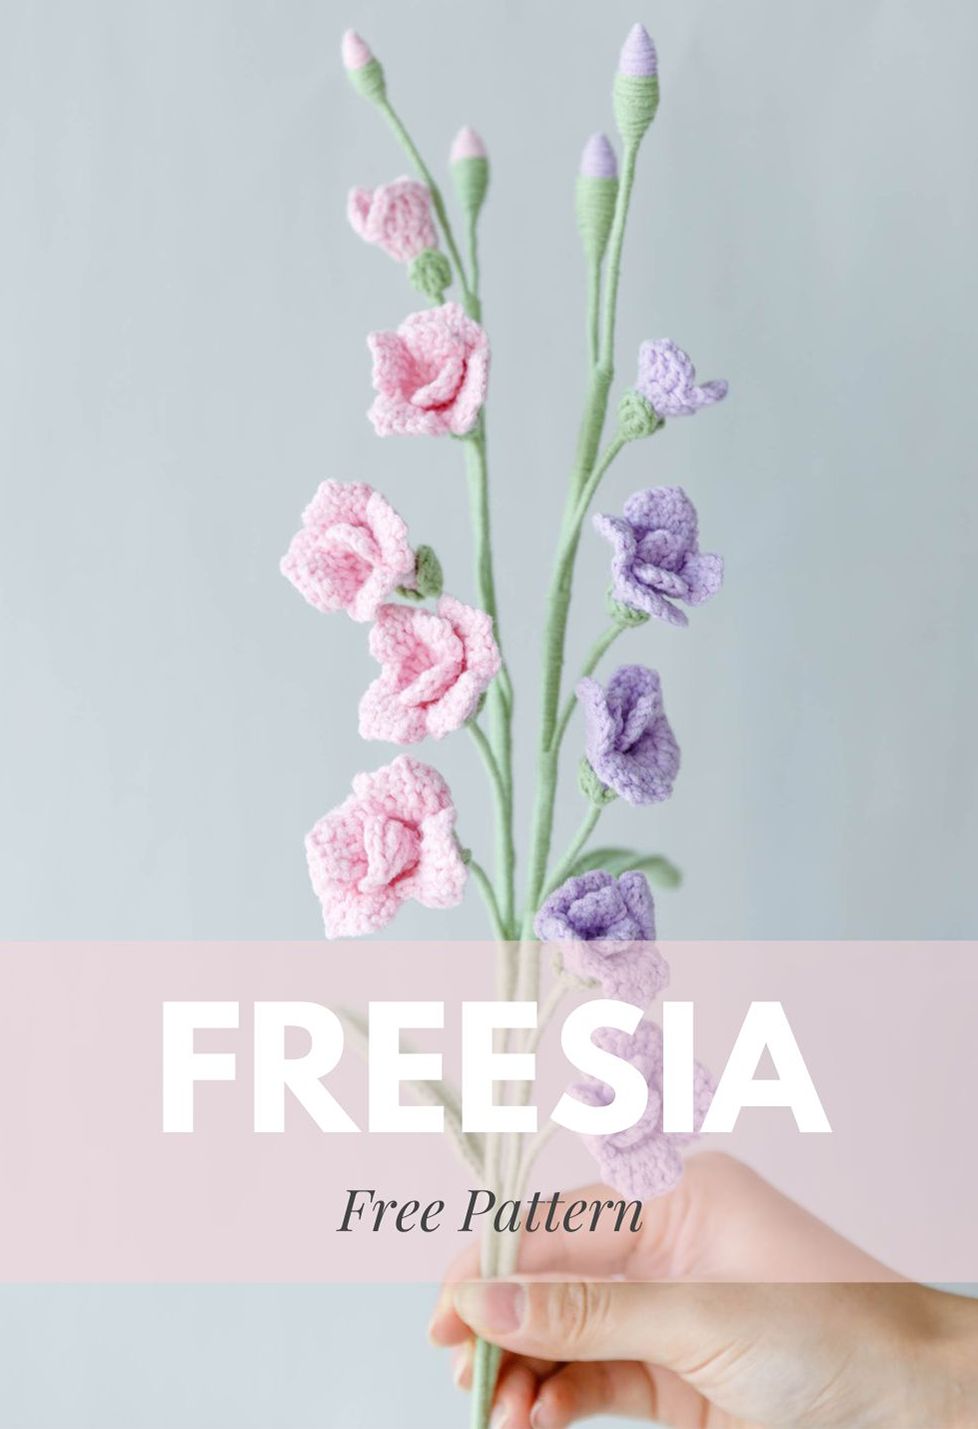
Make a delicate crochet freesia flower with this free written pattern. The project combines flowers in different sizes, small buds, green sepals and a long leaf to create a stem you can display on its own or add to a handmade bouquet.
This tutorial covers the crochet pieces and their assembly. Before starting, read through the instructions and become familiar with double crochet, treble crochet, slip stitches and working several stitches into the same stitch.
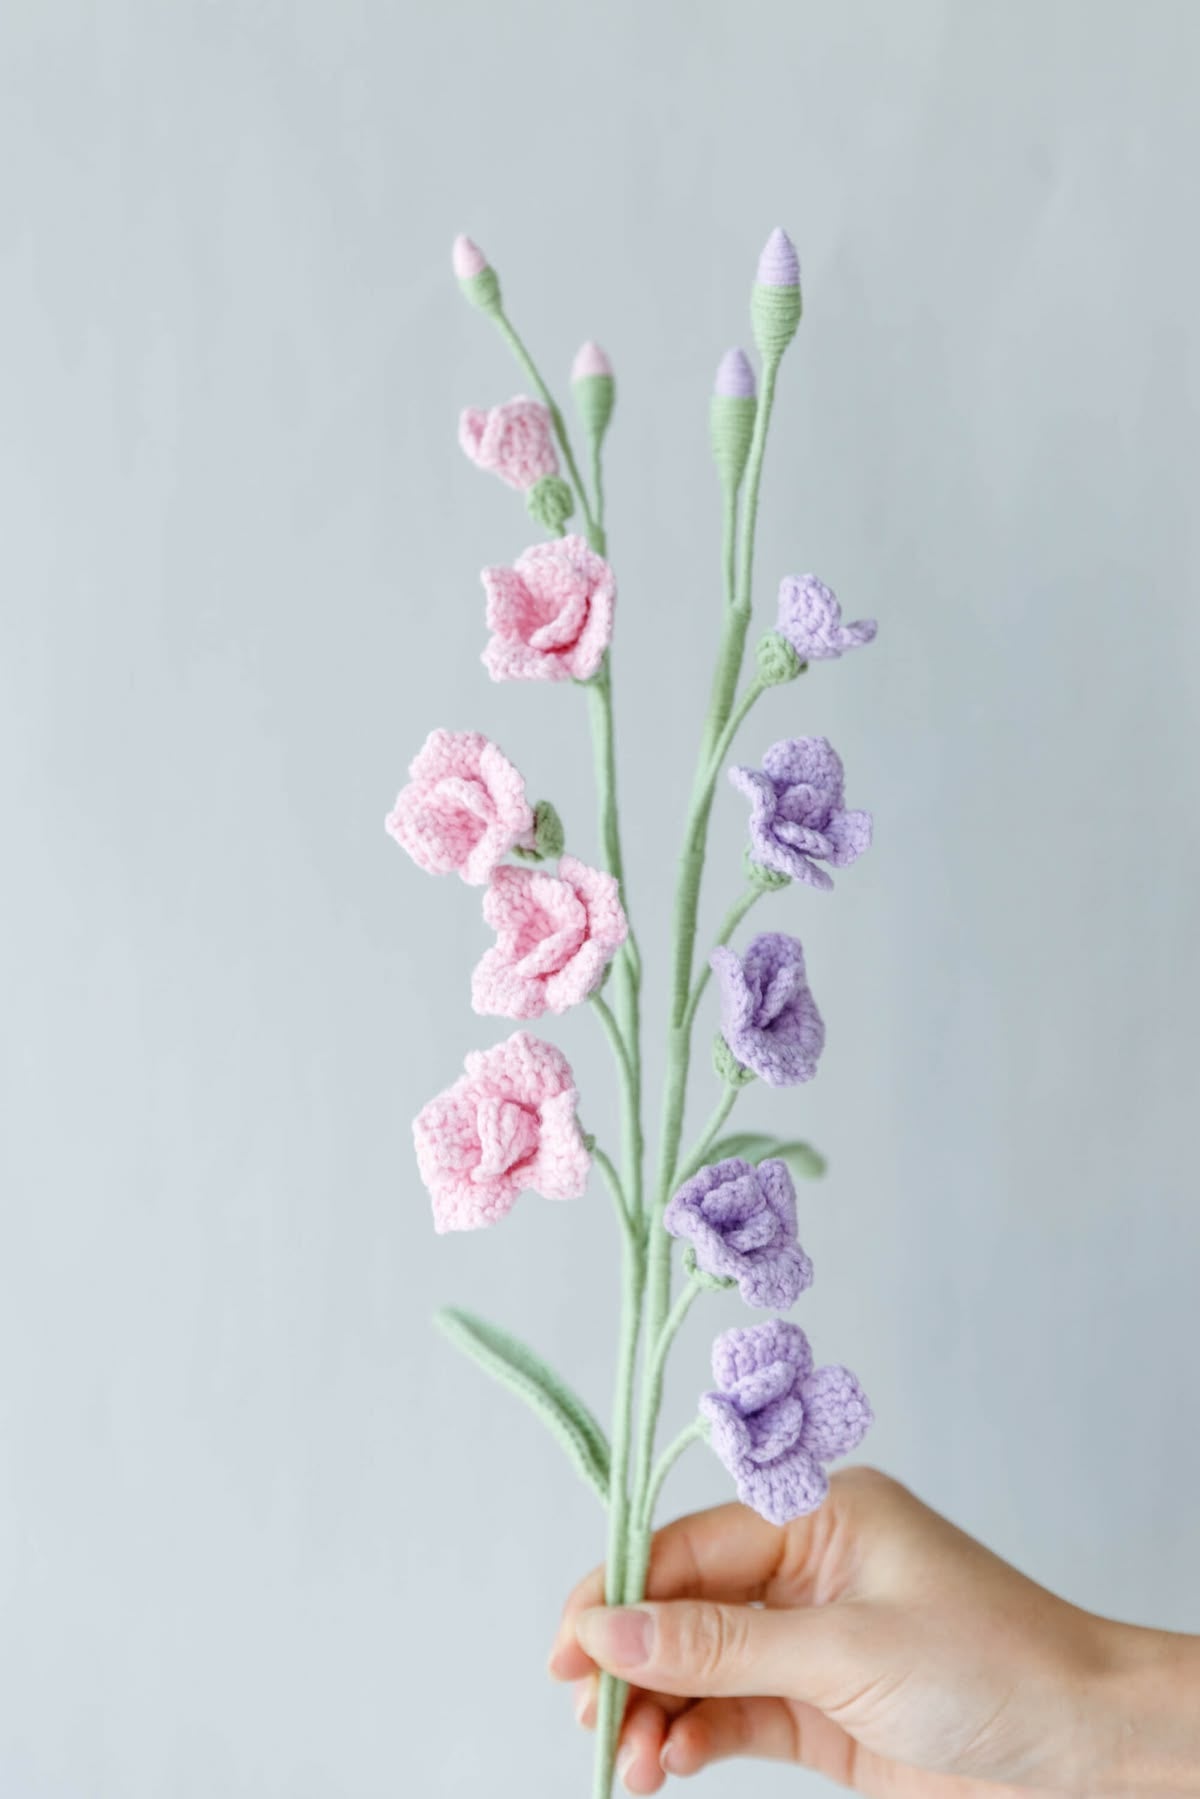
Flowers to Pair with Crochet Freesia
For more projects to make alongside your freesia stems, explore our free crochet flower and bouquet pattern collection.
- Crochet Sunflower Pattern
- Crochet 3D Rose Free Pattern
- Crochet Thai Rose Pattern
- Crochet Small Rose Pattern
- Crochet Cappuccino Rose Free Pattern
- Crochet Memorial Rose Free Pattern
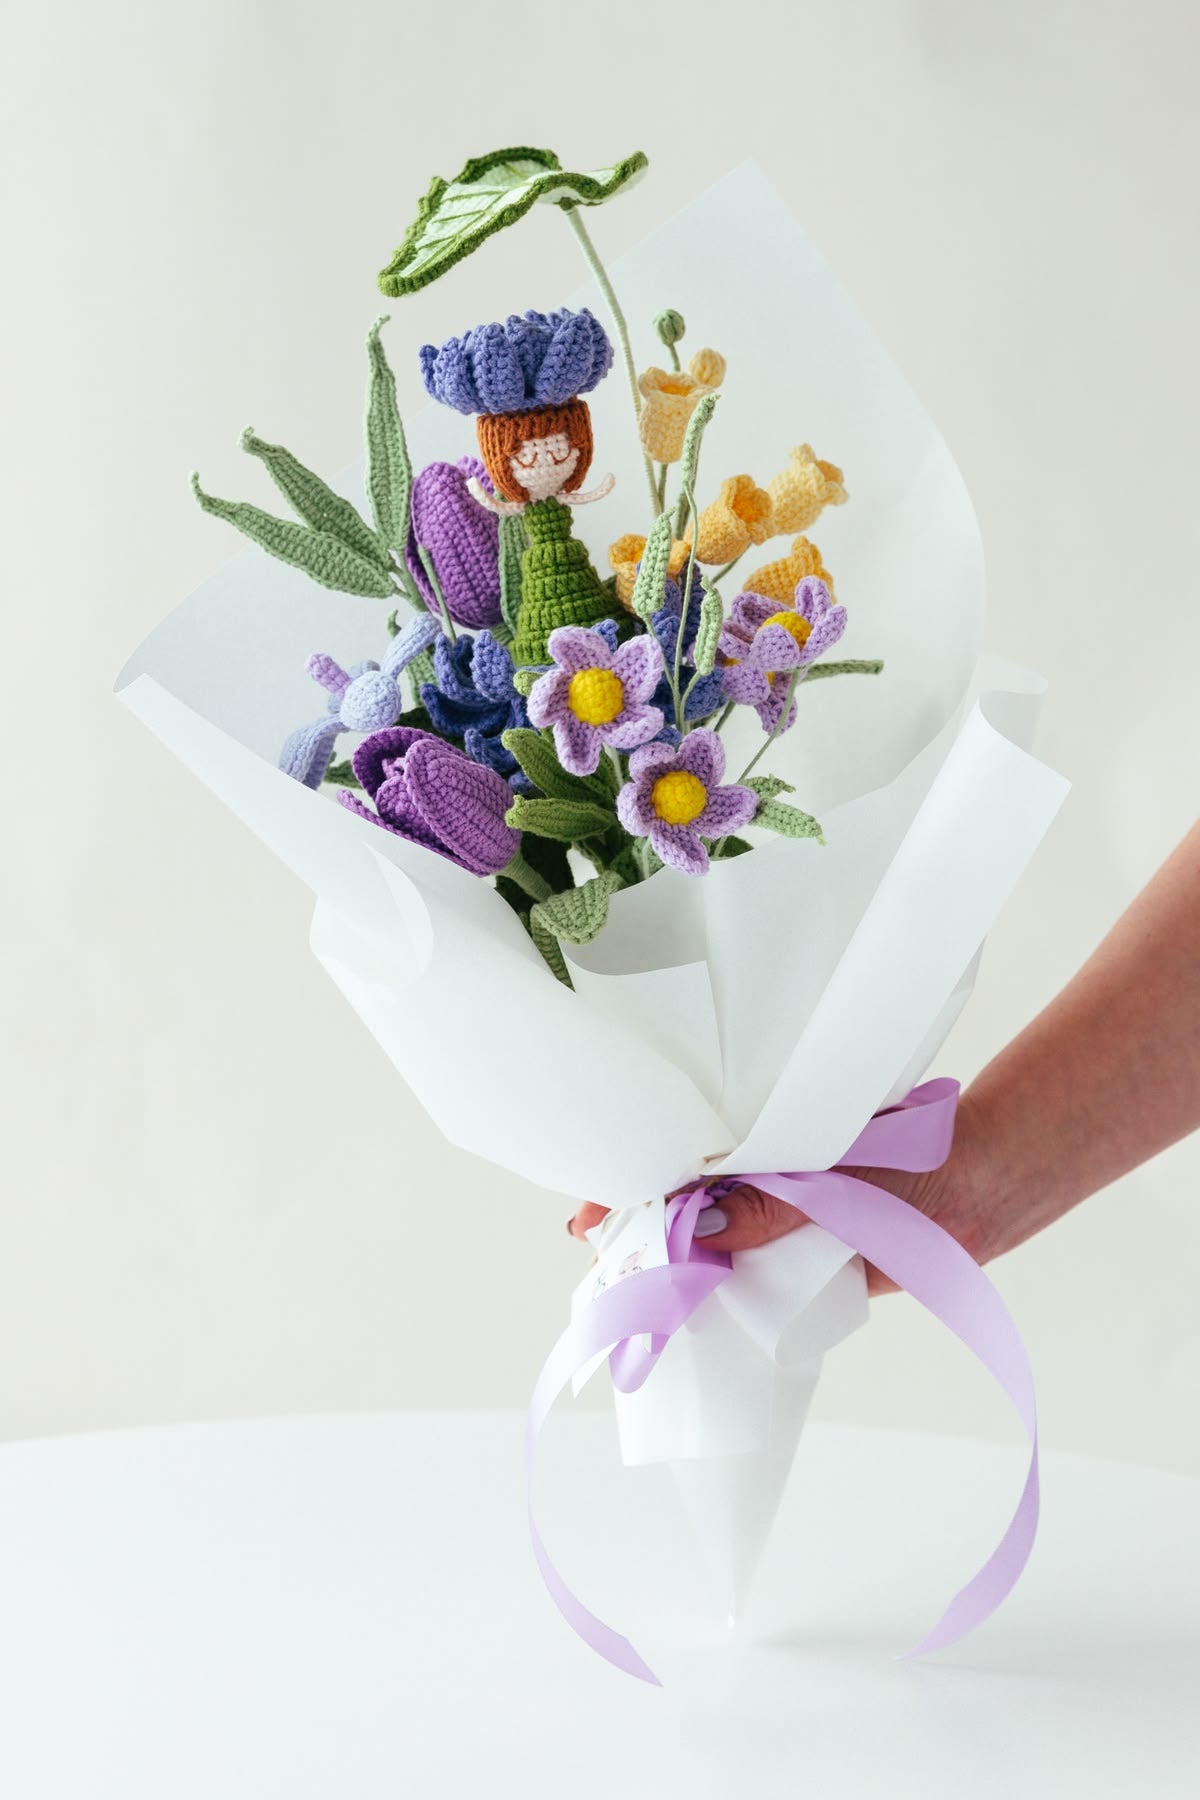
Purple Gerbera and Freesia Bouquet Inspiration
Combine freesia stems with larger flowers to vary the shapes in your arrangement. Try the free crochet gerbera pattern for a contrasting flower shape.
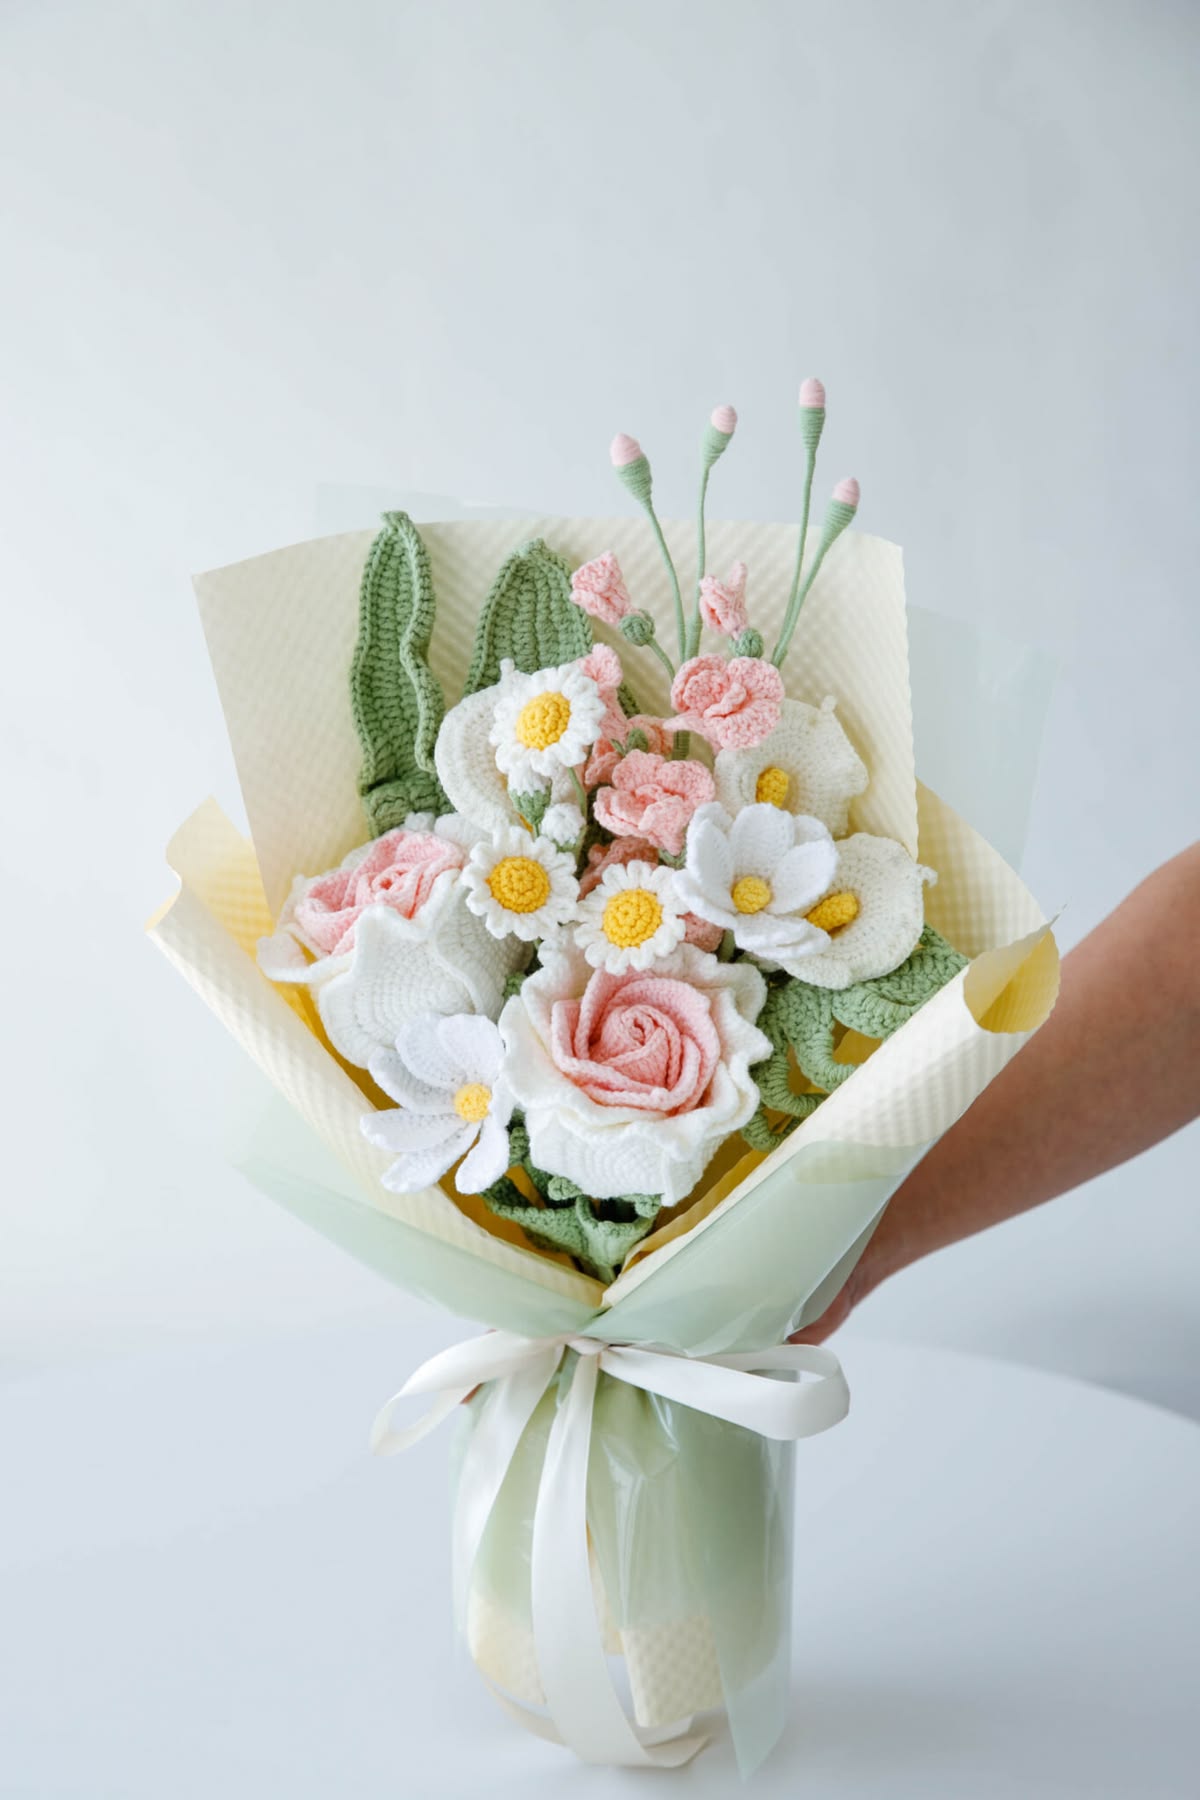
Pink Carnation and Freesia Bouquet Inspiration
Choosing Yarn Colours
Use pink yarn for the flowers and green yarn for the foliage, or choose colours that suit your arrangement. White, cream, yellow, pink and purple are useful starting points. Blue or red yarn can give your flowers a more imaginative finish.
For a coordinated bouquet, repeat one flower colour across several stems and use a consistent green for the leaves and sepals. Gather your chosen yarn and supplies separately before starting this tutorial.
Plan Your Handmade Arrangement
Decide whether you want to make a single freesia stem or several stems for a bouquet. Arrange the finished flowers, buds and leaves before securing them to the flower rod so you can adjust their spacing.
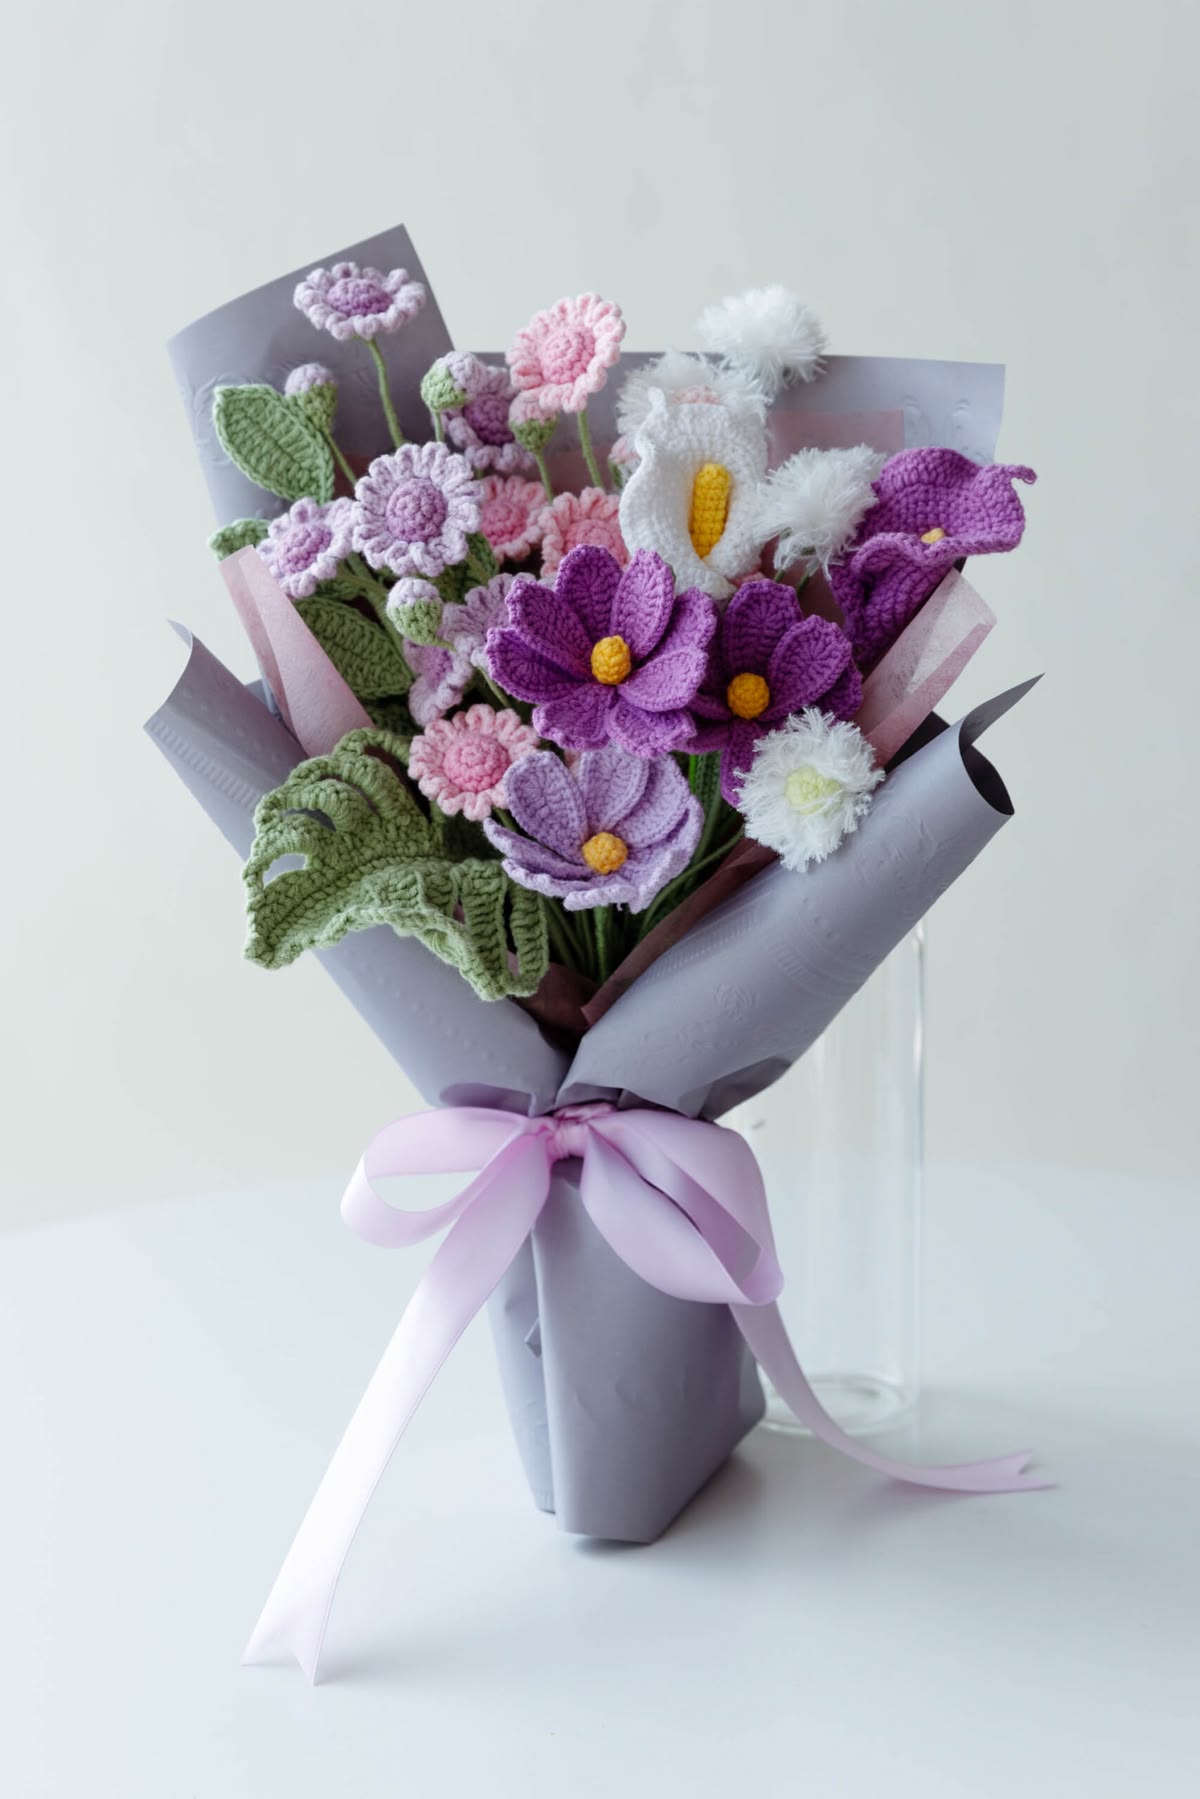
Use this mixed bouquet as colour and arrangement inspiration for your own handmade project.
Materials for Crochet Freesia Flowers
- Pink yarn, or your preferred flower colour
- Green yarn for sepals, leaves and stem wrapping
- 2.0 mm crochet hook
- Scissors
- Darning or tapestry needle
- Stitch marker, if needed
- 30 cm flower rod
- 0.5 mm craft wire
- Hot glue and a glue gun
The yarn thickness and your tension will affect the finished size. Make one flower first to check that the fabric holds its shape with your chosen yarn and hook.
Abbreviations and Stitches
This pattern uses US crochet terminology.
- ch: chain
- sc: single crochet
- hdc: half double crochet
- dc: double crochet
- tr: treble crochet
- ss: slip stitch
- st / sts: stitch / stitches
- picot st: picot stitch
- R: row or round, as indicated
Instructions in brackets are worked together. Repeat a bracketed sequence the stated number of times. When several stitches are assigned to the same stitch, work them all into that stitch before moving on.
Picot Stitch
A picot creates a small decorative point by working a short chain and joining it back with a slip stitch.
Pattern detail to confirm: the written instructions specify “1 picot st” but do not give its chain count. Confirm the picot size before beginning; no chain count has been added to the instructions below.
Pattern Notes
- The flower pieces are worked in turned rows. Turn where instructed.
- Keep track of your rows and repeated petal groups. Use a marker if it helps you identify the starting stitch.
- Read the entire petal sequence before working it.
- The medium flowers are separate flower pieces, rather than flower centres.
- The stitch counts and repeat numbers below retain the written pattern's existing sequence. The pattern has not been independently test-crocheted.
- Leave a yarn tail where instructed for finishing or assembly.
Crochet Freesia Flower Pattern
Large Freesia Flower
- R1: Ch 4. Work 3 dc into the first chain made, then turn.
- R2: Ch 3. Work 3 dc in each of the next 3 sts, then turn.
- R3: Ch 3. Work 2 dc in each of the next 9 sts, then turn.
- R4 — large petal: Work [ch 4, 1 tr] in the same st; [2 tr, 1 picot st] in the next st; 1 tr in the next st; then [1 tr, ch 4, 1 ss] in the same st.
- Middle petals: Repeat the following sequence twice: [1 ss, ch 4, 1 tr] in the same st; [2 tr, 1 picot st, 1 tr] in the next st; [1 tr, ch 4, 1 ss] in the same st. Then work 2 ss.
- Small petals: Repeat the following sequence 3 times: work 1 ss and ch 4 in the same st, then 2 tr and 1 picot st in the next st; work [1 tr, ch 4, 1 ss] in the same st.
- Ch 1, fasten off and weave in the ends.
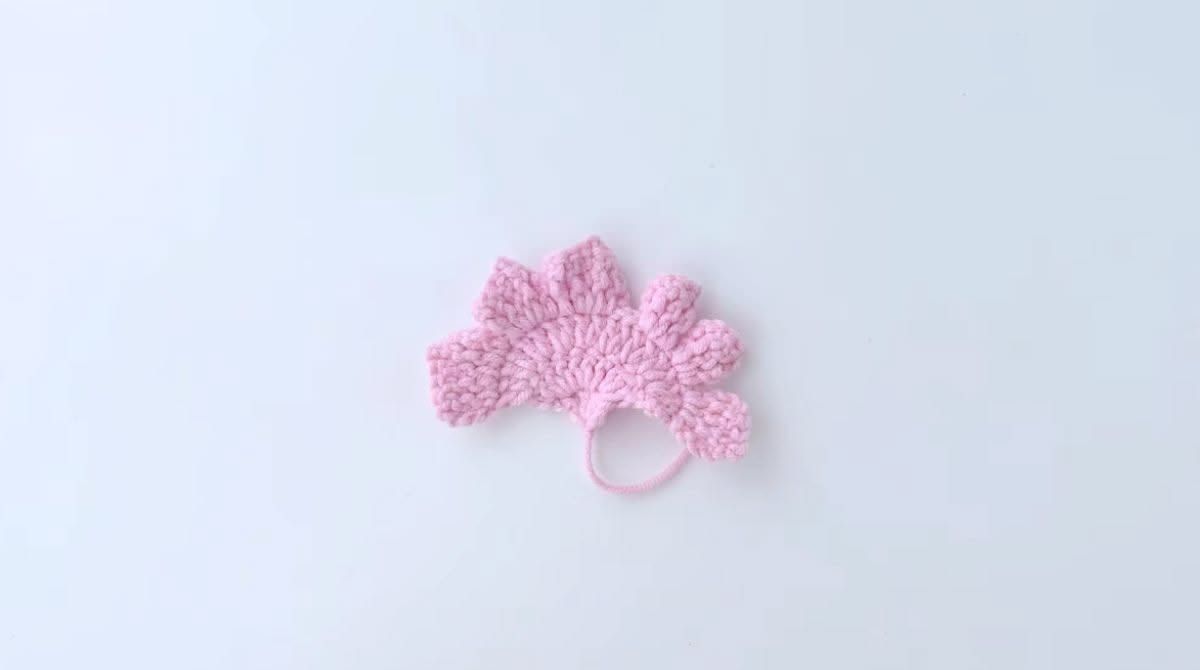
Medium Freesia Flowers — Make 3
- R1: Ch 4. Work 3 dc into the first chain made, then turn.
- R2: Ch 3. Work 3 dc in each of the next 3 sts, then turn.
- R3: Ch 3. Work 2 dc in each of the next 9 sts, then turn.
- R4 — large petal: Work [ch 2, 1 dc] in the same st; [2 dc, 1 picot st] in the next st; 1 dc in the next st; then [1 dc, ch 2, 1 ss] in the same st.
- Middle petals: Repeat the following sequence twice: [1 ss, ch 2, 1 dc] in the same st; [2 dc, 1 picot st, 1 dc] in the next st; [1 dc, ch 2, 1 ss] in the same st. Then work 2 ss.
- Small petals: Repeat the following sequence twice: work 1 ss and ch 2 in the same st, then 2 dc and 1 picot st in the next st; work [1 dc, ch 2, 1 ss] in the same st.
- Ch 1, fasten off and weave in the ends.
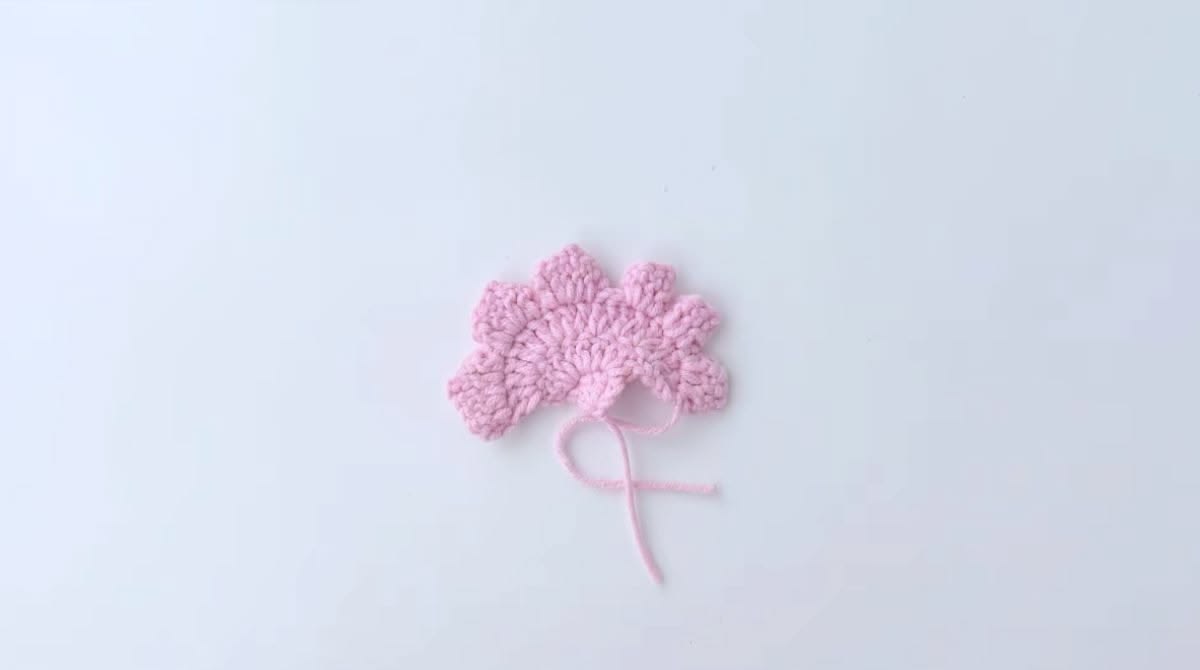
Small Freesia Flower
- R1: Ch 4. Work 3 dc into the first chain made, then turn.
- R2: Ch 3. Work 3 dc in each of the next 3 sts, then turn.
- R3: Repeat the following sequence twice: [ch 2, 1 dc] in the same st; [1 dc, 1 picot st]; [1 dc, ch 2, 1 ss] in the same st.
- Continue with [1 dc, 1 picot st]; [1 dc, ch 2, 1 ss] in the same st; then [1 dc, 1 picot st].
- Ch 1, fasten off and weave in the ends.
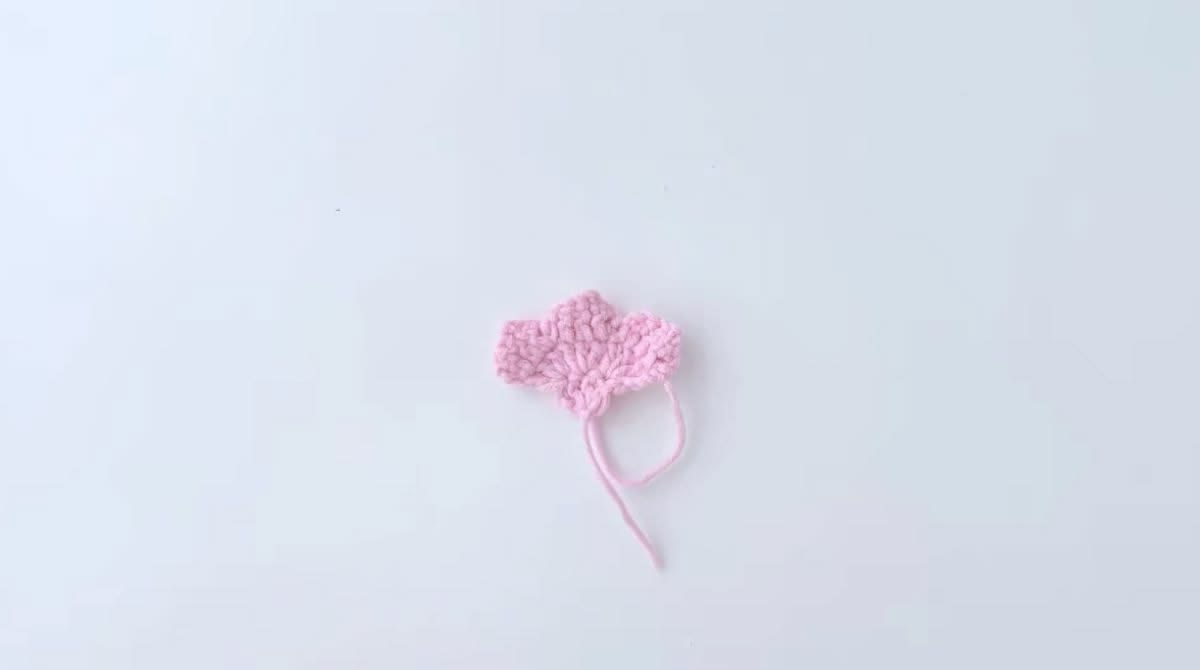
Freesia Flower Sepal
Use green yarn. Begin with a magic ring.
- R1: Work [ch 2, 2 dc, ch 3, 1 ss into the ring] twice.
- Ch 1, fasten off and pull the magic ring closed securely.
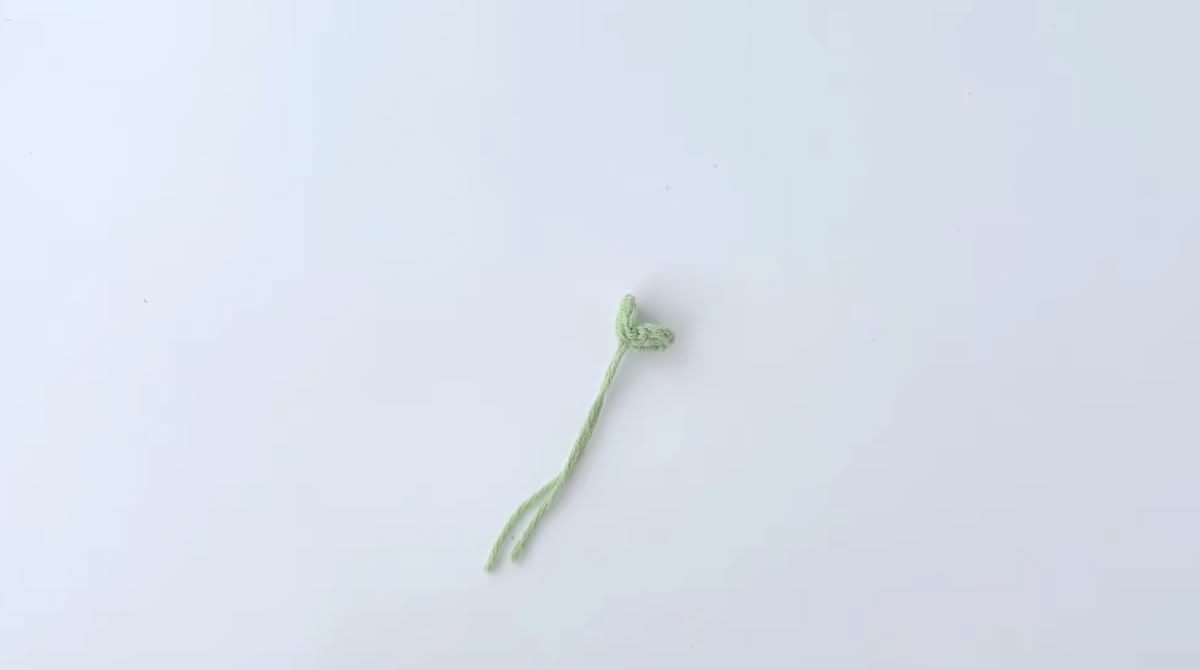
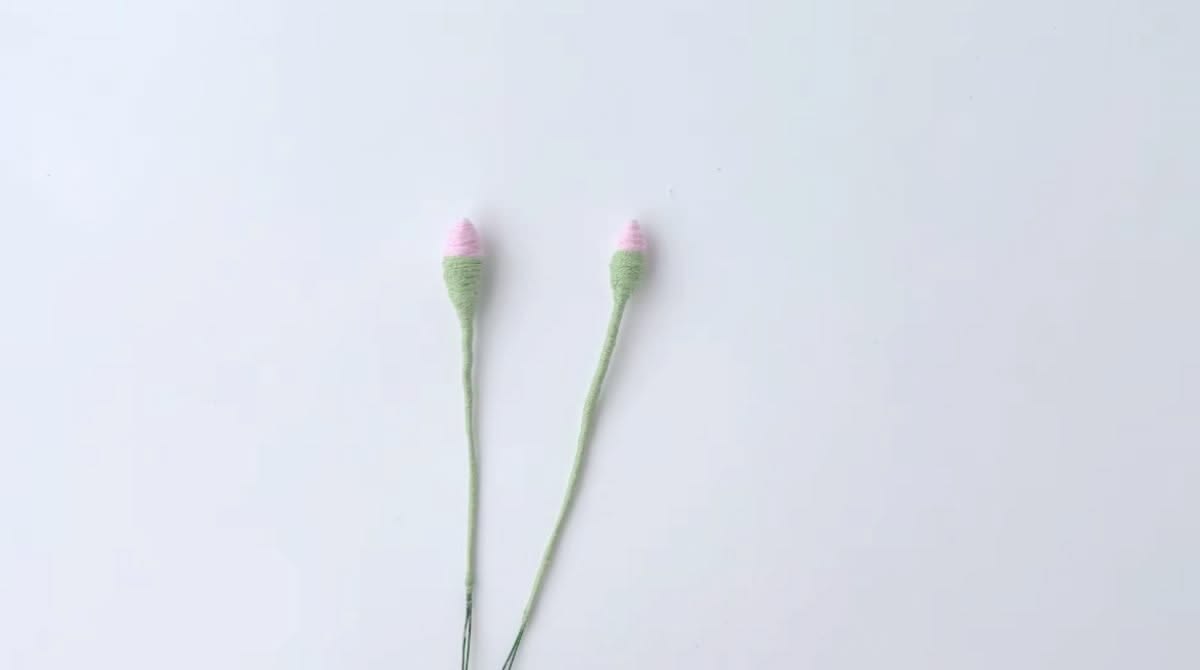
Freesia Flower Buds — Make 2
These buds are formed by wrapping yarn around wire.
- Step 1: Fold a piece of wire in half. Secure the flower-colour yarn at the folded end and wrap it around to form a small bud.
- Step 2: Wrap green yarn from the base of the bud down the wire stem. Secure the yarn end with a small amount of hot glue.
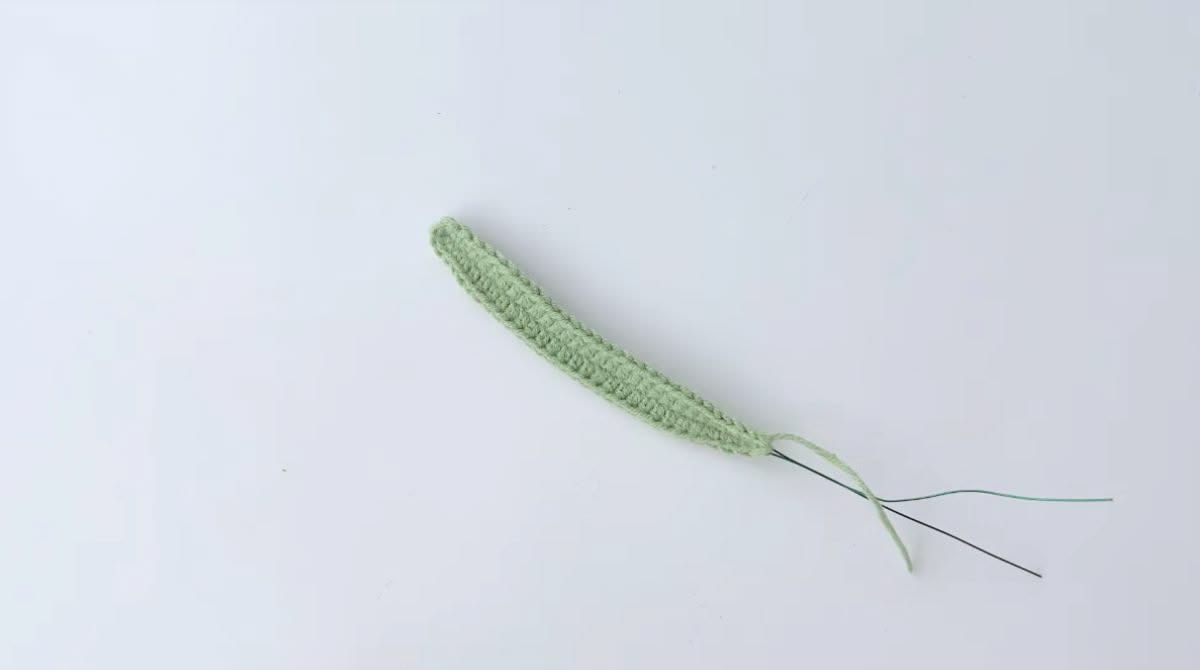
Crochet Freesia Leaf
Use green yarn. Begin with a foundation chain of 30 ch.
- R1: Starting in the second chain from the hook, work 4 sc, 21 hdc and 3 sc. Work 3 sc in the same end chain to turn around the tip.
- Continue along the opposite side of the foundation chain: 3 sc, 21 hdc and 4 sc.
- Work 1 ss in the first st, then fasten off, leaving a tail.
How to Assemble Your Crochet Freesia Stem
- Step 1: Gather a crocheted flower and its sepal.
- Step 2: Insert a piece of wire through the centre of the flower. Arrange the petals evenly around the wire and secure the flower with a small amount of hot glue.
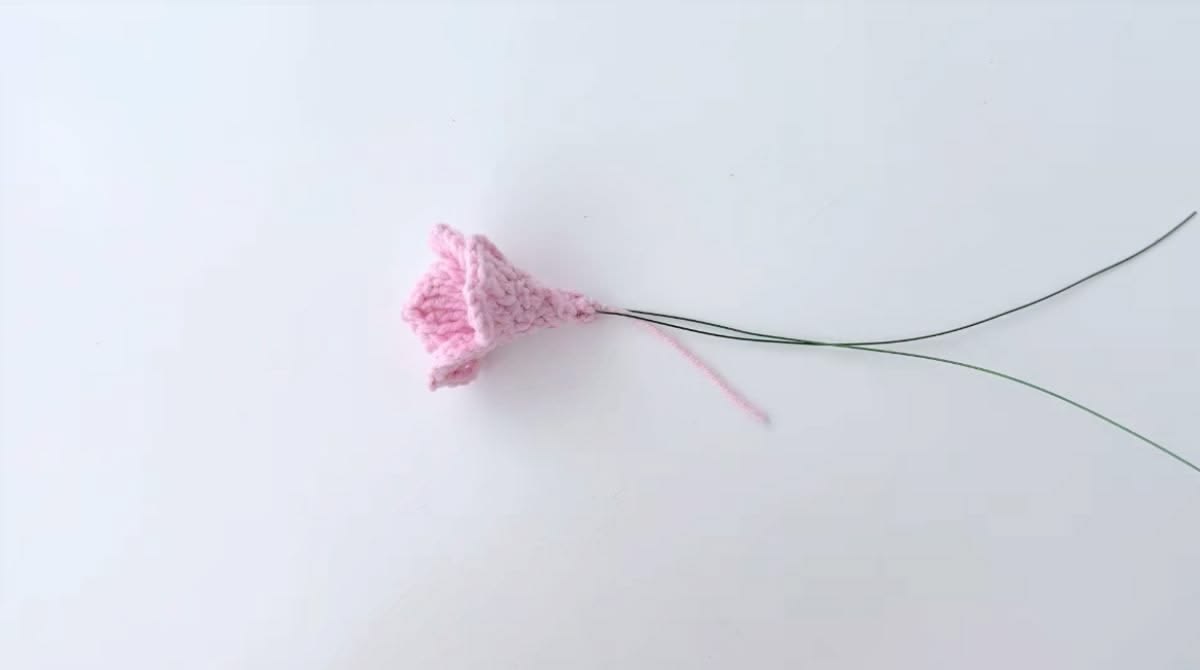
- Step 3: Position the sepal beneath the flower and secure it in place with hot glue.
- Step 4: Wrap the wire with yarn to cover it neatly and secure the yarn end.
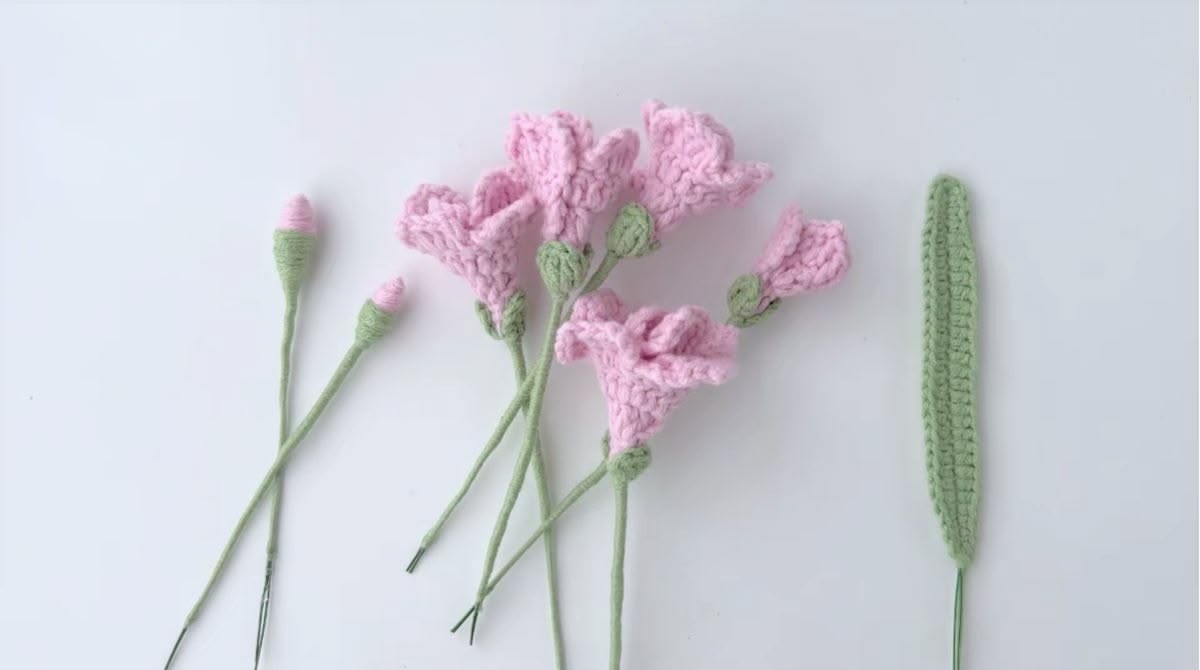
- Step 5: Arrange the flowers, buds and leaf along the 30 cm flower rod. Secure the pieces and wrap the rod with green yarn, covering the attachment points as you work. Secure the final yarn end.
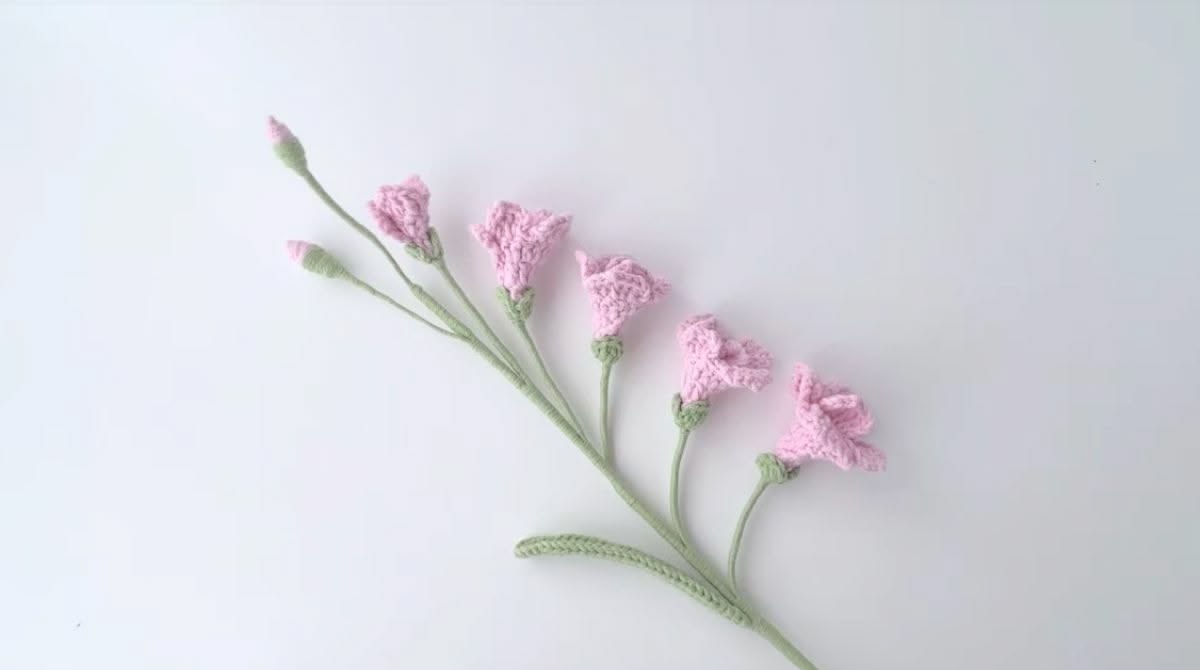
Finish Your Crochet Freesia Arrangement
Gently adjust the petals and the position of each flower to give the stem a natural shape. Display your freesia in a small vase, make several matching stems or combine it with roses, gerberas and other crochet flowers.
For extra greenery, try the free crochet fern leaf pattern. You can also browse our free crochet patterns and tutorials for your next project.
Explore Botanical Crochet PDF Patterns
Enjoy making projects inspired by flowers? Explore Kathwool's Flowers & Botanicals crochet PDF collection for downloadable designs, including botanical C2C blanket patterns.
The collection offers separate projects to explore after this free freesia tutorial. Check each product page for its project type, included instructions and recommended materials before choosing your next pattern.